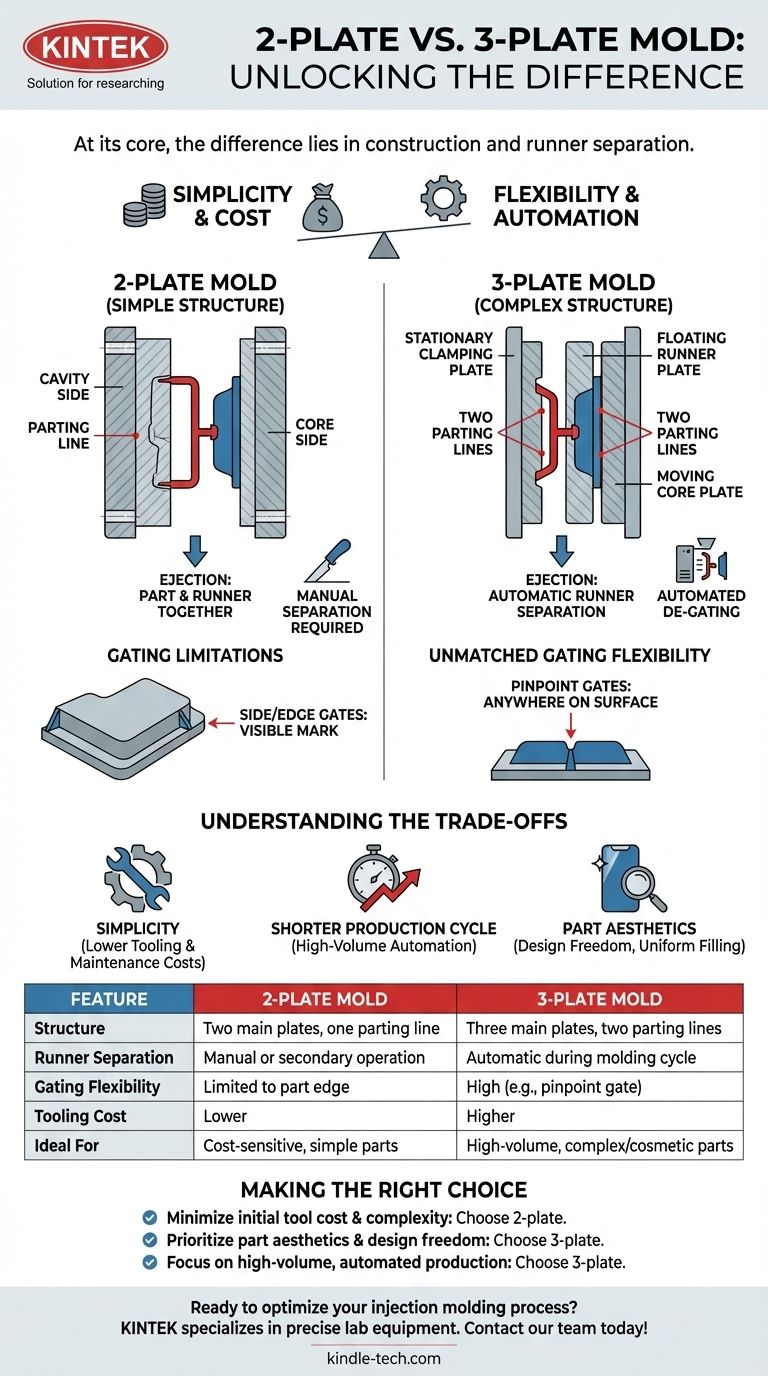
At its core, the difference between a 2-plate and a 3-plate mold is its construction and how it separates the final part from the plastic runner system. A 2-plate mold is simpler, with one parting line, and typically ejects the part and runner together. A 3-plate mold is more complex, using two parting lines to automatically separate the runner from the part during the molding cycle.
The fundamental choice between a 2-plate and a 3-plate mold is a trade-off: the simplicity and lower cost of a 2-plate mold versus the superior gating flexibility and automated runner separation of a 3-plate mold.

The Anatomy of a 2-Plate Mold
A Simple, Two-Part Structure
A 2-plate mold is the most common type of injection mold. It consists of two main sections, or plates: the cavity side and the core side.
These two plates meet at a single plane known as the parting line. During ejection, the mold opens at this one parting line to release the part.
The Ejection Process
When a 2-plate mold opens, the molded part and the attached runner system (the channels that deliver the plastic) are ejected together.
This means a secondary operation is often required to manually or automatically separate the part from the runner.
Gating Limitations
The gate, where molten plastic enters the part cavity, must be located on the part's perimeter at the parting line.
Common gate types for 2-plate molds include side gates or edge gates, which leave a visible mark on the side of the product.
The Anatomy of a 3-Plate Mold
A More Complex, Three-Part Structure
As the name implies, a 3-plate mold is constructed from three main plates or sections. This design creates two parting lines.
The three sections are the stationary clamping plate, the floating runner plate, and the moving core plate. This more complex assembly allows for a two-stage opening sequence.
Automatic Runner Separation
When a 3-plate mold opens, the first parting line separates the runner from the part. The second parting line then opens to eject the part itself.
This automated de-gating is the primary mechanical advantage, eliminating the need for a secondary separation process and enabling faster, more automated production cycles.
Unmatched Gating Flexibility
The 3-plate design allows for pinpoint gates to be placed almost anywhere on the surface of the part, not just the edge.
This is ideal for parts where gate marks must be hidden or for complex geometries that require a central injection point for balanced plastic flow. It is also highly effective for multi-cavity molds where parts need to be fed from their center.
Understanding the Trade-offs
Cost and Complexity
The primary advantage of a 2-plate mold is its simplicity. It is less expensive to design, manufacture, and maintain.
A 3-plate mold is inherently more complex due to its additional plate and moving components. This results in higher tooling costs and potentially more complex maintenance.
Cycle Time and Automation
While the mechanical cycle of a 3-plate mold can be slightly longer, the total production cycle time is often shorter.
This is because the automatic de-gating eliminates a post-molding step, making it better suited for high-volume, fully automated production runs.
Part Design and Aesthetics
A 3-plate mold offers far greater freedom in part design. The ability to use pinpoint gates allows for injection points on top or bottom surfaces, which is critical for cosmetic parts where side blemishes are unacceptable.
For radially symmetrical parts like gears or caps, a central pinpoint gate ensures uniform filling, reducing the risk of warpage and improving part quality.
Making the Right Choice for Your Goal
- If your primary focus is minimizing initial tool cost and complexity: Choose a 2-plate mold, especially if gate marks on the part's edge are acceptable.
- If your primary focus is part aesthetics and design freedom: Choose a 3-plate mold to hide the gate mark or to place it in the ideal location for material flow.
- If your primary focus is high-volume, automated production: Choose a 3-plate mold to eliminate secondary de-gating operations and reduce overall cycle time.
Understanding the capabilities and limitations of each mold type is the key to balancing your project's budget with its performance and quality requirements.
Summary Table:
| Feature | 2-Plate Mold | 3-Plate Mold |
|---|---|---|
| Structure | Two main plates, one parting line | Three main plates, two parting lines |
| Runner Separation | Manual or secondary operation required | Automatic during the molding cycle |
| Gating Flexibility | Limited to part edge (e.g., side gate) | High; gates can be placed almost anywhere (e.g., pinpoint gate) |
| Tooling Cost | Lower | Higher |
| Ideal For | Cost-sensitive projects, simple parts | High-volume automation, complex/cosmetic parts |
Ready to optimize your injection molding process? The choice between a 2-plate and 3-plate mold is critical for your project's cost, efficiency, and final part quality. At KINTEK, we specialize in providing the precise lab equipment and consumables needed for advanced manufacturing and quality control. Our experts can help you select the right tools to ensure your production meets the highest standards. Contact our team today to discuss your specific laboratory and production needs!
Visual Guide
Related Products
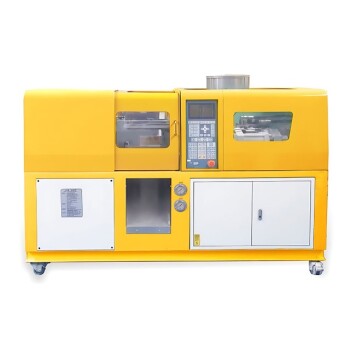
- Small Injection Molding Machine for Lab Use
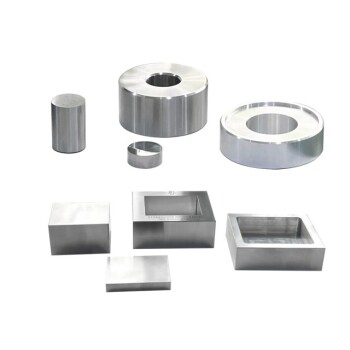
- Lab Infrared Press Mold
- Ring Press Mold for Lab Applications
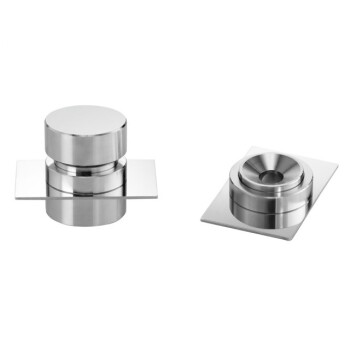
- No Demolding Lab Infrared Press Mold for Laboratory Applications
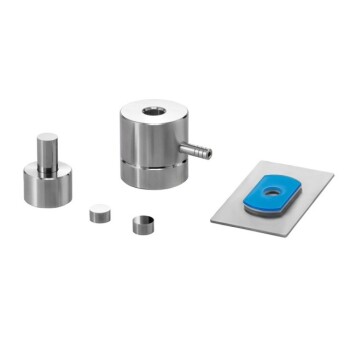
- Special Shape Press Mold for Lab
People Also Ask
- What are the advantages and disadvantages of injection molding machine? Maximize Efficiency for Mass Production
- What are the two common types of injection molding processes? Thermoplastic vs. Thermoset Explained
- What industry uses injection molding? From Medical to Automotive, It's Everywhere
- What are the 5 steps of injection molding? A Guide to Efficient, High-Quality Production
- What are the stages of the molding process? A Guide to Plastic, Metal, and Ceramic Molding