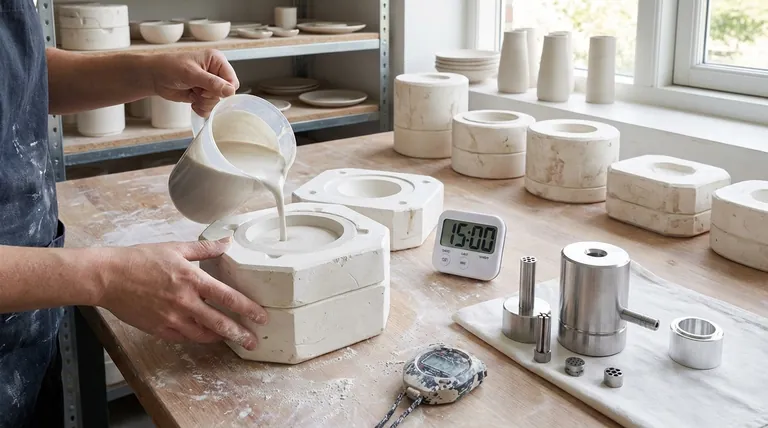
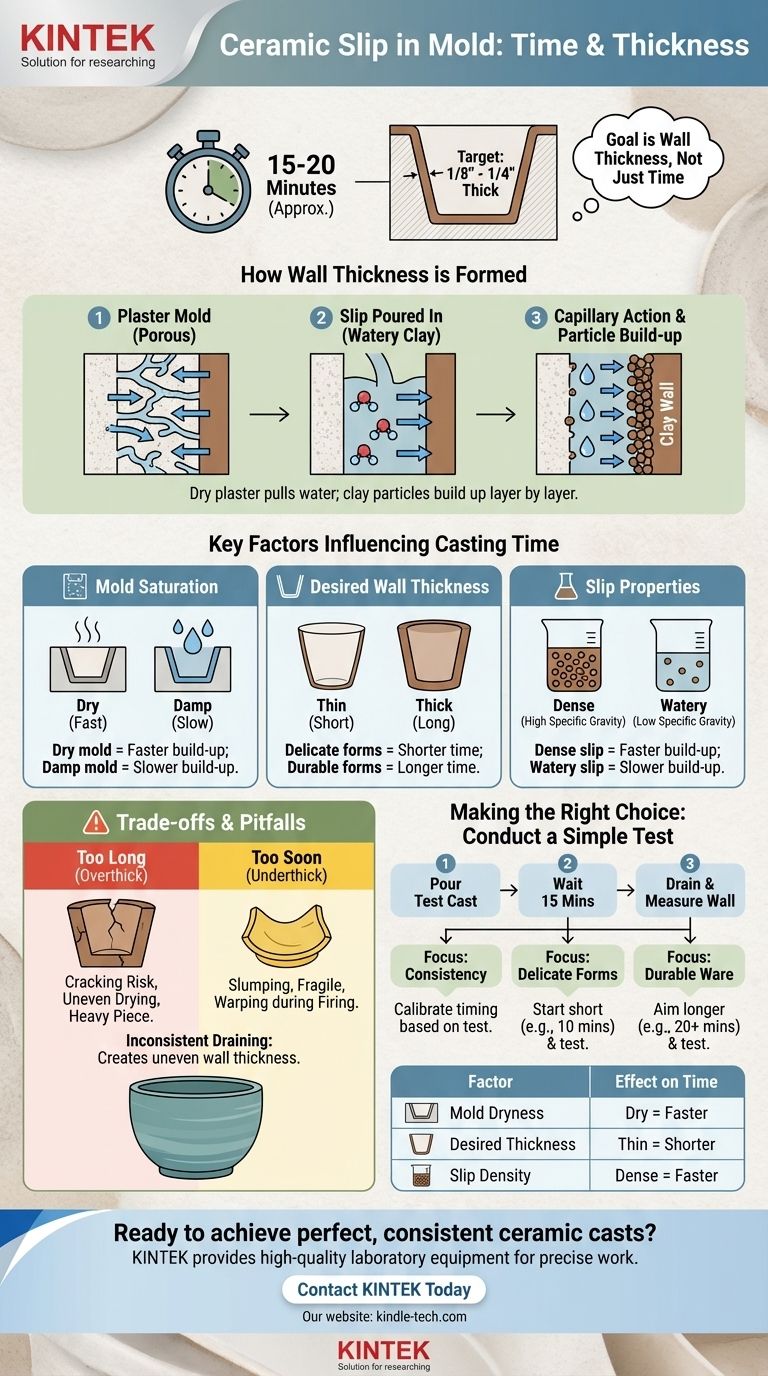
As a general guideline, you leave ceramic slip in a plaster mold for approximately 15 to 20 minutes. This duration is typically sufficient for the plaster to absorb enough water from the slip, forming a clay wall of about ⅛ to ¼ inch thick. Once this wall is established, the excess liquid slip is poured out, and the piece is left to firm up before being removed from the mold.
The question isn't just about time; it's about achieving a specific wall thickness. The duration is simply a variable you control, and it is heavily influenced by the condition of your mold and the properties of your slip.
How Wall Thickness is Formed
To control the outcome, you must first understand the process. Slip casting is a direct interaction between the plaster mold and the liquid clay.
The Role of the Plaster Mold
A plaster mold is porous, filled with a network of microscopic channels. When you pour in the liquid slip, the dry plaster immediately begins to pull water out of the slip through capillary action. Think of the mold as being extremely "thirsty."
What Happens to the Slip
As water is drawn from the slip into the mold wall, the clay particles in the slip are left behind. These particles build up, layer by layer, directly against the mold's interior surface. This layer is the wall of your future piece.
The Relationship Between Time and Thickness
The longer the slip remains in the mold, the more water is absorbed, and the thicker the clay wall becomes. The rate of this build-up is fastest at the beginning when the mold is driest and slows as the mold surface becomes saturated.
Key Factors That Determine Casting Time
A stopwatch is only one part of the equation. Several factors have a significant impact on how quickly your piece will form.
The Mold's Saturation Level
This is the most critical variable day-to-day. A bone-dry mold, used for the first time, will absorb water very quickly, forming a wall faster. A damp mold, which has been used for a previous cast just an hour before, will absorb water much more slowly, requiring a longer casting time to achieve the same thickness.
Desired Wall Thickness
Your artistic or functional goal dictates the target. A delicate, translucent porcelain teacup requires a very thin wall and thus a shorter casting time. A sturdy, functional mug needs a thicker, more durable wall, which means a longer casting time.
The Slip's Properties
The specific gravity (the ratio of clay and other solids to water) of your slip matters. A thicker, denser slip will build a wall faster than a thin, watery one because there are more clay particles available to be deposited.
Understanding the Trade-offs and Common Pitfalls
Achieving the perfect cast means avoiding common timing errors.
Leaving Slip in Too Long
A piece that is too thick will be unnecessarily heavy. More importantly, it can create stress during drying and firing, as the thick walls may not dry evenly, leading to a higher risk of cracking.
Pouring Out Slip Too Soon
If the wall is too thin, the piece will be fragile and may slump or collapse under its own weight after being removed from the mold. It may also warp more easily during the firing process.
Inconsistent Wall Thickness
This often happens if the mold is not drained properly. Always drain the mold at a consistent angle and allow it to sit for a few minutes to ensure all excess slip has run out, preventing thicker sections at the bottom.
Making the Right Choice for Your Goal
Instead of relying on a generic time, conduct a simple test to understand your specific materials. Pour a test cast, wait 15 minutes, drain it, and after a few moments, cut it open to measure the wall thickness. This gives you a reliable baseline for your mold and your slip.
- If your primary focus is consistency across many pieces: Calibrate your timing based on a test cast and keep your slip's water content consistent.
- If your primary focus is creating delicate, lightweight forms: Start with shorter times (e.g., 10 minutes) and test until you find the minimum viable thickness your piece needs to hold its shape.
- If your primary focus is producing durable, functional ware: Aim for longer casting times (e.g., 20+ minutes) to build a sturdier wall, confirming the thickness with a test.
By understanding these principles, you move from guessing with a timer to intentionally controlling the final form of your work.
Summary Table:
| Factor | Effect on Casting Time |
|---|---|
| Mold Dryness | Dry mold = Faster time; Damp mold = Slower time |
| Desired Thickness | Thin wall = Shorter time; Thick wall = Longer time |
| Slip Density | Dense slip = Faster time; Watery slip = Slower time |
Ready to achieve perfect, consistent ceramic casts every time?
At KINTEK, we specialize in providing high-quality laboratory equipment and consumables essential for precise ceramic work. Whether you're a hobbyist or a production studio, our reliable tools help you control every variable, from slip preparation to final firing.
Let our experts help you find the right equipment to perfect your craft. Contact us today to discuss your specific needs!
Visual Guide
Related Products
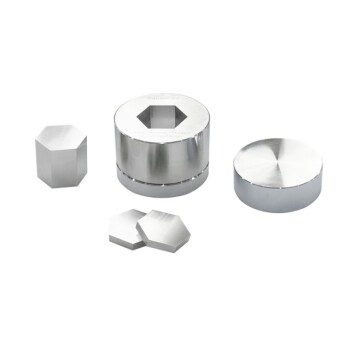
- Anti-Cracking Press Mold for Lab Use
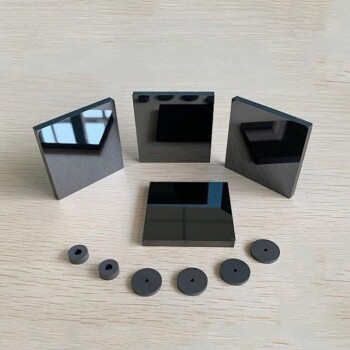
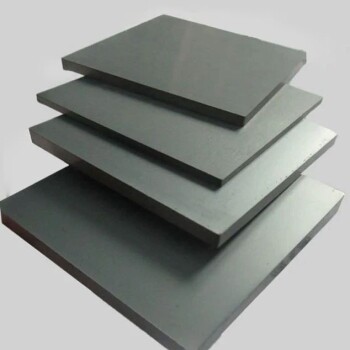
- Silicon Carbide (SIC) Ceramic Sheet Wear-Resistant Engineering Advanced Fine Ceramics
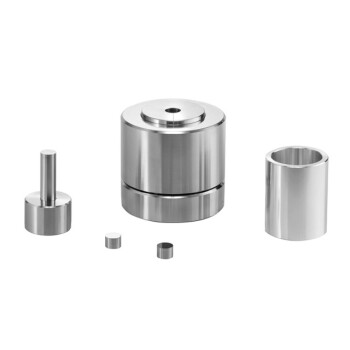
- Cylindrical Press Mold for Lab Applications
- Assemble Lab Cylindrical Press Mold
- Cylindrical Press Mold with Scale for Lab
People Also Ask
- What is the press mould method? A Guide to Consistent, Detailed Ceramic Forms
- Why are pressure molds with non-conductive resin inner walls required for battery testing? Ensure Data Accuracy
- What role do high-pressure mold components play in the thermal pressing of nano-crystalline tungsten? Maximize Density
- What is the function of press molds during the preparation of SiCf/Ti-43Al-9V composites? Achieve Structural Precision
- What is a press mold used for? Achieve Repeatable Precision and Efficiency