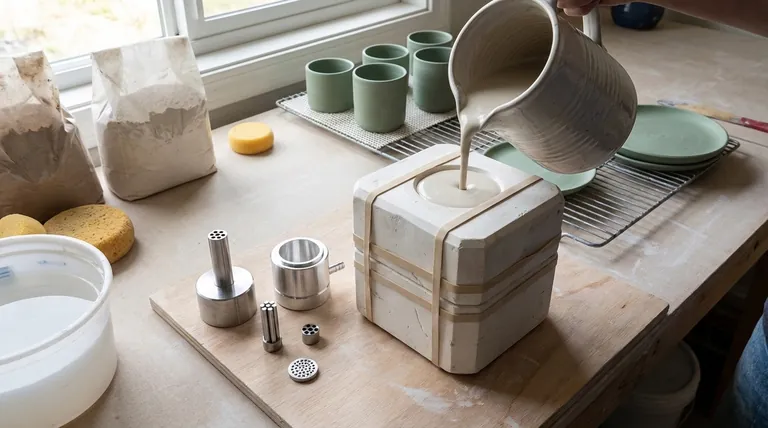
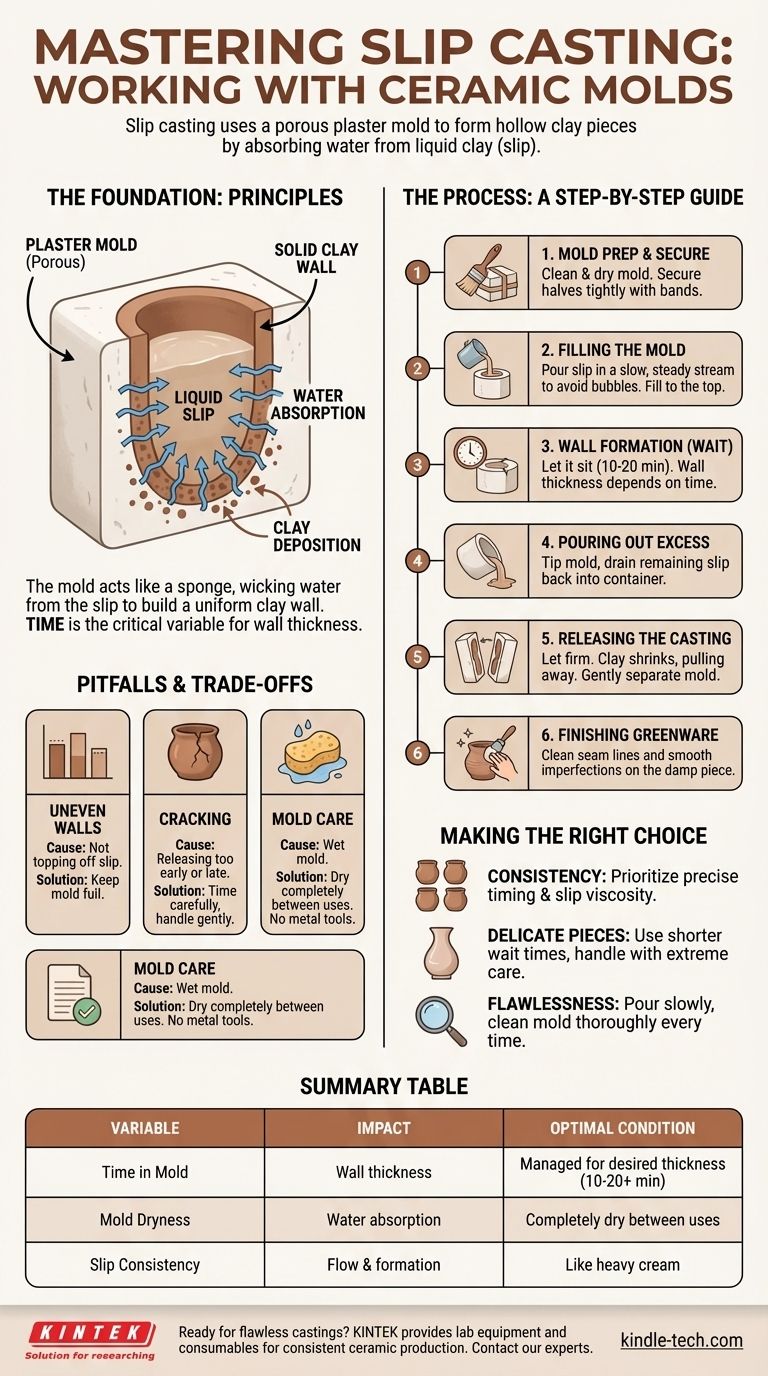
Working with ceramic molds is a process called slip casting, which involves pouring liquid clay (slip) into a porous plaster mold, allowing a solid clay shell to form, and then removing the resulting piece. The success of this technique relies on understanding how the plaster mold absorbs water from the slip to create a uniform casting.
The core principle of slip casting is not just following steps, but managing time. The porous plaster mold is the active tool, drawing water from the liquid clay to build the walls of your piece. How long you let this happen is the single most important variable you control.
The Foundation: Understanding How It Works
Before detailing the steps, it's essential to understand the materials and the scientific principle at play. This knowledge transforms the process from a guessing game into a repeatable technique.
What is a Ceramic Mold?
Most ceramic molds used for slip casting are made from Plaster of Paris. This material is used for one critical reason: it is highly porous.
The Role of Plaster
Think of the plaster mold as a dense, thirsty sponge. When you pour liquid clay into it, the plaster immediately begins to wick water out of the slip where it makes contact with the mold's interior surface.
As water is pulled away, the clay particles are deposited onto the mold wall, forming a solid layer. The longer the slip remains in the mold, the thicker this layer becomes.
What is Slip?
Slip is simply a mixture of clay and water, blended to the consistency of heavy cream. It is formulated to stay in suspension and release water at a controlled rate, making it ideal for casting.
The Core Slip Casting Process: A Step-by-Step Guide
With the principles understood, let's walk through the practical application. Each step is designed to produce a clean, consistent result.
Step 1: Mold Preparation
Before you begin, ensure your mold is completely clean and dry. Any dust or debris inside will transfer to your finished piece.
Secure the pieces of your mold together with strong rubber bands or straps. The goal is a tight seam that prevents slip from leaking out.
Step 2: Filling the Mold
Pour the slip into the mold's opening in a slow, steady stream. Pouring too quickly can introduce air bubbles that will create pinholes in your final piece.
Fill the mold completely to the top. The slip level will drop slightly as the plaster absorbs water, so you may need to top it off in the first few minutes.
Step 3: Wall Formation (The Critical Wait)
This is where the magic happens. As the mold absorbs water, a solid wall of clay forms. The thickness of this wall is determined by time.
A typical wait time is between 10 and 20 minutes, but this varies based on the slip and the dampness of the mold. You can check the progress by gently scraping the top rim to see the wall's thickness.
Step 4: Pouring Out the Excess
Once the desired wall thickness is achieved, carefully tip the mold over and pour the remaining liquid slip back into its container.
Let the mold drain upside down for several minutes to ensure any remaining drips are removed, preventing an uneven interior surface.
Step 5: Releasing the Casting
The cast piece needs to firm up before it can be removed. As the clay dries, it will shrink slightly and pull away from the plaster walls. This is the sign it's ready.
Carefully remove the rubber bands and gently separate the mold halves. If there is any resistance, wait longer. Forcing it will damage the piece.
Step 6: Finishing Your Greenware
The newly released piece is called "greenware." It is still damp and fragile. At this stage, you will use fettling knives and sponges to carefully clean up the seam lines and smooth any minor imperfections.
Understanding the Trade-offs and Pitfalls
Slip casting is precise, but several common issues can arise. Understanding them ahead of time is key to troubleshooting.
Uneven Wall Thickness
This is typically caused by failing to top off the slip as its level drops during the initial water absorption. Always keep the mold full during the wall-formation stage.
Cracking During Drying
Cracking can happen for two primary reasons. Releasing the piece too early when it's too soft can cause it to deform and crack. Conversely, leaving it in the mold for too long can cause it to crack as it shrinks against the rigid plaster.
Mold Care is Essential
Your plaster mold is your most important asset in this process. It must be allowed to dry completely between uses. A waterlogged mold cannot absorb more water and will not produce a good cast. Never scrape the inside with metal tools, as this will damage the surface.
Making the Right Choice for Your Goal
Achieving a great result depends on your specific objective. Use these guidelines to focus your efforts.
- If your primary focus is consistency across multiple pieces: Prioritize meticulous timing and using slip of the exact same viscosity for every pour.
- If your primary focus is creating thin, delicate objects: Use a shorter waiting time during wall formation and handle the resulting greenware with extreme care.
- If your primary focus is avoiding imperfections: Concentrate on pouring slowly to prevent air bubbles and cleaning your mold thoroughly before every single use.
Ultimately, mastering slip casting is about developing a feel for the relationship between the slip, the mold, and time.
Summary Table:
| Key Variable | Impact on Casting |
|---|---|
| Time in Mold | Determines wall thickness; too short = thin walls, too long = cracking. |
| Mold Dryness | Critical for water absorption; a wet mold will not cast properly. |
| Slip Consistency | Should be like heavy cream; affects flow and wall formation. |
Ready to achieve flawless ceramic castings? The precision of your slip casting process depends on reliable equipment and materials. KINTEK specializes in lab equipment and consumables for consistent ceramic production. Contact our experts today to discuss how our solutions can enhance your workflow and results.
Visual Guide
Related Products
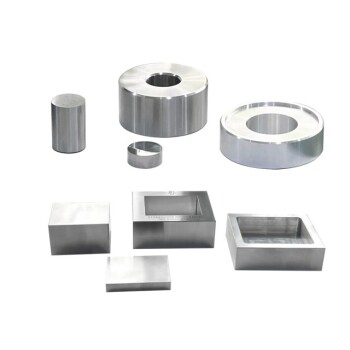
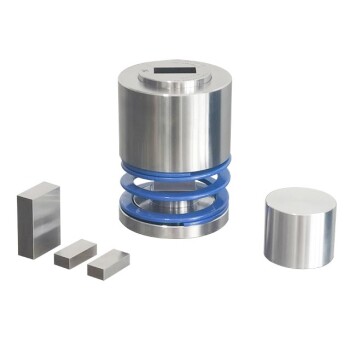
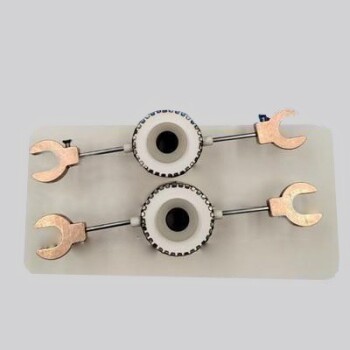
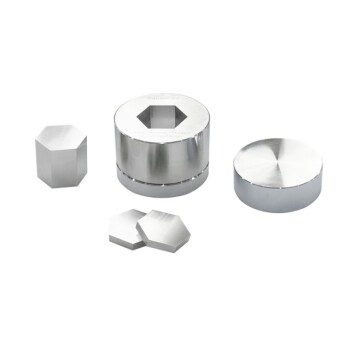
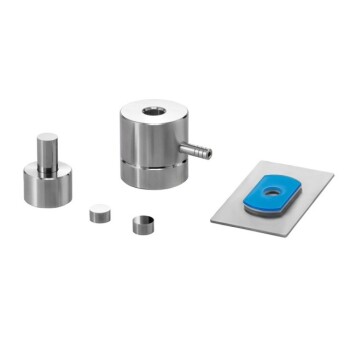
- Cylindrical Press Mold with Scale for Lab
- Assemble Lab Cylindrical Press Mold
- Cylindrical Press Mold for Lab Applications
- Anti-Cracking Press Mold for Lab Use
- Special Shape Press Mold for Lab
People Also Ask
- What is the process of mold press? A Step-by-Step Guide to Compression Molding
- How to use a press mould? Master the Art of Consistent Ceramic Forms
- Why are pressure molds with non-conductive resin inner walls required for battery testing? Ensure Data Accuracy
- What is the function of press molds during the preparation of SiCf/Ti-43Al-9V composites? Achieve Structural Precision
- What is the purpose of specialized pressure devices in sulfide solid-state batteries? Ensure Chemo-Mechanical Stability