Properly cleaning a test sieve is a critical maintenance procedure that hinges on a gentle, methodical approach. The correct process involves dislodging particles by tapping the frame and lightly brushing the underside of the mesh, followed by washing in warm water with a mild detergent. Finally, the sieve must be thoroughly rinsed and allowed to air dry completely.
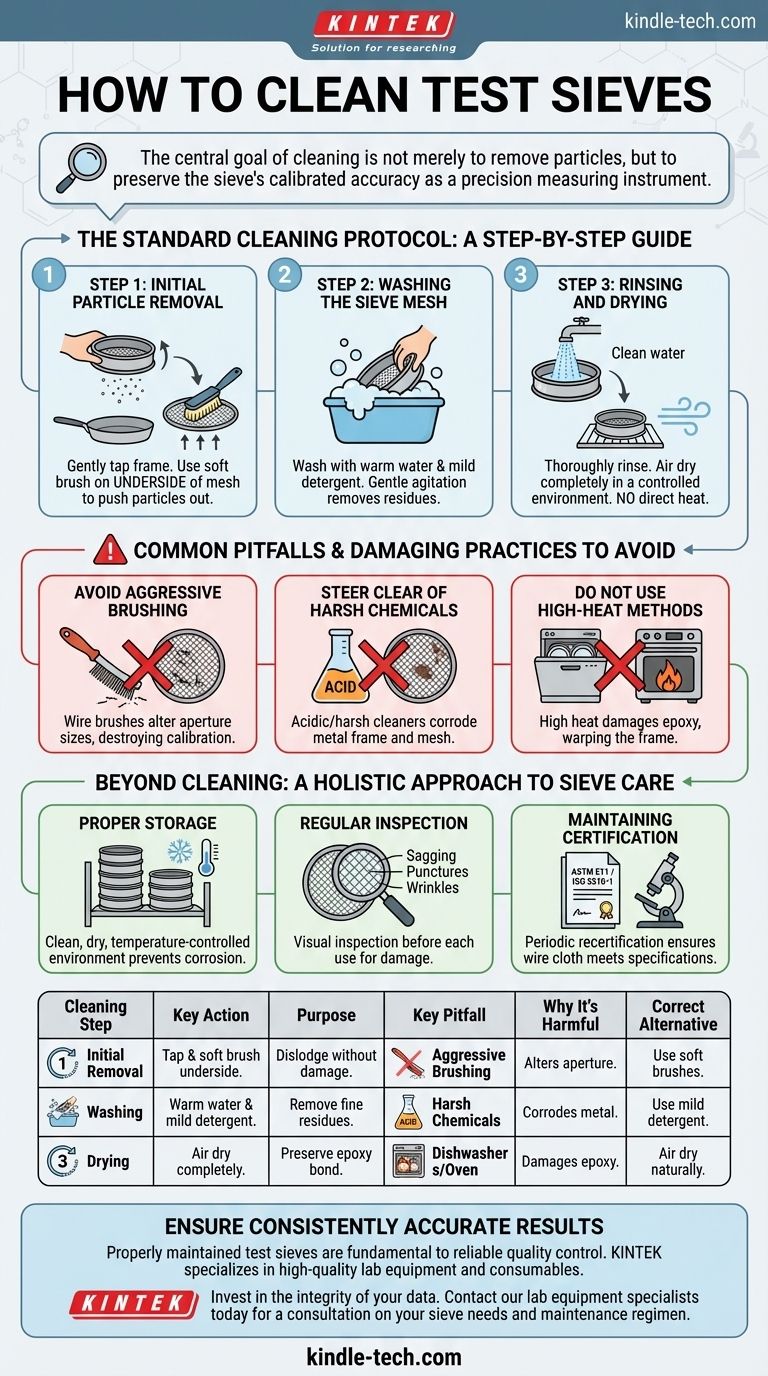
The central goal of cleaning is not merely to remove particles, but to preserve the sieve's calibrated accuracy as a precision measuring instrument. Treating it with the same care as any other lab equipment is essential for reliable results and a long service life.
The Standard Cleaning Protocol: A Step-by-Step Guide
Following a consistent, non-damaging cleaning process after every use is the most effective way to maintain the performance of your test sieves.
Step 1: Initial Particle Removal
First, turn the sieve upside down over a receiving pan or a clean surface. Gently tap the frame to dislodge the majority of the trapped particles.
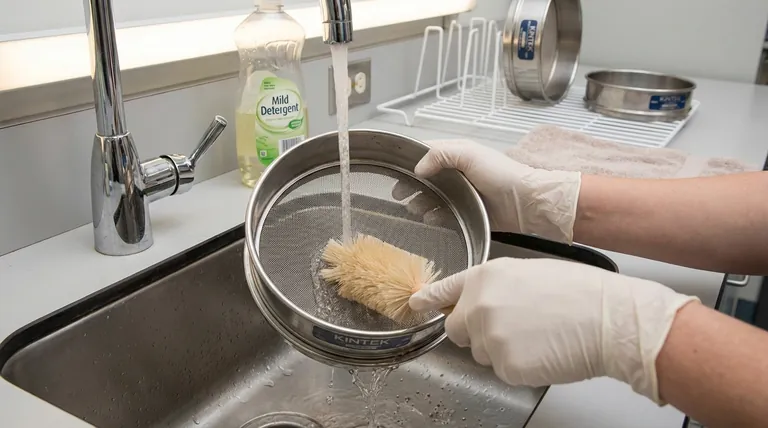
For any remaining particles, use a soft-bristled sieve cleaning brush on the underside of the mesh. Brushing from the bottom pushes particles out the way they came in, preventing them from getting wedged more tightly into the apertures.
Step 2: Washing the Sieve Mesh
Wash the sieve using warm water and a small amount of mild, non-abrasive detergent. Gentle agitation in the soapy water is usually sufficient to remove any fine residues or oils.
Step 3: Rinsing and Drying
Thoroughly rinse the sieve with clean water to remove all detergent.
Allow the sieve to air dry completely in a clean, controlled environment. Shaking off excess water can speed up the process, but direct heat should never be applied.
Common Pitfalls and Damaging Practices to Avoid
Aggressive or improper cleaning methods are the leading cause of damage to test sieves, which can compromise the mesh, warp the frame, and invalidate your test results.
Avoid Aggressive Brushing
Never use a wire brush or any overly stiff bristles. These tools can easily damage the delicate sieve mesh, altering the aperture sizes and destroying the sieve's calibration.
Steer Clear of Harsh Chemicals
Avoid using acidic solutions or other harsh chemical cleaners. These can corrode the metal frame and mesh, compromising the structural integrity of the sieve.
Do Not Use High-Heat Methods
Never place a test sieve in a dishwasher or use an oven to dry it. The high heat and harsh detergents can damage the epoxy that secures the mesh to the frame, causing it to loosen or fail.
Beyond Cleaning: A Holistic Approach to Sieve Care
Effective maintenance extends beyond the cleaning process itself. Proper handling, storage, and inspection are just as important for preserving the instrument's accuracy.
Proper Storage is Non-Negotiable
Store your sieves in a clean, dry, and temperature-controlled environment. This prevents corrosion and protects the epoxy from degradation caused by moisture or rapid temperature fluctuations.
The Role of Regular Inspection
Before each use, perform a quick visual inspection. Check for any sagging, punctures, or wrinkles in the mesh and ensure the frame and epoxy are intact.
Maintaining Certification and Accuracy
For critical applications, sieves must be periodically recertified according to standards like ASTM E11 or ISO 3310-1. This involves a microscopic examination to ensure the wire cloth still meets its required specifications.
Applying the Right Care for Your Objective
Your maintenance strategy should align with your operational requirements for accuracy and compliance.
- If your primary focus is routine cleaning after each use: Adhere strictly to the gentle protocol of tapping, light brushing, washing with mild soap, and air drying.
- If your primary focus is maintaining long-term accuracy and certification: Combine the standard cleaning protocol with a rigorous regimen of pre-use inspections, controlled storage, and scheduled recertification.
Meticulous care of your test sieves is a direct investment in the integrity and reliability of your results.
Summary Table:
| Cleaning Step | Key Action | Purpose |
|---|---|---|
| 1. Initial Removal | Tap frame & brush underside with soft bristles. | Dislodge particles without damaging mesh. |
| 2. Washing | Use warm water and mild detergent. | Remove fine residues and oils gently. |
| 3. Drying | Air dry completely; avoid heat. | Preserve epoxy bond and prevent corrosion. |
| Key Pitfall to Avoid | Why It's Harmful | Correct Alternative |
| Aggressive Brushing/Wire Brushes | Alters aperture size, destroys calibration. | Use only soft-bristled brushes. |
| Harsh Chemicals/Acids | Corrodes metal frame and mesh. | Stick to mild, non-abrasive detergents. |
| Dishwashers/Oven Drying | Damages epoxy, warps frame. | Always allow to air dry naturally. |
Ensure your particle analysis results are consistently accurate. Properly maintained test sieves are fundamental to reliable quality control. KINTEK specializes in high-quality lab equipment and consumables, including precision test sieves that meet ASTM/ISO standards. Our experts can help you select the right sieves and provide guidance on best practices for care and certification.
Invest in the integrity of your data. Contact our lab equipment specialists today for a consultation on your sieve needs and maintenance regimen.
Visual Guide
Related Products
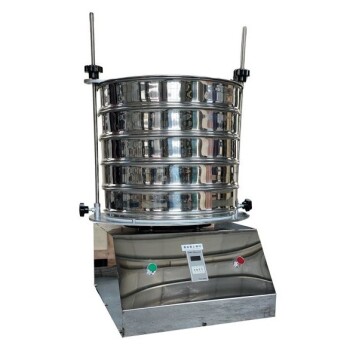
- Laboratory Test Sieves and Sieving Machines
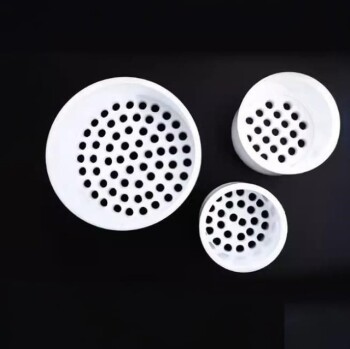
- Custom PTFE Teflon Parts Manufacturer for PTFE Mesh F4 Sieve
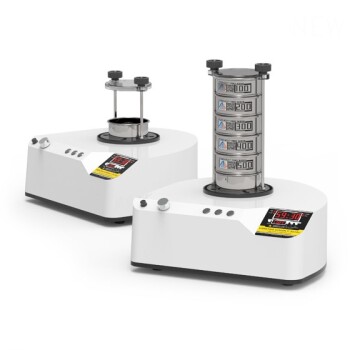
- Three-dimensional electromagnetic sieving instrument
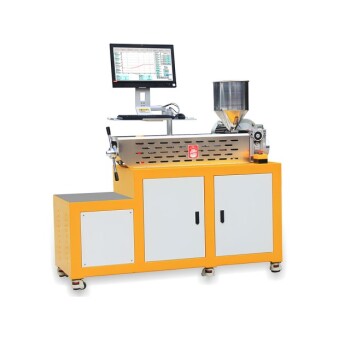
- Filter Testing Machine FPV for Dispersion Properties of Polymers and Pigments
People Also Ask
- What are the specifications for test sieves? A Guide to ASTM & ISO Standards for Accurate Particle Analysis
- What are laboratory test sieves used for? A Guide to Particle Size Analysis
- What is the use of sieving in laboratory? Ensure Material Quality & Accurate Particle Analysis
- What is the difference between ASTM standards sieves and is standard sieves? Ensure Compliance for Your Lab
- How does a sieve test work? A Guide to Precise Particle Size Distribution Analysis