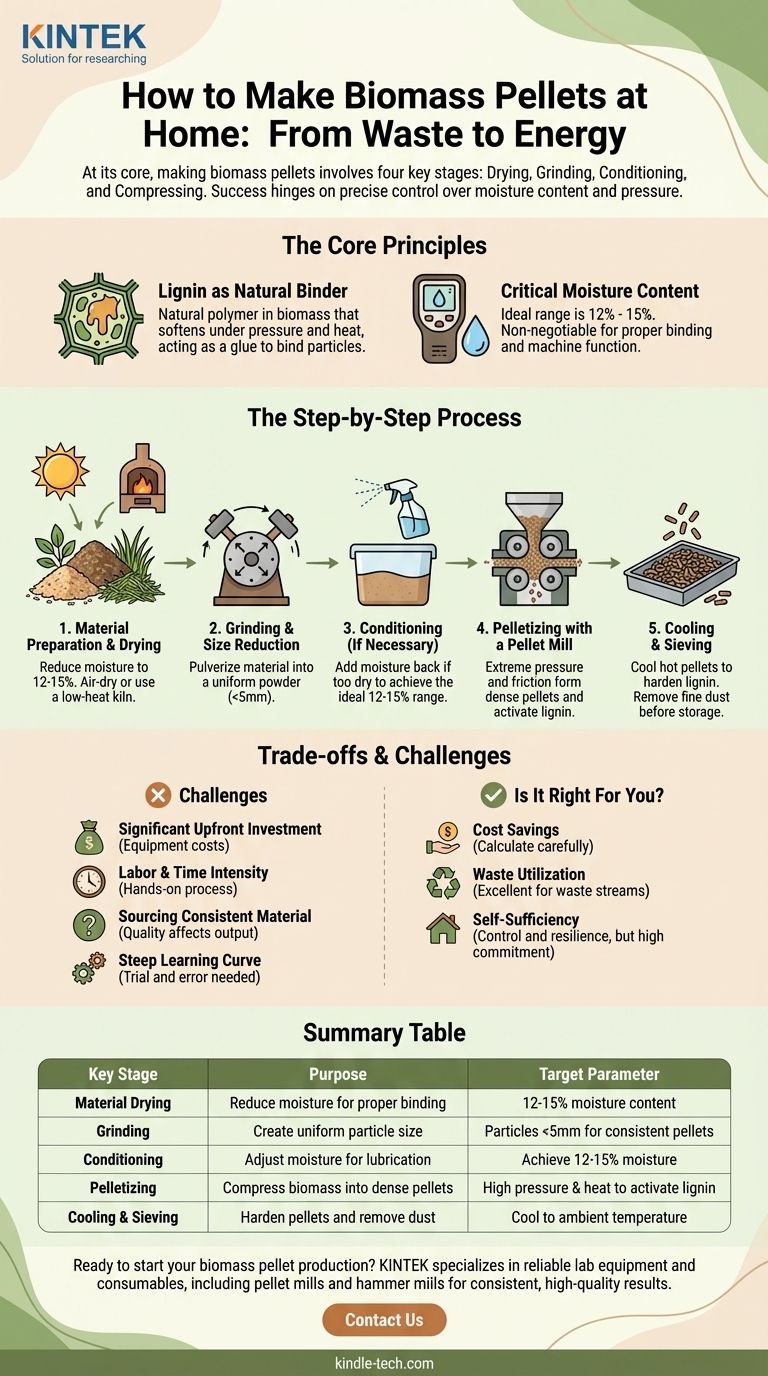
At its core, making biomass pellets at home involves four key stages: drying your raw material, grinding it to a uniform size, conditioning it to the perfect moisture level, and finally, compressing it through a specialized machine called a pellet mill. The process transforms loose, low-density materials like sawdust or grass into dense, energy-rich pellets.
While the concept is straightforward, success hinges entirely on precise control over two factors: the moisture content of your raw material and the pressure applied by your equipment. Getting this balance right is the difference between producing high-quality fuel and dealing with a clogged, ineffective machine.
The Core Principles of Pelletization
Before diving into the steps, it's critical to understand why the process works. This isn't just mechanical force; it's a thermal and chemical transformation.
What is Biomass?
Biomass is simply organic matter that can be used as a fuel source. For home pellet making, this typically includes sawdust, wood chips, straw, grass clippings, or even cardboard. The key is that the material contains lignin.
The Role of Lignin as a Natural Binder
Lignin is a natural polymer found in the cell walls of plants. Think of it as the glue that gives wood its rigidity.
When biomass is forced through the pellet mill's die under immense pressure and friction, the temperature rises significantly. This heat softens the lignin, which then coats the compressed particles. As the pellet exits the die and cools, the lignin re-hardens, binding the material into a dense, stable pellet.
Why Moisture Content is Critical
The ideal moisture content for most biomass is between 12% and 15%. This narrow window is non-negotiable.
If the material is too wet (above 15%), the excess moisture will turn to steam in the die, preventing the particles from binding properly and creating soft, crumbly pellets. If it's too dry (below 10%), there isn't enough lubrication, leading to extreme friction, blockages, and poor-quality pellets.
The Step-by-Step Process for Home Pellet Making
Each step in this process is designed to prepare the material for the final, high-pressure compression stage.
Step 1: Material Preparation & Drying
Your raw biomass must be clean and have its moisture content reduced. For materials like green wood chips or fresh grass clippings, this means spreading them out to air-dry or using a low-heat kiln until a moisture meter confirms you're in the target 12-15% range.
Step 2: Grinding and Size Reduction
The biomass particles must be smaller than the holes in your pellet mill's die. The standard machine for this is a hammer mill, which uses swinging hammers to pulverize the material until it's small enough to pass through a screen. A consistent, fine powder (typically less than 5mm) is the goal.
Step 3: Conditioning (If Necessary)
This step can seem counterintuitive. If your material is too dry after grinding (e.g., kiln-dried sawdust), you may need to add a very small amount of moisture back in. This is often done by misting the material with water to bring it up to the ideal 12-15% range, which helps lubricate the die and activate the lignin.
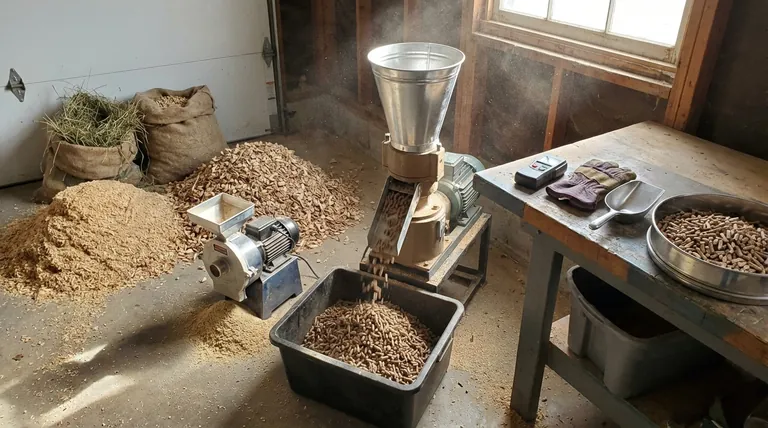
Step 4: Pelletizing with a Pellet Mill
This is the heart of the operation. The prepared biomass is fed into the hopper of a pellet mill. Inside, rollers press the material with extreme force through the holes of a metal plate called a die. The friction and pressure generate the heat needed to soften the lignin and form the pellet.
Step 5: Cooling and Sieving
Pellets exit the mill hot (often over 150°F / 65°C) and are relatively soft. They must be spread out in a thin layer to cool completely. As they cool, the lignin hardens, giving the pellets their durability. Once cooled, it's good practice to sieve them to remove any fine dust before storage.
Understanding the Trade-offs and Challenges
Making your own pellets is a rewarding project, but it is crucial to be realistic about the challenges involved.
Significant Upfront Investment
A home-scale setup is not a minor purchase. The two core machines, a hammer mill and a flat die pellet mill, represent a significant financial investment, often running into thousands of dollars.
Labor and Time Intensity
This is not a "set it and forget it" process. Preparing, drying, grinding, and pelletizing materials is a hands-on, time-consuming effort. It requires constant supervision and adjustment.
Sourcing Consistent Raw Material
The quality of your pellets is directly tied to the quality of your input. You need a reliable, consistent source of clean biomass. Mixing different materials (e.g., hardwood and softwood) will require you to re-calibrate your process each time.
The Steep Learning Curve
Operating a pellet mill effectively is a skill. You will need to learn how to adjust the machine for different types of biomass, troubleshoot clogs, and fine-tune the moisture content. Expect a period of trial and error before you produce consistent, high-quality pellets.
Is Making Your Own Pellets Right for You?
Answering this question depends entirely on your primary motivation.
- If your primary focus is immediate cost savings: Carefully calculate the total investment in equipment, electricity, and your own labor versus the cost of buying commercial pellets. For many, buying pre-made pellets remains more economical.
- If your primary focus is waste utilization: This is an excellent way to create value from a waste stream, such as from a woodworking shop or small farm, assuming you have a sufficient and steady supply.
- If your primary focus is self-sufficiency: Making your own fuel provides ultimate control and resilience, but be prepared for the significant commitment in equipment, space, and effort required to do it safely and effectively.
By understanding the principles, processes, and practical challenges, you can make an informed decision about whether this rewarding but demanding project aligns with your goals.
Summary Table:
| Key Stage | Purpose | Target Parameter |
|---|---|---|
| Material Drying | Reduce moisture for proper binding | 12-15% moisture content |
| Grinding | Create uniform particle size | Particles <5mm for consistent pellets |
| Conditioning | Adjust moisture for lubrication | Achieve 12-15% moisture |
| Pelletizing | Compress biomass into dense pellets | High pressure & heat to activate lignin |
| Cooling & Sieving | Harden pellets and remove dust | Cool to ambient temperature |
Ready to start your biomass pellet production? KINTEK specializes in lab equipment and consumables, serving laboratory needs. Whether you're a researcher, a small-scale producer, or a DIY enthusiast, our reliable pellet mills and hammer mills are designed to help you achieve consistent, high-quality pellets from your biomass materials. Contact us today to discuss your project and discover how our equipment can bring efficiency and precision to your fuel production process!
Visual Guide
Related Products
- kbr pellet press 2t
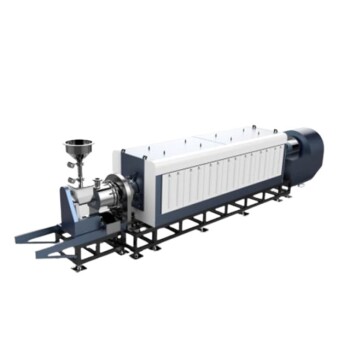
- Electric Rotary Kiln Small Rotary Furnace Biomass Pyrolysis Plant
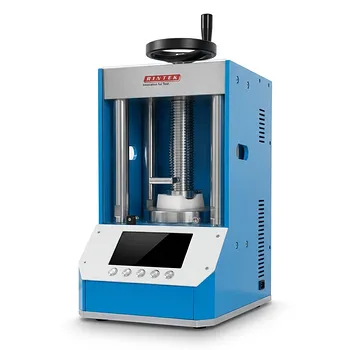
- Automatic Laboratory Hydraulic Pellet Press Machine for Lab Use
People Also Ask
- What is the use of KBr pellets? Achieve Clear FTIR Analysis of Solid Samples
- How do you prepare KBr pellets for FTIR analysis? Master the Technique for High-Quality IR Spectra
- Why KBr is used to make the pellet? Achieve High-Quality FTIR Analysis of Solid Samples
- How do you prepare samples for IR spectroscopy? A Step-by-Step Guide for Solids, Liquids, and Gases
- How do you prepare KBr pellet for FTIR? Master the Art of Creating Transparent IR Windows