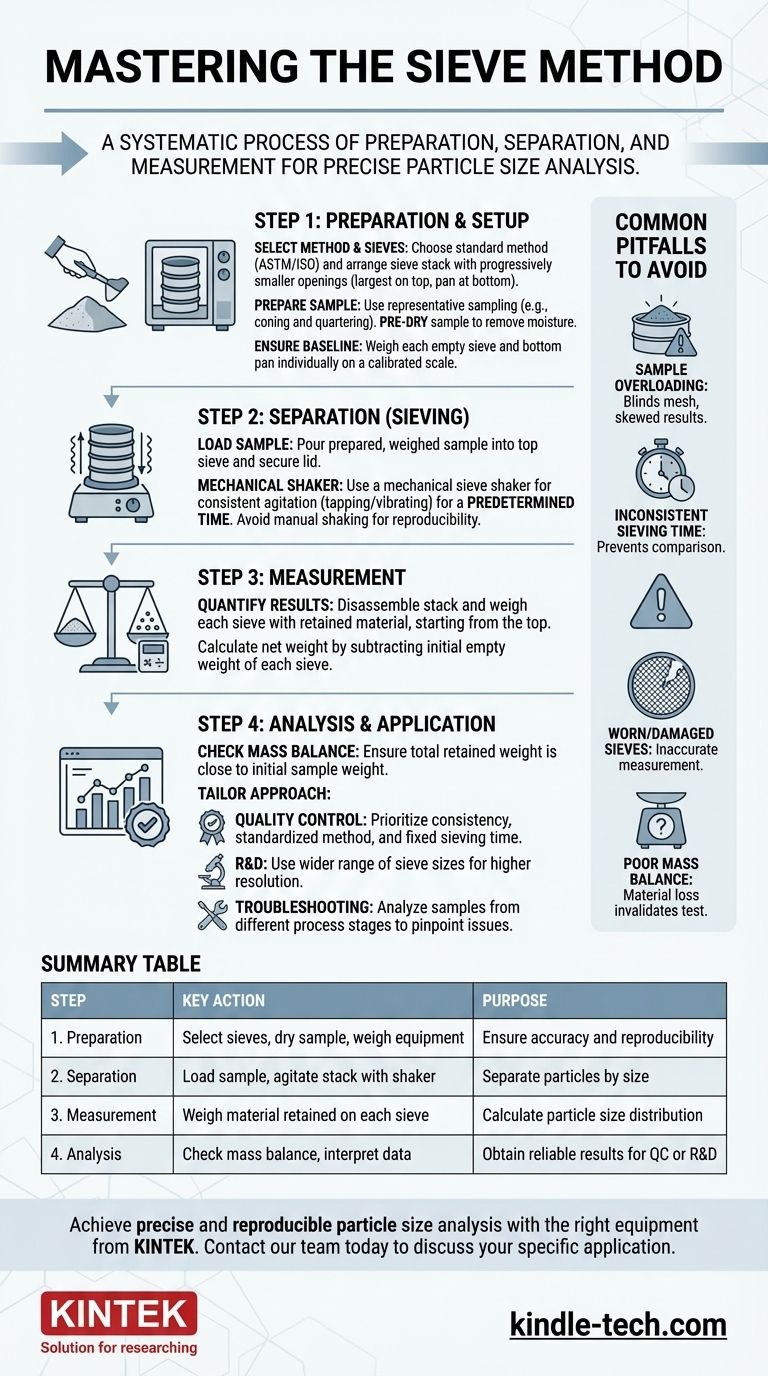
To properly use the sieve method, you must execute a systematic process of preparation, separation, and measurement. This involves preparing a precisely weighed material sample, placing it in a stacked column of sieves with progressively smaller mesh openings, agitating the stack for a set time, and then weighing the material retained on each individual sieve to calculate the particle size distribution.
Sieve analysis is not merely about shaking particles through screens; it is a controlled procedure designed to achieve a reproducible and accurate separation of a material by particle size, providing critical data for quality control, research, and process optimization.
The Foundation: Preparation and Setup
The reliability of your final results is determined long before you begin shaking the sieves. Meticulous preparation is the most critical phase of the entire analysis.
Selecting the Right Method and Sieves
Your first step is to define the parameters of your test. This means choosing a standard method (e.g., from ASTM or ISO) to ensure your results are consistent and comparable to others.
Based on the expected particle size range of your material, you will select a set of test sieves. The stack is always arranged with the sieve having the largest mesh opening at the top, followed by sieves of progressively smaller openings, with a solid pan at the very bottom to collect the finest particles.
Preparing a Representative Sample
The small amount of material you test must accurately reflect the entire batch. Use a standard sampling technique, like coning and quartering, to obtain a representative sample.
Many materials need pre-conditioning. This often involves pre-drying the sample in an oven to remove moisture, as dampness can cause fine particles to clump together and prevent them from passing through the sieve mesh correctly.
Ensuring an Accurate Baseline
Before adding your sample, you must establish a precise baseline weight for each component.
Using a calibrated scale, weigh each empty sieve and the bottom pan individually, carefully recording each weight. A common practice is to weigh them starting from the bottom pan and working your way up the stack.
The Core Process: Sieving and Measurement
With the groundwork laid, you can now perform the mechanical separation and capture the raw data.
Loading the Sample
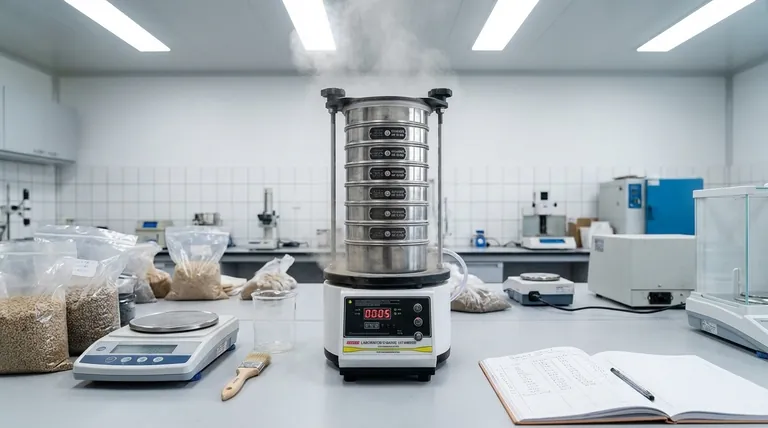
Carefully pour your prepared and weighed sample into the top sieve of the assembled stack. Ensure the lid is securely placed on top to prevent any loss of material during agitation.
The Separation Action (Sieving)
While manual shaking is possible, a mechanical sieve shaker is strongly recommended for accurate and reproducible results. The shaker agates the stack with a consistent motion (e.g., tapping or vibrating) for a predetermined amount of time.
The duration is critical; insufficient time leads to incomplete separation, while excessive time can cause particle attrition (breakdown), skewing the results.
Quantifying the Results
After the shaking is complete, you must weigh the separated fractions.
Disassemble the stack and weigh each sieve (now containing its retained material) one by one, starting from the top sieve and moving down. By subtracting the initial empty weight of each sieve, you can calculate the net weight of the material retained on it.
Common Pitfalls to Avoid
Seemingly minor errors in procedure can significantly compromise the accuracy of your results. Awareness of these common issues is key to generating trustworthy data.
Sample Overloading
Placing too much material on the sieves is a frequent mistake. An overloaded sieve blinds the mesh, preventing smaller particles from having a chance to pass through and resulting in an inaccurate distribution skewed toward larger sizes.
Inconsistent Sieving Time
Using different sieving durations between tests makes it impossible to compare results. The separation process is time-dependent, and consistency is essential for reproducibility.
Worn or Damaged Sieves
Always inspect your sieves before use. A stretched, torn, or deformed mesh is no longer an accurate tool for measurement. Dents in the frame can also prevent a proper seal within the stack, allowing material to escape.
Poor Mass Balance
After the analysis, sum the weights of all the retained fractions (including the pan). This total should be very close to your initial sample weight. A significant difference indicates that material was lost during the process, invalidating the test.
Making the Right Choice for Your Goal
The data from a sieve analysis is only useful when applied correctly. Tailor your approach based on your ultimate objective.
- If your primary focus is routine quality control: Prioritize consistency above all else by using a standardized method, a mechanical sieve shaker, and a fixed sieving time for all tests.
- If your primary focus is research and development: Use a wider range of sieve sizes (a taller stack) to obtain a higher-resolution view of the particle distribution.
- If your primary focus is troubleshooting a production issue: Take multiple representative samples from different stages of your process to pinpoint exactly where unwanted changes in particle size are occurring.
Mastering this procedure transforms a simple mechanical process into a powerful analytical tool for understanding and controlling your material's physical properties.
Summary Table:
| Step | Key Action | Purpose |
|---|---|---|
| 1. Preparation | Select sieves, dry sample, weigh equipment | Ensure accuracy and reproducibility |
| 2. Separation | Load sample, agitate stack with shaker | Separate particles by size |
| 3. Measurement | Weigh material retained on each sieve | Calculate particle size distribution |
| 4. Analysis | Check mass balance, interpret data | Obtain reliable results for QC or R&D |
Achieve precise and reproducible particle size analysis with the right equipment from KINTEK.
Whether your focus is rigorous quality control, detailed research and development, or troubleshooting production issues, accurate sieve analysis is fundamental. KINTEK specializes in high-quality lab sieves, mechanical sieve shakers, and sample preparation equipment designed for durability and consistent performance.
Let our expertise help you eliminate common pitfalls like sample overloading and inconsistent results. Contact our team today to discuss your specific application and ensure your lab has the reliable tools needed for mastery of the sieve method.
Visual Guide