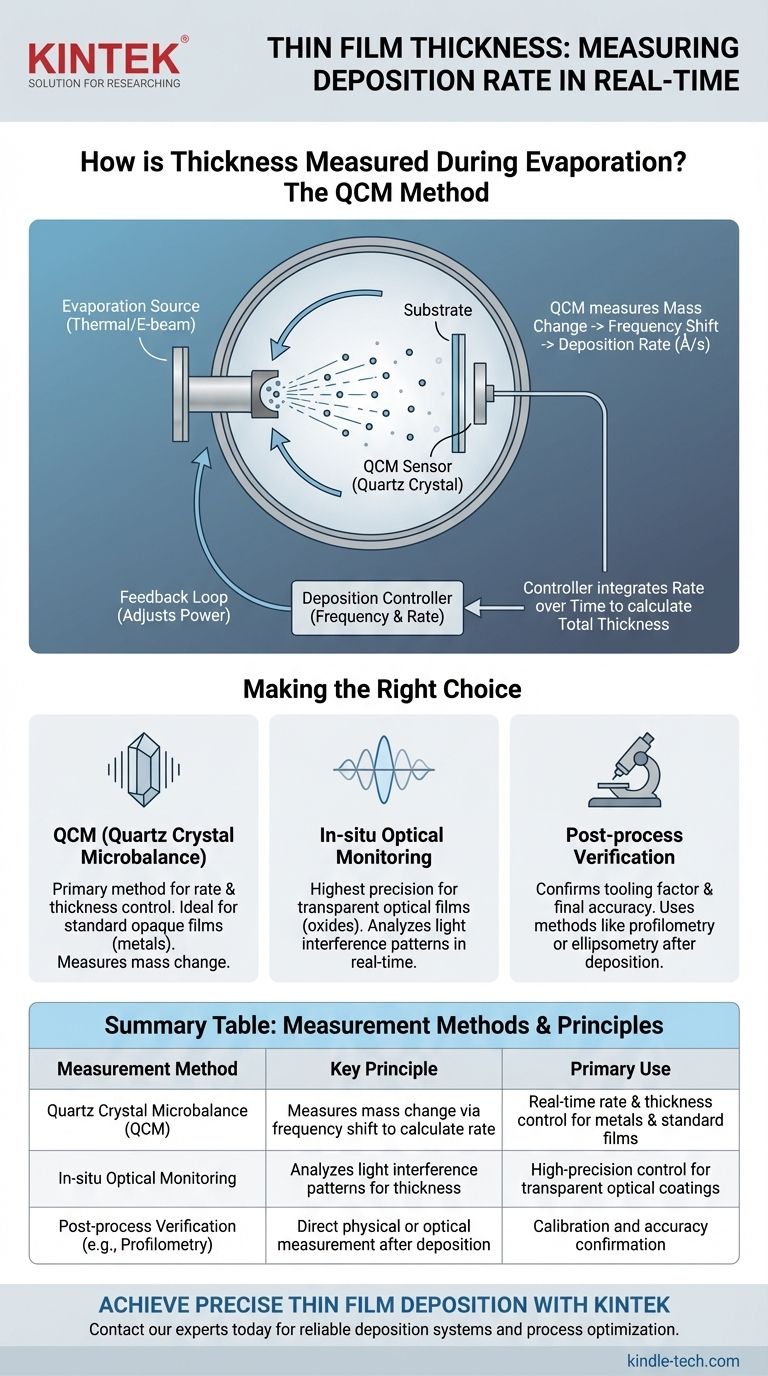
The primary method for measuring thin film thickness during evaporation is not a direct measurement of thickness, but rather a precise measurement of the deposition rate. This is accomplished in real-time using a device called a Quartz Crystal Microbalance (QCM), which then allows the system to calculate the accumulated thickness by integrating that rate over time.
The core principle is this: instead of measuring thickness directly, we measure the rate of mass being added to a sensor. This rate is then used in a feedback loop to control the evaporation source, allowing the system to run the process for a specific amount of time to achieve the desired final film thickness.
The Core Principle: Measuring Rate, Not Thickness
Controlling a deposition process in a high-vacuum environment requires an indirect but highly precise measurement technique. The goal is to monitor the accumulation of material as it happens.
Why Direct Measurement is Impractical
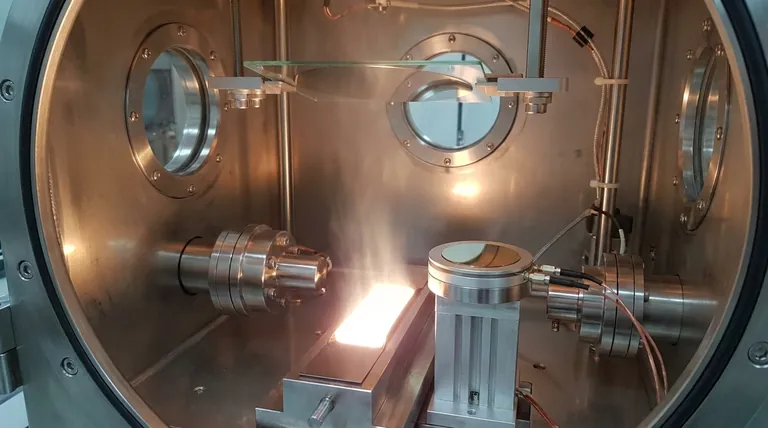
Inside a vacuum chamber, you cannot use conventional tools. The measurement must be non-invasive, extremely sensitive to changes on an atomic scale (nanometers or Ångströms), and able to operate under high-vacuum and potentially high-temperature conditions.
The Solution: The Quartz Crystal Microbalance (QCM)
The industry-standard tool for this is the Quartz Crystal Microbalance (QCM). It consists of a thin, disc-shaped quartz crystal wafer with electrodes on both sides, which is placed inside the vacuum chamber near the substrate.
How a QCM Works
The crystal is made to oscillate at its natural resonant frequency. As material from the evaporation source coats the crystal, its total mass increases.
This added mass lowers the crystal's resonant frequency. This change in frequency is extremely sensitive and directly proportional to the mass of the material being deposited on its surface.
From Frequency to Thickness
The deposition controller constantly monitors this frequency shift. Using the known density of the material being evaporated, it converts the change in mass per unit of time into a deposition rate, typically displayed in Ångströms per second (Å/s).
The system then integrates this rate over time to calculate the total film thickness that has been deposited.
Controlling the Deposition Process
The QCM is not just a passive measurement device; it is the core of the process control system.
The Feedback Loop
The measured rate from the QCM is fed back to the power supply controlling the evaporation source (e.g., a thermal boat or an electron beam).
If the rate is too low, the controller increases power to the source to raise its temperature and increase the evaporation rate. If the rate is too high, it reduces the power. This creates a stable, closed-loop control system.
Key Control Variables
This feedback loop actively adjusts the temperature of the evaporant, which is the primary factor influencing the deposition rate. The physical setup, such as the distance between the source and the substrate, also plays a critical role and is factored into the system's calibration.
The "Tooling Factor"
Because the QCM is not in the exact same position as the substrate, it "sees" a slightly different deposition rate. A calibration constant, known as the tooling factor, is used to correlate the thickness measured at the crystal to the actual thickness being deposited on the substrate.
Common Pitfalls and Considerations
While the QCM is a powerful tool, its accuracy depends on understanding its limitations.
QCM Accuracy and Drift
The oscillation frequency of the crystal is sensitive to temperature. Significant heat from the evaporation source can cause measurement drift if not properly managed, often through water cooling of the sensor head.
Material Stress and Density
The calculation from mass to thickness relies on the film's bulk density. However, the density of a thin film can sometimes differ from its bulk counterpart, which can introduce a small error.
Vacuum Quality
As noted in the principles of evaporation, a high degree of vacuum is essential. It improves the mean free path of evaporated atoms, ensuring they travel in a straight line to both the substrate and the QCM, which is critical for an accurate rate measurement.
Making the Right Choice for Your Goal
Achieving your target thickness requires understanding which control method best suits your material and application.
- If your primary focus is depositing standard opaque films (e.g., metals): A properly calibrated Quartz Crystal Microbalance (QCM) is the industry standard and provides highly reliable rate and thickness control.
- If your primary focus is depositing transparent optical films (e.g., oxides): For the highest precision, you can complement a QCM with in-situ optical monitoring, which measures thickness by analyzing light interference patterns in real-time.
- If you are developing a new process: Always verify your QCM's results with post-process measurements (like profilometry or ellipsometry) to confirm your tooling factor and ensure final thickness accuracy.
Ultimately, mastering thin film deposition comes from understanding that precise control of the rate is the key to achieving a precise final thickness.
Summary Table:
| Measurement Method | Key Principle | Primary Use |
|---|---|---|
| Quartz Crystal Microbalance (QCM) | Measures mass change via frequency shift to calculate deposition rate | Real-time rate and thickness control for metals and standard films |
| In-situ Optical Monitoring | Analyzes light interference patterns for thickness | High-precision control for transparent optical coatings |
| Post-process Verification (e.g., Profilometry) | Direct physical or optical measurement after deposition | Calibration and accuracy confirmation |
Achieve precise thin film deposition with KINTEK's expert solutions.
Whether you're working with standard metal films or complex optical coatings, accurate thickness control is critical for your lab's success. KINTEK specializes in high-quality lab equipment, including evaporation systems with advanced Quartz Crystal Microbalance (QCM) and optical monitoring options.
We provide:
- Reliable deposition systems with real-time rate control
- Expert guidance on tooling factor calibration and process optimization
- Support for a wide range of materials and applications
Ready to enhance your thin film processes? Contact our experts today to discuss your specific laboratory needs and discover how KINTEK can help you achieve superior results.
Visual Guide
Related Products
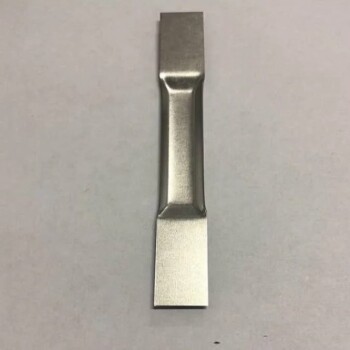
- Molybdenum Tungsten Tantalum Evaporation Boat for High Temperature Applications
- RF PECVD System Radio Frequency Plasma-Enhanced Chemical Vapor Deposition RF PECVD
- Chemical Vapor Deposition CVD Equipment System Chamber Slide PECVD Tube Furnace with Liquid Gasifier PECVD Machine
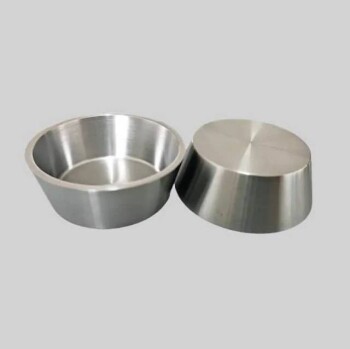
- E Beam Crucibles Electron Gun Beam Crucible for Evaporation
- Molybdenum Tungsten Tantalum Special Shape Evaporation Boat
People Also Ask
- What is the evaporation process in semiconductors? A Guide to Thin Film Deposition
- What is vacuum thermal evaporation? A Guide to High-Purity Thin Film Deposition
- What is the widely used boat made of in thermal evaporation? Choosing the Right Material for High-Purity Deposition
- What is the thermal evaporation technique? A Guide to Thin-Film Deposition for Your Lab
- What is the meaning of thermal evaporation? A Guide to Simple, Cost-Effective Thin Film Coating
