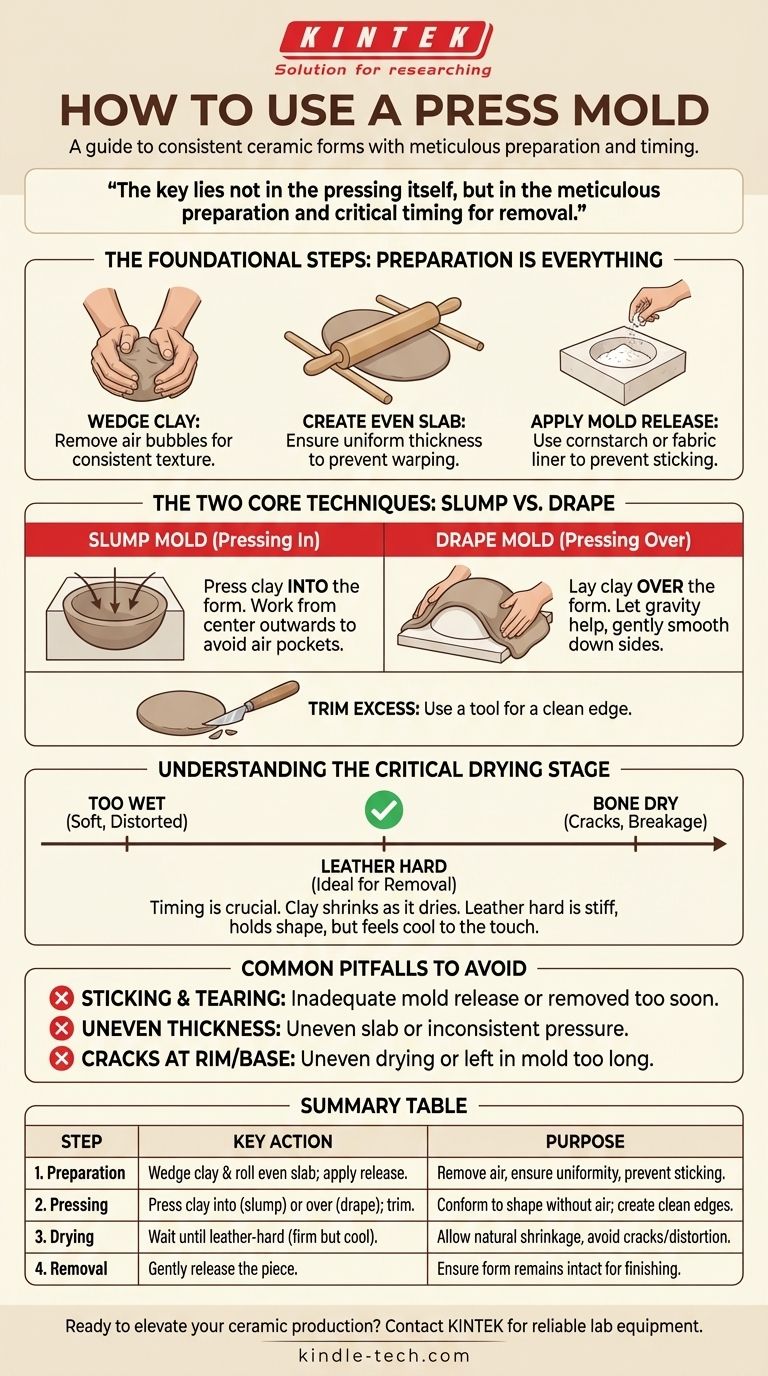
To use a press mold, you first prepare an even slab of clay and apply a release agent like cornstarch to your mold to prevent sticking. You then carefully press the clay slab into (a slump mold) or onto (a drape mold) the form, ensuring full contact without trapping air. After trimming the excess clay, you allow the piece to dry to a firm, leather-hard state before gently removing it.
The key to successfully using a press mold lies not in the pressing itself, but in the meticulous preparation of the clay and the mold, and in understanding the critical timing for removal as the clay dries and shrinks.

The Foundational Steps: Preparation is Everything
Success with any mold begins long before the clay touches its surface. Proper preparation prevents the most common frustrations, such as sticking, tearing, and uneven results.
Preparing Your Clay
First, wedge your clay thoroughly. This process removes air bubbles that can cause defects later and ensures the clay has a consistent, workable texture.
Next, create an even slab. Whether you use a rolling pin with guide sticks or a slab roller, the goal is uniform thickness. An uneven slab will dry and shrink at different rates, increasing the risk of warping or cracking.
Preparing Your Mold
A mold release is a non-negotiable barrier between the clay and the mold surface. Without it, the wet clay will adhere directly to the mold, making a clean release impossible.
Common options include a light dusting of cornstarch or talcum powder, which works well for most plaster or bisque molds. For some surfaces, a thin piece of fabric like pantyhose or muslin can be used as a physical liner.
The Two Core Techniques: Slump vs. Drape
While often grouped together, "press molding" typically involves one of two methods depending on whether your form is concave (slump) or convex (drape).
Using a Slump Mold (Pressing In)
A slump mold is a concave form, like a bowl. You lay your prepared clay slab into the mold.
Start by gently pressing the clay into the bottom center of the mold. Working from the center outwards, carefully press the slab against the mold's walls, ensuring you don’t trap any air pockets.
Using a Drape Mold (Pressing Over)
A drape mold (or hump mold) is a convex form. You lay your prepared clay slab over the top of the mold.
Gravity will do much of the initial work. Gently smooth the clay down the sides of the mold with your hands or a soft rib, compressing the clay to conform to the shape.
Trimming for a Clean Edge
Once the clay is fully pressed into or onto the mold, use a potter's knife or needle tool to trim the excess clay from the edge. A clean cut at this stage makes finishing the final piece much easier.
Understanding the Critical Drying Stage
The most crucial phase of press molding is waiting for the clay to reach the perfect state for removal. This is where patience pays off.
What "Leather Hard" Means
Leather hard is the ideal state for removal. At this stage, the clay has dried enough to be stiff and hold its shape perfectly when handled, but it still contains enough moisture to feel cool to the touch and be joined or carved.
Why Timing is Crucial
Clay shrinks as it dries. If you try to remove the piece when it's too wet, it will be soft and easily distorted.
If you wait too long and the clay becomes bone-dry, it will have shrunk tightly against the rigid mold, likely leading to stress cracks or a complete break. The leather-hard stage is the perfect balance.
Common Pitfalls to Avoid
Understanding the trade-offs and common mistakes will help you troubleshoot any issues and achieve consistent results.
Sticking and Tearing
This is almost always caused by an inadequate mold release. Ensure you have a complete, even coating before placing your clay. It can also happen if you try to remove the clay when it is still too wet and soft.
Uneven Wall Thickness
If your final piece has thick and thin spots, the cause is either an unevenly rolled slab or uneven pressure when pressing the clay into the mold. Focus on consistent preparation and application.
Cracks at the Rim or Base
Cracks are typically a result of uneven drying or stress. Most often, this happens when a piece is left in the mold for too long, causing the shrinking clay to fight against the unmoving form.
Making the Right Choice for Your Goal
You can adapt your approach to press molding depending on your project's specific needs.
- If your primary focus is creating consistent sets (like plates or bowls): Prioritize rolling slabs of identical thickness and using a high-quality, smooth mold for perfect repeatability.
- If your primary focus is functional ware with attachments (like mugs): Use the mold to create the body, but remove it at the firm leather-hard stage, which is perfect for adding handles or feet.
- If you are a beginner just starting out: Begin with a simple, shallow drape or slump mold, like one for a small dish, to master the core principles of pressing, drying, and release.
Mastering the press mold unlocks a world of repeatable forms, turning a simple slab of clay into consistent, professional work.
Summary Table:
| Step | Key Action | Purpose |
|---|---|---|
| 1. Preparation | Wedge clay & roll an even slab; apply mold release (e.g., cornstarch). | Remove air bubbles, ensure uniform thickness, and prevent sticking. |
| 2. Pressing | Press clay into (slump) or over (drape) the mold; trim excess. | Conform clay to the mold shape without trapping air; create clean edges. |
| 3. Drying | Wait until clay is leather-hard (firm but cool to touch) before removal. | Allow clay to shrink naturally and avoid cracks or distortion. |
| 4. Removal | Gently release the piece from the mold. | Ensure the finished form remains intact and ready for finishing. |
Ready to elevate your ceramic production with reliable lab equipment?
At KINTEK, we specialize in high-quality lab equipment and consumables tailored for ceramic artists, studios, and laboratories. Whether you're scaling up production or refining your techniques, our tools ensure precision and consistency.
Contact us today to discover how KINTEK can support your creative and technical needs!
Visual Guide
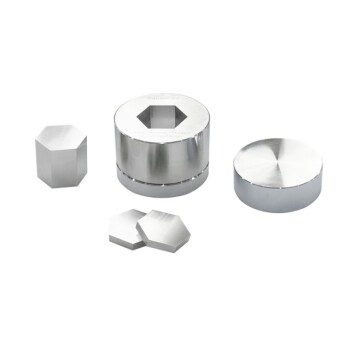
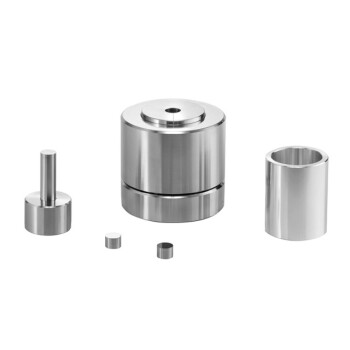
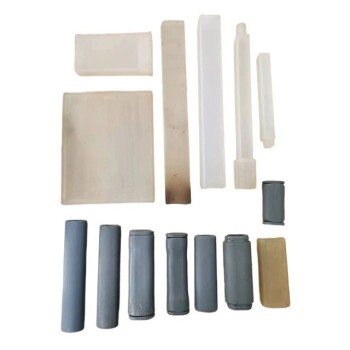
Related Products
- Anti-Cracking Press Mold for Lab Use
- Special Heat Press Mold for Lab Use
- Ball Press Mold for Lab
- Ring Press Mold for Lab Applications
- Carbide Lab Press Mold for Laboratory Applications
People Also Ask
- What is the purpose of specialized pressure devices in sulfide solid-state batteries? Ensure Chemo-Mechanical Stability
- What is the press mould method? A Guide to Consistent, Detailed Ceramic Forms
- How to use a press mould? Master the Art of Consistent Ceramic Forms
- Why are pressure molds with non-conductive resin inner walls required for battery testing? Ensure Data Accuracy
- What is the process of mold press? A Step-by-Step Guide to Compression Molding