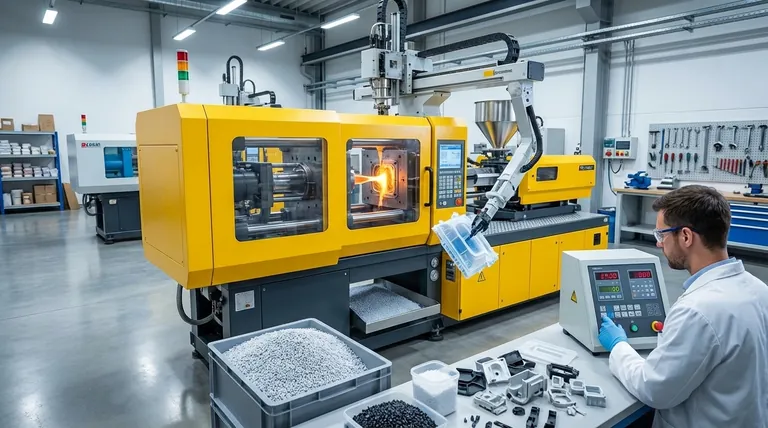
The stages of moulding depend entirely on the specific process, but for the most common method, plastic injection moulding, the entire cycle is defined by four distinct stages. These are clamping, injection, cooling, and ejection, a sequence that can take anywhere from a few seconds to two minutes to complete.
The core principle behind any moulding or forming process is a controlled transformation. It involves preparing a raw material, shaping it within a confined space using pressure or heat, allowing it to solidify into a stable form, and finally, releasing the finished part.
The Four Stages of Injection Moulding
Injection moulding is a dominant manufacturing process, especially for thermoplastic parts. Understanding its four-stage cycle is fundamental to understanding modern mass production.
Stage 1: Clamping
Before any material is introduced, the two halves of the mould tool must be securely closed. A clamping unit applies immense force, holding the mould together against the pressure of the injection stage to prevent any material from leaking out.
Stage 2: Injection
With the mould clamped shut, raw material (typically in the form of plastic pellets) is melted and injected under high pressure into the mould cavity. The cavity is filled with the molten material, which takes the shape of the final part.
Stage 3: Cooling
Once the molten material fills the cavity, it begins to cool. As it cools, it solidifies into the desired shape. This stage is often the longest part of the cycle and is critical for ensuring the part's dimensional stability and final properties.
Stage 4: Ejection
After the part has cooled sufficiently, the mould opens. An ejection mechanism, often using pins or a plate, pushes the solidified part out of the mould cavity, completing the cycle. The machine is now ready to begin the clamping stage for the next part.
An Alternative Process: Powder Sintering
While not "moulding" in the traditional sense of using a liquid, sintering is a critical process for forming parts from metal or ceramic powders. It follows a different, but conceptually similar, set of stages.
Stage 1: Powder Preparation and Compacting
The process begins by composing the raw material, often mixing a fine powder with additives like binders. This mixture is then placed into a die and compacted under pressure, creating a fragile, pre-sintered form known as a "green part."
Stage 2: Heating (Sintering)
The green part is heated in a controlled furnace to a temperature below its melting point. At this high temperature, the individual particles begin to bond and fuse through a process called diffusion, creating a solid, dense structure.
Stage 3: Cooling and Solidification
During the final stage, the component is cooled. Any liquid binders used in the process flow into remaining pores or cracks, solidifying and creating a rigid, cohesive final product.
Understanding the Key Differences
The choice between a process like injection moulding and sintering is dictated entirely by the material and the desired properties of the final part.
The Starting Material
Injection moulding starts with a material that can be melted into a liquid state, like a thermoplastic. Sintering begins with a material in a solid powder form, such as a metal or ceramic, which does not melt during the process.
The Transformation Method
Injection moulding relies on a phase change—transforming the material from a hot liquid to a cool solid. Sintering uses heat and pressure to create atomic bonds between solid particles, fusing them together without ever becoming a true liquid.
Making the Right Choice for Your Goal
To determine which process is relevant, you must first identify your material.
- If your primary focus is on plastic parts: The four stages of injection moulding—clamping, injection, cooling, and ejection—are the framework you need to understand.
- If your primary focus is on metal or ceramic components: The process is sintering, which involves preparing a powder, compacting it, and heating it to fuse the particles into a solid mass.
Ultimately, understanding these distinct manufacturing stages empowers you to grasp how raw materials are transformed into functional, finished products.
Summary Table:
| Process | Key Stages | Primary Materials |
|---|---|---|
| Injection Moulding | 1. Clamping 2. Injection 3. Cooling 4. Ejection |
Thermoplastics |
| Powder Sintering | 1. Powder Preparation & Compacting 2. Heating (Sintering) 3. Cooling & Solidification |
Metal or Ceramic Powders |
Need precise and reliable equipment for your moulding or sintering processes? KINTEK specializes in high-performance lab equipment and consumables for material transformation. Whether you are developing new plastic components or sintering advanced metal parts, our solutions ensure accuracy, efficiency, and repeatability. Contact our experts today to discuss how we can support your laboratory's specific manufacturing and R&D needs!
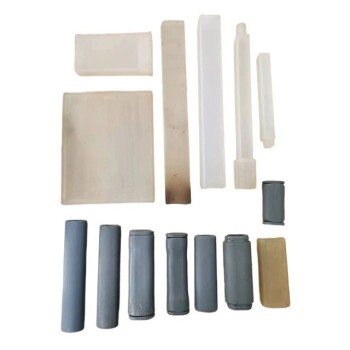
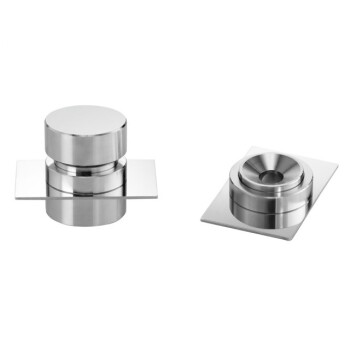
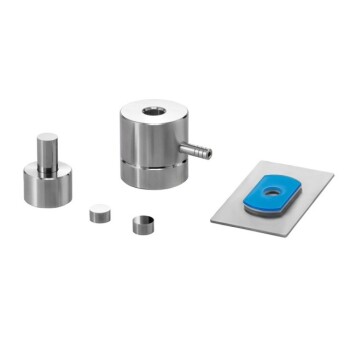
Visual Guide

Related Products
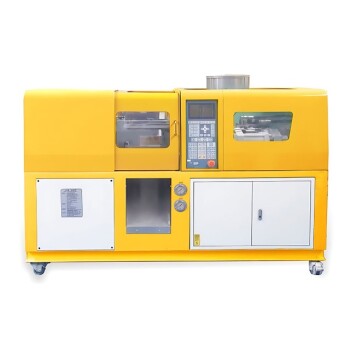
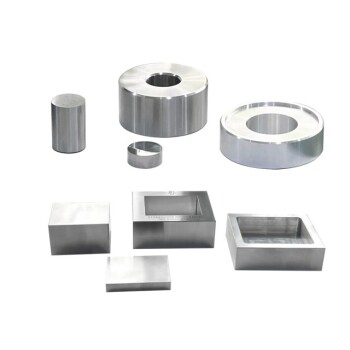
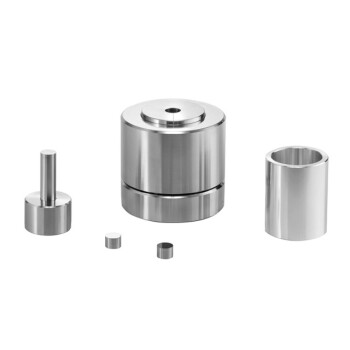
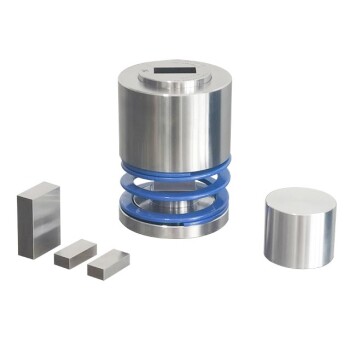
- Small Injection Molding Machine for Lab Use
- Isostatic Molding Pressing Molds for Lab
- No Demolding Lab Infrared Press Mold for Laboratory Applications
- Assemble Square Lab Press Mold for Laboratory Applications
- Lab Infrared Press Mold
People Also Ask
- What is the application of injection moulding machine? Powering Mass Production for Complex Parts
- What are the advantages and disadvantages of injection molding machine? Maximize Efficiency for Mass Production
- What industry uses injection molding? From Medical to Automotive, It's Everywhere
- What is short capacity of injection Moulding machine? Optimize Your Shot Size for Flawless Parts
- What is the importance of injection moulding machine? Unlocking High-Volume, Precision Manufacturing