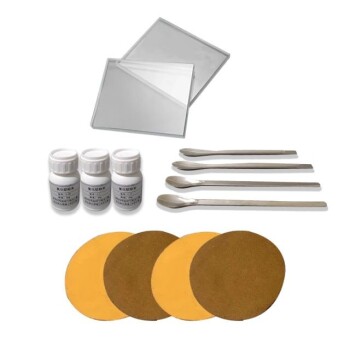
At its core, a polishing pad is a specialized tool designed for controlled material abrasion. It is constructed from a sponge block that acts as a flexible cushion, with a layer of fine abrasives adhered to its working surface to methodically smooth and refine a workpiece.
The effectiveness of any polishing task hinges on two critical factors: selecting the correct pad for the material and desired finish, and rigorously maintaining the pad's flatness and abrasive integrity.
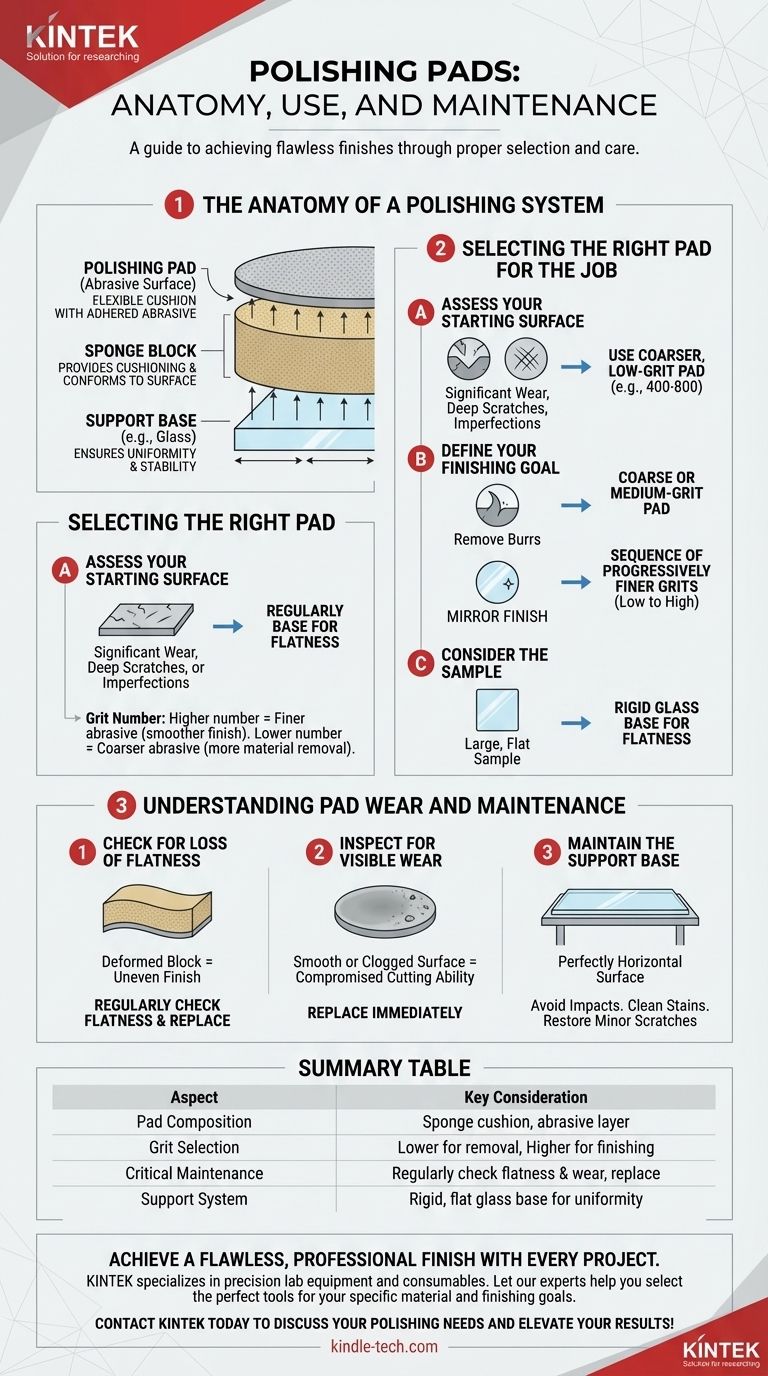
The Anatomy of a Polishing System
To use a polishing pad correctly, you must understand it as part of a system. The pad itself is just one component.
The Abrasive Pad
The pad's primary function is to hold and apply the abrasive particles. The fineness of these particles is measured by grit number.
A higher grit number (e.g., 3000, 5000) corresponds to a finer abrasive, which removes less material and produces a smoother, more reflective surface.
A lower grit number (e.g., 400, 800) corresponds to a coarser abrasive, which removes more material and is used for initial leveling or removing significant defects.
The Sponge Block
The sponge block provides a crucial cushioning effect. This allows the pad to conform slightly to the surface of your sample, ensuring even pressure distribution and preventing gouging.
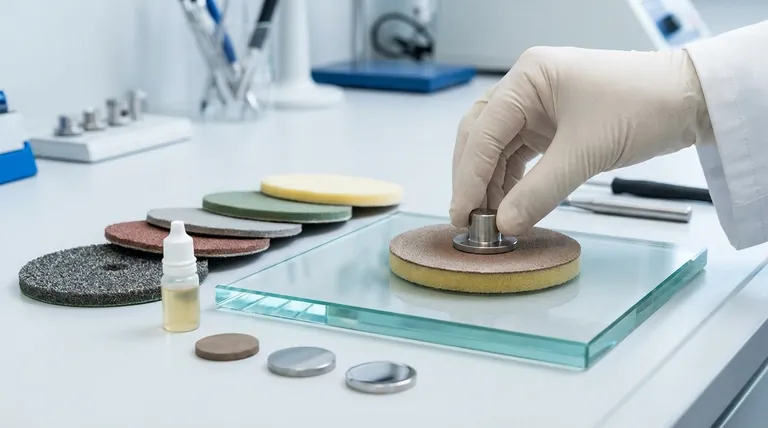
The Support Base
For many precision applications, the polishing pad or cloth is mounted on a hard, perfectly flat glass base. This base provides the stability and rigidity needed to ensure the polishing action is completely uniform across the entire workpiece, which is essential for achieving a flawless finish.
Selecting the Right Pad for the Job
Choosing the wrong pad is the most common point of failure in any polishing process. Your selection should be deliberate and based on clear criteria.
Assess Your Starting Surface
Examine the sample's initial condition. A surface with significant wear, deep scratches, or casting imperfections requires a coarser, low-grit pad to begin.
Define Your Finishing Goal
If your goal is simply to remove burrs, a single coarse or medium-grit pad may suffice. To achieve a true mirror finish, you must work through a sequence of progressively finer grits, moving from a low number to a very high one.
Consider the Sample
The shape, size, and hardness of your sample also influence the choice. A large, flat sample benefits greatly from a pad mounted on a rigid glass base to maintain flatness.
Understanding Pad Wear and Maintenance
A polishing pad is a consumable tool. Its lifespan and performance depend entirely on proper use and diligent maintenance. Neglecting this leads to poor results and can damage your workpiece.
Check for Loss of Flatness
The sponge block can deform if heavy objects are placed on it or if it's stored improperly. Regularly check the pad's flatness. A pad that is no longer perfectly flat will produce an uneven finish and must be replaced.
Inspect for Visible Wear
Over time, the abrasive layer will wear down and become less effective. If the surface appears smooth, clogged with debris, or unevenly worn, the pad's cutting ability is compromised. It must be replaced immediately.
Maintain the Support Base
The glass base is just as important. Avoid impacts or drops that could break it. Always ensure it is placed on a perfectly horizontal surface during use.
Stubborn stains on the glass can be removed with a dedicated glass cleaner. Minor scratches on the glass base can sometimes be buffed out with a polishing paste to restore its critical flatness.
Making the Right Choice for Your Goal
Your polishing strategy should be dictated by your final objective.
- If your primary focus is rapid defect or material removal: Begin with a low-grit (coarse) polishing pad to efficiently level the surface.
- If your primary focus is achieving a flawless, mirror-like finish: Commit to a multi-step process, moving sequentially from low-grit to very high-grit pads.
- If your primary focus is process consistency and repeatability: Prioritize the flatness of your entire system, from the support base to the pad itself, and replace pads at the first sign of wear.
Ultimately, mastering the use and maintenance of your polishing pads is the defining skill that separates amateur results from a professional finish.
Summary Table:
| Aspect | Key Consideration |
|---|---|
| Pad Composition | Sponge block cushion with an abrasive surface layer. |
| Grit Selection | Lower grit (e.g., 400) for material removal; higher grit (e.g., 5000) for fine finishing. |
| Critical Maintenance | Regularly check for flatness and visible wear; replace worn pads immediately. |
| Support System | Use a rigid, flat glass base for uniform pressure and consistent results. |
Achieve a flawless, professional finish with every project. The right polishing equipment is crucial for consistent, high-quality results. KINTEK specializes in precision lab equipment and consumables, including polishing pads and support systems designed for durability and performance. Let our experts help you select the perfect tools for your specific material and finishing goals.
Contact KINTEK today to discuss your polishing needs and elevate your results!
Visual Guide
Related Products
People Also Ask
- What is the purpose of using electrolytic polishing on copper foils? Optimize Your CVD Graphene & hBN Growth Surface
- What are the examples of electrode materials? From Platinum to Graphite for Your Application
- How do you prepare the polishing setup for an electrode? Achieve a Flawless Mirror Finish for Reliable Electrochemistry
- What criteria are used during the visual inspection of electrodes? Essential Quality Assessment for Your Lab
- Which types of materials are basically polished by electrolytic polishing? A Guide to Metals & Alloys