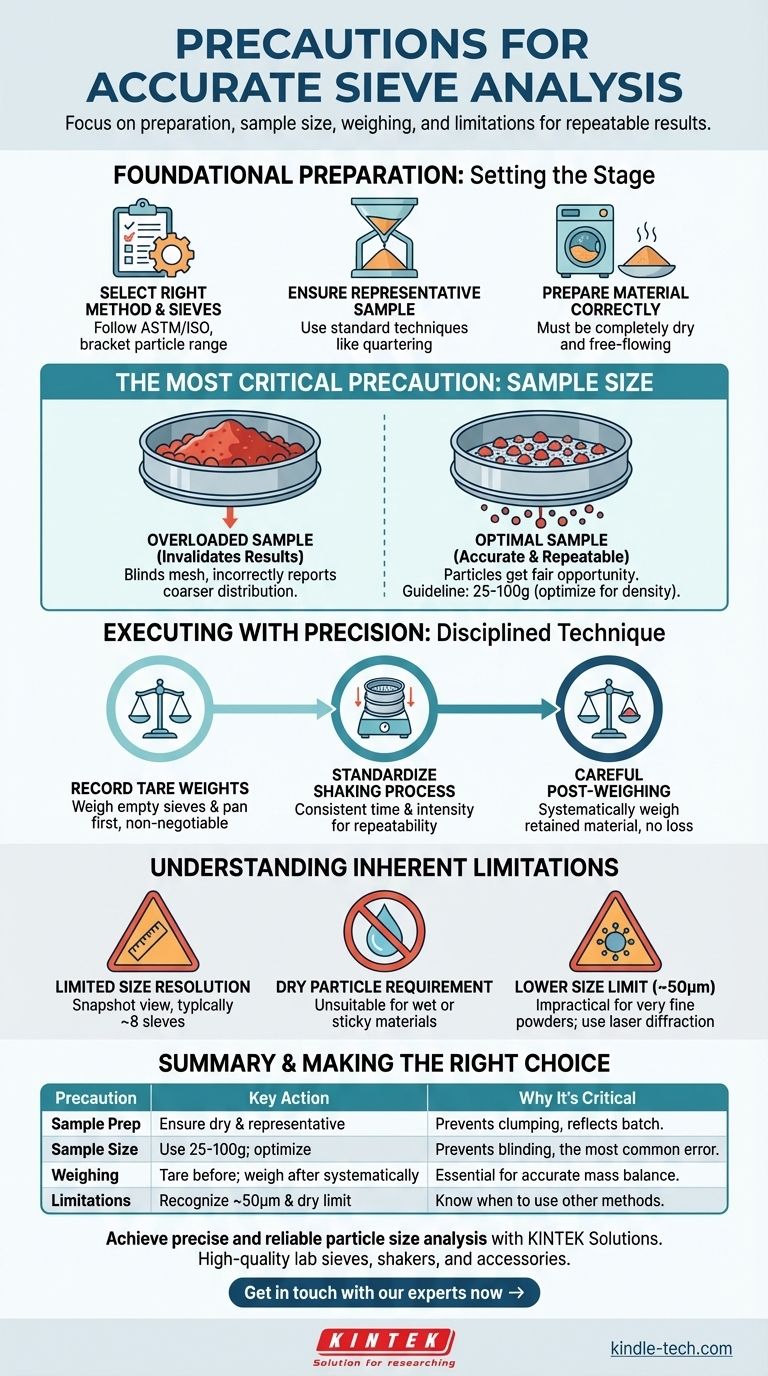
To ensure accurate and repeatable sieve analysis results, you must focus on four critical areas: meticulous sample preparation, using the correct sample size to prevent sieve overloading, maintaining a consistent and careful weighing procedure, and understanding the inherent limitations of the method itself. Ignoring any of these precautions can easily invalidate your entire test.
The core principle of a successful sieve analysis is ensuring every particle gets a fair opportunity to pass through the appropriate mesh. Most significant errors arise not from the equipment, but from an overloaded sample that "blinds" the sieves or from inconsistent weighing practices.
Foundational Preparation: Setting the Stage for Accuracy
Before the first particle is weighed, the foundation for a reliable result is laid. Rushing these initial steps is a common source of error.
Select the Right Method and Sieves
You must first choose a suitable standard method based on your material, such as those from ASTM or ISO. This will guide your selection of appropriate sieve mesh sizes, which should bracket the expected particle size distribution of your sample.
Ensure the Sample is Truly Representative
The small amount of material you test must accurately represent the entire batch. Use standard sampling techniques like quartering or a sample splitter to obtain a representative subsample for analysis.
Prepare the Material Correctly
Sieve analysis is only effective for dry, free-flowing particles. Your sample must be completely dry before testing, as any moisture will cause particles to clump together and prevent them from passing through the sieve mesh correctly.
The Most Critical Precaution: Sample Size
Of all the variables, using an incorrect sample size is the most common and critical mistake. It directly impacts the efficiency of the separation process.
Why Too Much Sample Invalidates Results
Using a sample that is too large overloads the sieve surface. This creates a bed of material so thick that many smaller particles never get a chance to reach the mesh and pass through. This phenomenon, known as sieve blinding, will incorrectly report a coarser particle size distribution.
Determining Your Optimal Sample Weight
A general guideline is to use a sample between 25 and 100 grams. However, the optimal amount depends on the material's density and particle shape.
To find the right size, you can perform a simple test. Use a sample splitter to create samples of different weights (e.g., 25g, 50g, 100g) and run the analysis on each. The optimal sample size is the largest weight that still produces consistent and repeatable results without overloading the sieves.
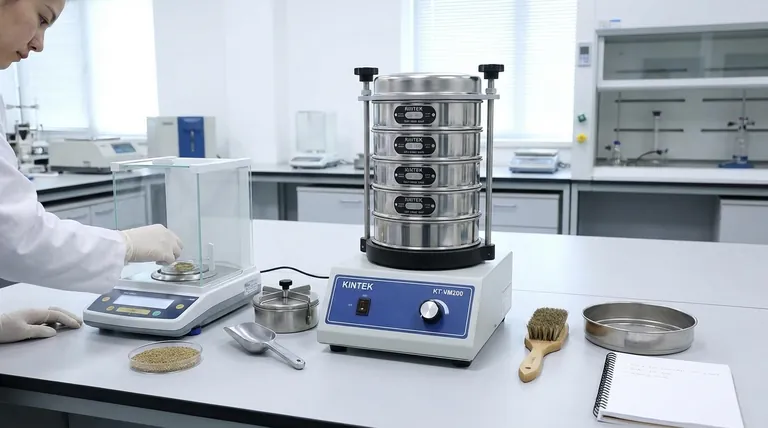
Executing the Analysis with Precision
During the procedure itself, a disciplined and consistent technique is paramount. Every gram must be accounted for.
The Importance of Tare Weight
Before adding any material, you must weigh each individual sieve and the bottom pan while they are empty. Record these tare weights meticulously. This is non-negotiable for an accurate final mass balance calculation.
Standardize the Shaking Process
Whether using a mechanical sieve shaker or agitating manually, the time and intensity of shaking must be consistent for every test. This ensures that the separation process is repeatable and comparable between different samples.
Careful Post-Sieving Weighing
After shaking is complete, weigh each sieve again with the fraction of material it retained. Work systematically from the top sieve (largest mesh) to the bottom (smallest mesh) to avoid accidental cross-contamination or loss of material.
Understanding the Inherent Limitations
A crucial part of any technical analysis is recognizing the boundaries of the method. Sieve analysis is powerful, but it is not perfect.
Limited Size Resolution
A standard sieve stack typically uses a maximum of eight sieves. This means your final particle size distribution is based on a limited number of data points, providing a snapshot rather than a high-definition view of the distribution.
The Dry Particle Requirement
This technique is fundamentally unsuitable for materials that are wet, sticky, or tend to agglomerate. These materials will not flow properly and will produce meaningless results.
The Lower Size Limit
Sieve analysis becomes impractical and inaccurate for very fine powders. The effective minimum measurement limit is generally considered to be around 50 micrometers (µm). Below this, other methods like laser diffraction are required.
Making the Right Choice for Your Goal
Apply these precautions based on your specific objective to maximize the value of your results.
- If your primary focus is routine quality control: Standardize your sample size and shaking time above all else to ensure high repeatability between tests.
- If your primary focus is developing a new material specification: Perform a sample size optimization study to find the most accurate and representative sample weight for your material.
- If your primary focus is troubleshooting inconsistent results: Double-check that your sample is completely dry and that you are meticulously taring and weighing each sieve without losing any material.
Meticulous preparation and a disciplined process are the foundations of reliable and trustworthy sieve analysis.
Summary Table:
| Precaution | Key Action | Why It's Critical |
|---|---|---|
| Sample Preparation | Ensure material is completely dry and representative. | Prevents clumping and ensures the sample reflects the entire batch. |
| Sample Size | Use 25-100g; perform optimization test. | Prevents sieve blinding, the most common error that invalidates results. |
| Weighing Procedure | Tare all sieves and pan before use; weigh systematically after. | Essential for an accurate final mass balance calculation. |
| Method Limitations | Recognize the ~50µm lower limit and need for dry particles. | Understand when sieve analysis is appropriate versus other methods. |
Achieve precise and reliable particle size analysis in your lab.
The key to accurate sieve analysis lies in meticulous technique and the right equipment. KINTEK specializes in high-quality lab sieves, shakers, and accessories designed for durability and consistent performance. Our experts can help you select the perfect tools and provide guidance on best practices to eliminate errors from your process.
Contact us today to discuss your specific laboratory needs and ensure your sieve analysis results are always trustworthy.
Get in touch with our experts now →
Visual Guide
Related Products
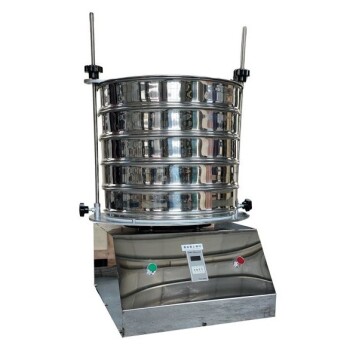
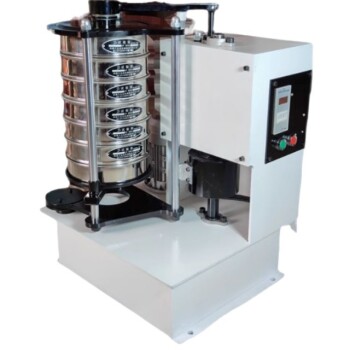
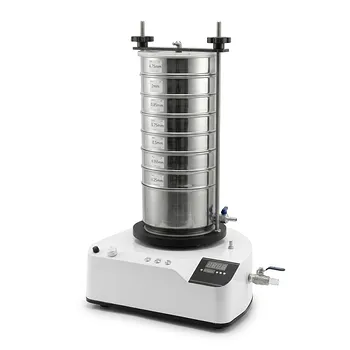
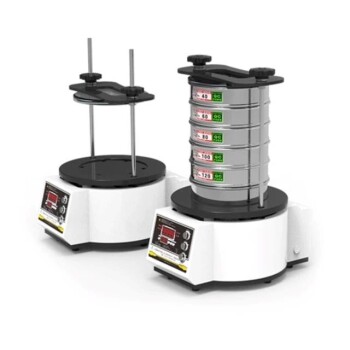
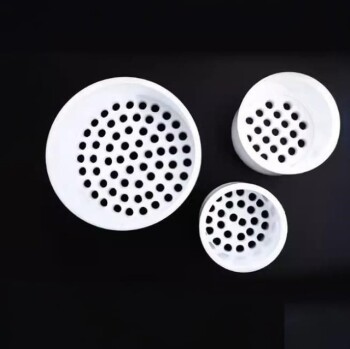
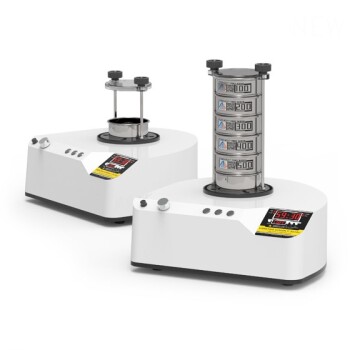
- Laboratory Test Sieves and Vibratory Sieve Shaker Machine
- Laboratory Test Sieves and Sieving Machines
- Laboratory Vibratory Sieve Shaker Machine Slap Vibrating Sieve
- Laboratory Vibratory Sieve Shaker Machine for Dry and Wet Three-Dimensional Sieving
- Vibratory Sieve Shaker Machine Dry Three-Dimensional Vibrating Sieve
People Also Ask
- How does a laboratory vibratory sieve shaker facilitate the microstructural study of gas-atomized alloy powders?
- How is a vibratory sieve shaker used in the particle size analysis of mechanically alloyed powders? Expert Guide
- What is the use of vibratory sieve shaker? Achieve Precise Particle Size Analysis for Your Lab
- How do you use a sieve shaker? Master Particle Size Analysis for Quality Control
- How is a standard sieve shaker utilized in pure mineral flotation tests for magnesite? Achieve Reliable Lab Results