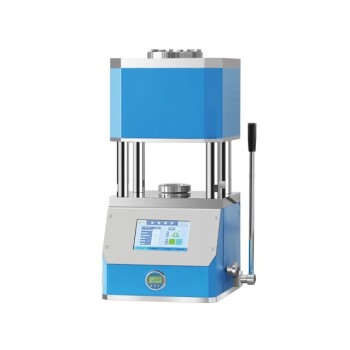
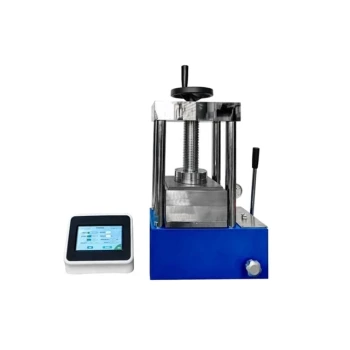
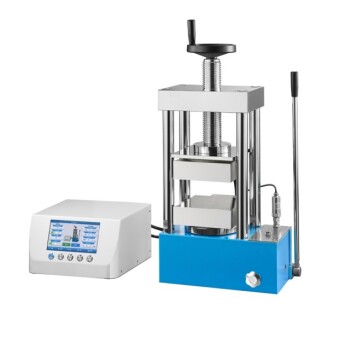
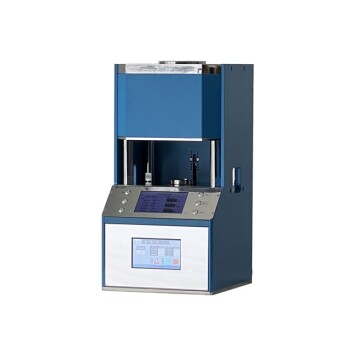
To create an IR pellet, you must intimately mix a very small amount of your solid sample with a larger amount of dry, infrared-transparent salt, typically potassium bromide (KBr). This mixture is then ground into a uniform, superfine powder and compressed under high pressure in a die to form a thin, transparent disc. This disc can then be analyzed directly in an FTIR spectrometer.
The goal is not simply to make a pellet, but to create a flawless, solid-state solution of your sample within a KBr matrix. The quality of your final spectrum is a direct reflection of how effectively you eliminate moisture, achieve uniform particle size, and ensure proper sample concentration.
The Core Principle: Why KBr?
The KBr pellet method is a classic transmission technique for analyzing solid samples with FTIR spectroscopy. Its success hinges on the unique properties of alkali halides like potassium bromide.
The Ideal Matrix
KBr is used because it is transparent to mid-infrared radiation (roughly 4000 to 400 cm⁻¹). This means it doesn't have its own absorption bands that would interfere with the spectrum of your sample.
Minimizing Light Scatter
When ground finely, KBr has a refractive index similar to that of many organic compounds. This similarity helps to minimize light scattering (the Christiansen effect), which would otherwise cause distorted baselines and poor-quality spectra.
Step-by-Step Preparation Guide
Precision at each step is critical for obtaining a clean, interpretable spectrum. The entire process should be performed efficiently to minimize exposure to atmospheric moisture.
Step 1: Assemble Your Equipment
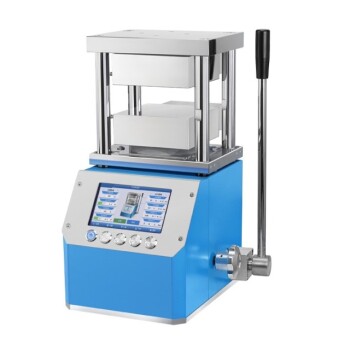
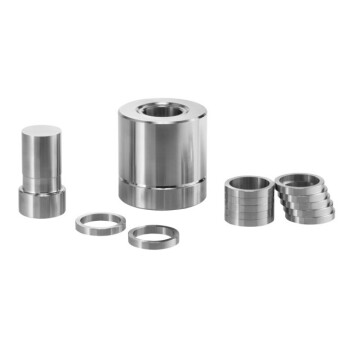
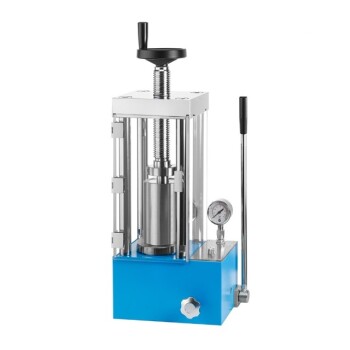
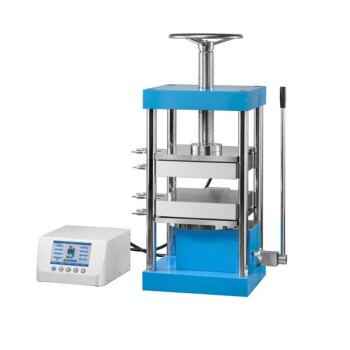
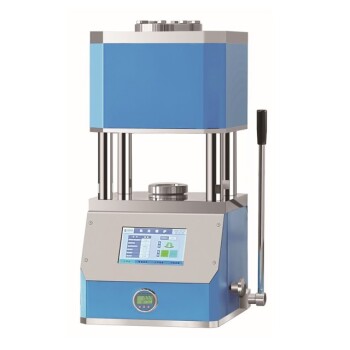
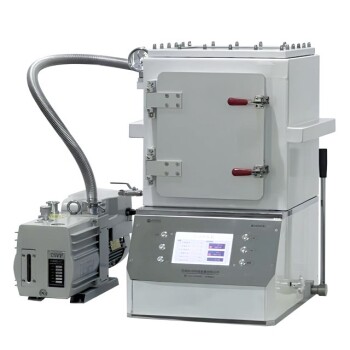
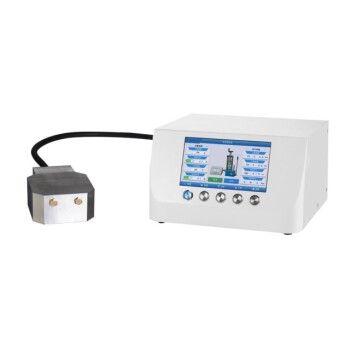
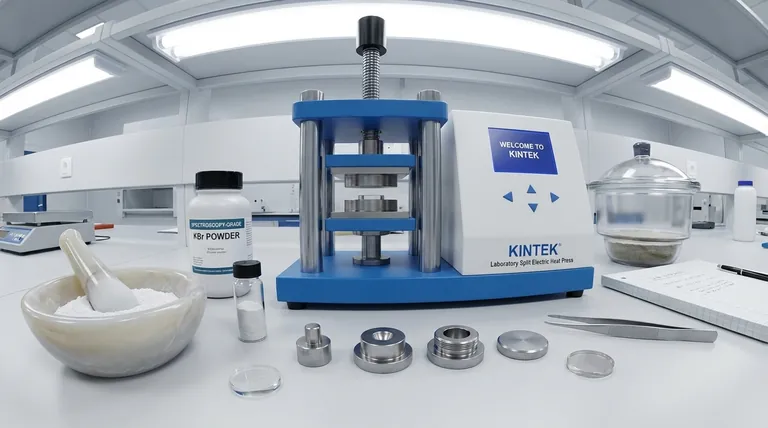
You will need high-purity, spectroscopy-grade KBr powder, your solid sample, an agate mortar and pestle, a pellet die set, and a hydraulic press. A heat lamp or oven for drying is also essential.
Step 2: Ensure Absolute Dryness
Moisture is the primary enemy of good KBr pellets. Water has strong, broad IR absorption bands around 3400 cm⁻¹ (O-H stretching) and 1640 cm⁻¹ (H-O-H bending) that can obscure your sample's peaks.
Gently grind the KBr powder by itself and dry it in an oven at ~110°C for several hours. Store the dried KBr in a desiccator until use. A heat lamp aimed at the mortar during grinding can also help keep moisture at bay.
Step 3: Use the Correct Concentration
The ideal concentration is ~0.1% to 1% sample by weight in KBr. A common starting point is 1-2 mg of sample mixed with ~200 mg of KBr.
Too much sample leads to total absorption, where peaks are "flat-topped" and unusable for quantitative analysis. Too little sample results in a weak signal with a poor signal-to-noise ratio.
Step 4: Grind to a Uniform Powder
Combine the pre-weighed sample and KBr in the agate mortar. The goal is to grind the mixture until it becomes a homogenous, free-flowing powder with a consistency like fine flour.
This step is critical. You must reduce the particle size of your sample to be smaller than the wavelength of the IR light to prevent scattering. The grinding action intimately disperses the sample molecules throughout the KBr matrix.
Step 5: Load the Die and Press
Carefully transfer the powder into the pellet die, ensuring it forms an even layer. Assemble the die and place it in the hydraulic press.
Apply pressure slowly, typically in the range of 7-10 metric tons (approximately 8-12 tons-force or 15,000-20,000 psi). Many setups include a vacuum port on the die to remove trapped air and residual moisture, which significantly improves pellet transparency. Hold the pressure for 1-2 minutes.
Step 6: Inspect and Mount the Pellet
Carefully release the pressure and disassemble the die. A good pellet will be transparent or translucent and free of cracks or cloudy regions. Opaque or cloudy pellets indicate problems with moisture, particle size, or insufficient pressure.
Mount the finished pellet in the spectrometer's sample holder for analysis.
Understanding the Trade-offs and Pitfalls
Troubleshooting is a core skill in pellet preparation. The appearance of the pellet and the resulting spectrum will tell you what went wrong.
The Problem: A Cloudy or Opaque Pellet
This is most often caused by light scattering. The culprits are usually KBr particles that are too large (insufficient grinding), trapped moisture, or not enough pressure to fuse the powder. This will manifest in your spectrum as a severely sloping baseline.
The Problem: Large, Broad Peaks at 3400 and 1640 cm⁻¹
This is the classic sign of water contamination. Your KBr was not dry enough, or the mixture was exposed to humid air for too long during preparation.
The Problem: "Flat-Topped" or Saturated Peaks
This indicates your sample was too concentrated. The absorption is so strong that no light reaches the detector at those frequencies. You must remake the pellet with a smaller sample-to-KBr ratio.
The Problem: Drifting or Wavy Baseline
This is often another artifact of light scattering, where larger particles scatter higher-frequency (shorter wavelength) light more than lower-frequency light. The solution is to grind the sample more thoroughly to achieve a finer, more uniform particle distribution.
Making the Right Choice for Your Goal
Not every analysis requires a perfect pellet. Your analytical goal should dictate your preparation effort.
- If your primary focus is a quick qualitative identification: You can be less rigorous about drying, but you must be prepared to ignore the inevitable water peaks in your spectrum.
- If your primary focus is quantitative analysis or library matching: Precision is paramount. Meticulously dry your KBr, weigh all components accurately, and strive for a perfectly transparent pellet to ensure a flat, reproducible baseline.
- If your sample is moist, difficult to grind, or reactive with KBr: The KBr pellet method may be inappropriate. Consider alternative techniques like Attenuated Total Reflectance (ATR-FTIR) or preparing a Nujol mull.
Ultimately, mastering this technique is about understanding how физические properties—particle size, dryness, and homogeneity—directly impact spectroscopic results.
Summary Table:
| Step | Key Action | Critical Parameter |
|---|---|---|
| 1. Dry KBr | Heat to ~110°C | Eliminate moisture to avoid water peaks |
| 2. Weigh | Use 0.1-1% sample in KBr | Prevent saturated or weak signals |
| 3. Grind | Use agate mortar & pestle | Achieve particle size < IR wavelength |
| 4. Press | Apply 7-10 tons of pressure | Create a transparent, solid-state solution |
Achieve publication-ready FTIR spectra with confidence.
The KBr pellet method is fundamental for accurate solid sample analysis, but success hinges on precision and the right equipment. KINTEK specializes in high-purity spectroscopy-grade KBr powders, durable pellet dies, and reliable hydraulic presses designed for the exacting needs of laboratory professionals.
Let us help you enhance your analytical results. Our products are trusted for their consistency and performance, ensuring your sample preparation is never the variable.
Contact our experts today to discuss your specific lab equipment and consumable needs. We'll help you select the ideal materials and press for flawless pellet preparation every time.
Visual Guide

Related Products
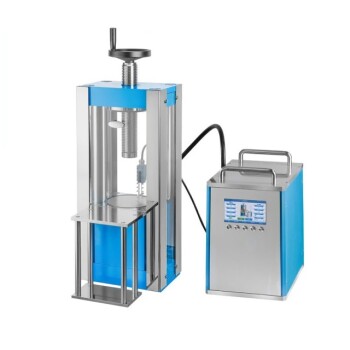
- Laboratory Hydraulic Press Split Electric Lab Pellet Press
- kbr pellet press 2t
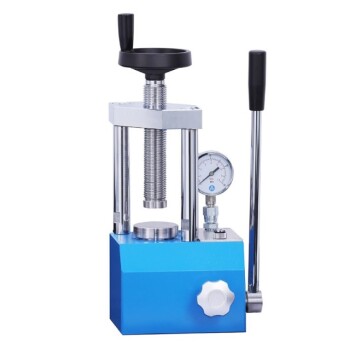
- Laboratory Manual Hydraulic Pellet Press for Lab Use
- Automatic Laboratory Hydraulic Pellet Press Machine for Lab Use
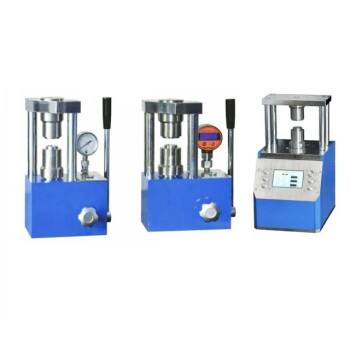
- Laboratory Hydraulic Press Lab Pellet Press for Button Battery
People Also Ask
- What can KBr be used as? The Essential Matrix for Accurate FTIR Spectroscopy
- How does a laboratory hydraulic press ensure sample quality for Cerium Oxide pellets? Achieving Precision Geometry
- What are the safety rules when using a hydraulic press? Essential Guidelines for Secure Operation
- What is the function of a hydraulic forging press? Shape Metal with Unmatched Force and Control
- How is a laboratory hydraulic manual pellet press utilized in the IR spectroscopy of Pennisetum alopecuroides?
- What is the difference between hydro pneumatic press and hydraulic press? Choose the Right Press for Your Application
- What is the process of forging? Achieve Superior Strength with Metal Shaping
- How can I improve my pellet quality? Master Moisture Control and Grinding for Perfect KBr Pellets
