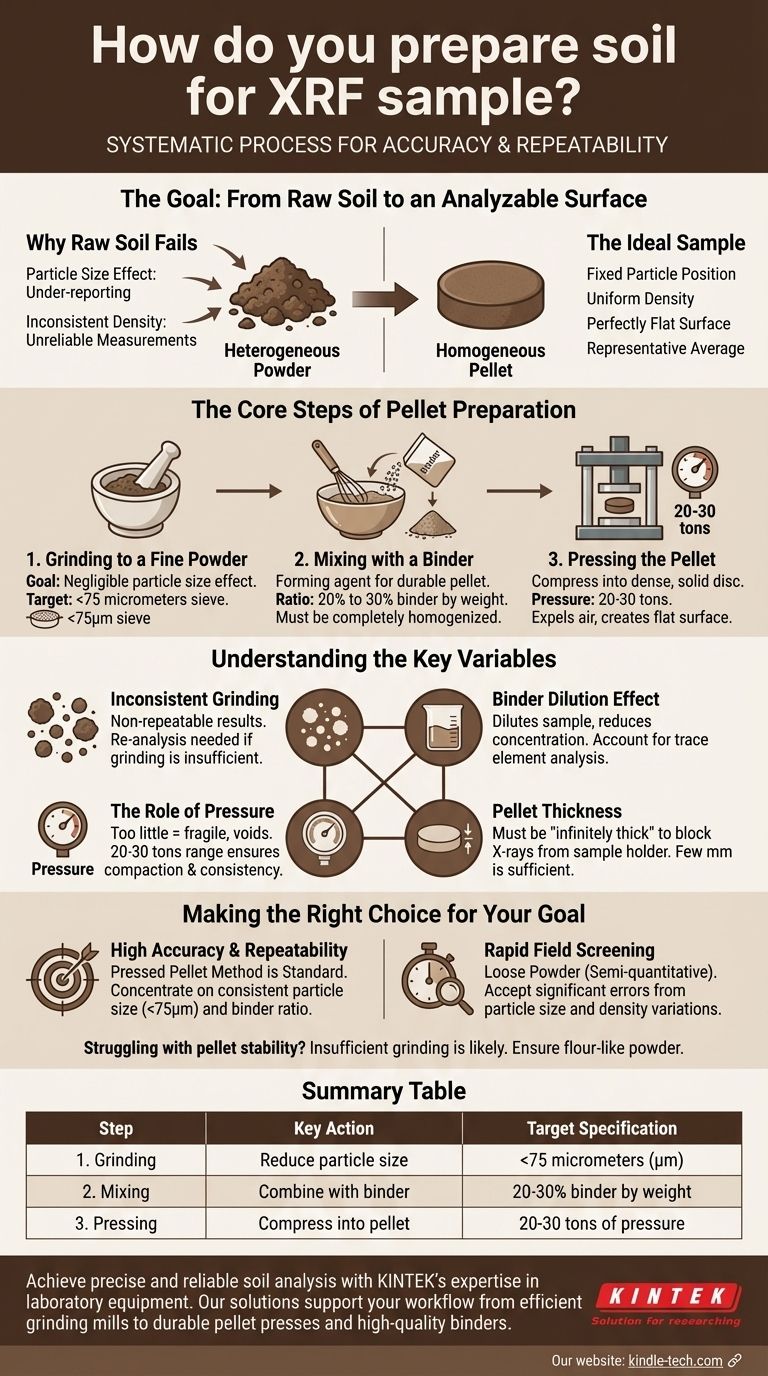
Preparing soil for X-ray fluorescence (XRF) analysis is a systematic process designed to ensure accuracy and repeatability. The standard method involves grinding the soil into a very fine powder (ideally less than 75 micrometers), thoroughly mixing it with a binding agent, and then compressing this mixture under high pressure (20-30 tons) to form a solid, homogeneous pellet. This pellet provides the stable, uniform surface required for reliable analysis.
The core objective of soil preparation for XRF is not merely to create a sample, but to eliminate physical inconsistencies. By transforming a heterogeneous powder into a dense, uniform pellet, you minimize errors from particle size and voids, ensuring the instrument measures the true chemical composition of your soil.
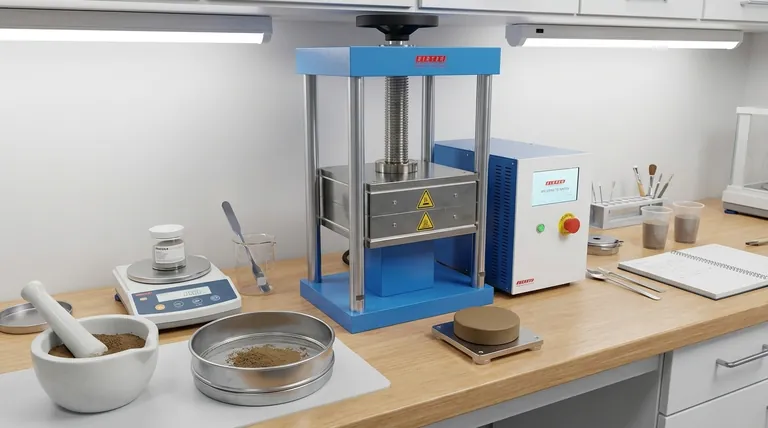
The Goal: From Raw Soil to an Analyzable Surface
Raw soil is a complex mixture of different particle sizes, shapes, and densities. XRF is a surface-sensitive technique, meaning any irregularities on the sample's surface can drastically alter the results. The entire preparation process is designed to overcome these physical effects.
Why Raw Soil Fails
A loose powder sample has two fundamental problems. First, larger particles can absorb the fluorescent X-rays emitted by smaller particles, a phenomenon known as the particle size effect. This can cause the instrument to under-report certain elements. Second, the density of a loose powder is inconsistent, leading to unreliable and non-repeatable measurements.
The Ideal Sample: A Homogeneous Pellet
Creating a pressed pellet solves these issues. It locks particles into a fixed position within a binder matrix, creating a sample with a uniform density and a perfectly flat surface. This allows the XRF spectrometer to analyze a truly representative average of the soil's composition.
The Core Steps of Pellet Preparation
A robust and repeatable preparation method follows three critical steps. Consistency at each stage is the key to high-quality data.
Step 1: Grinding to a Fine Powder
The single most important step is reducing the soil's particle size. The goal is to create a powder so fine that the particle size effect becomes negligible.
For most soil samples, the industry standard is to grind the material until it can pass through a sieve of <75 micrometers. This ensures that the individual mineral grains are sufficiently small and can be mixed evenly.
Step 2: Mixing with a Binder
Once you have a fine powder, it often needs a forming agent, or binder, to create a durable pellet. The binder coats the soil particles and helps them adhere to one another under pressure.
A common choice is a cellulose wax mixture. The typical ratio is 20% to 30% binder to sample by weight. This mixture must be homogenized completely to ensure the binder is evenly distributed.
Step 3: Pressing the Pellet
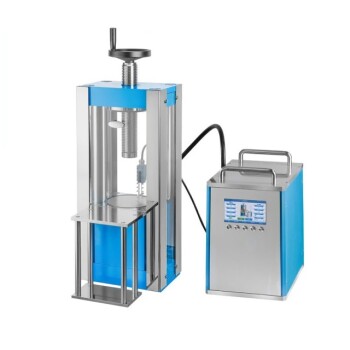
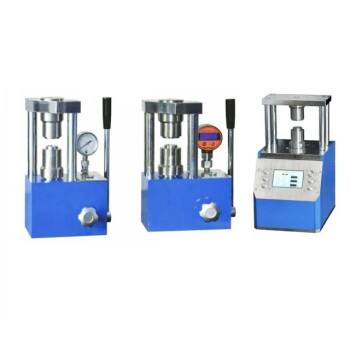
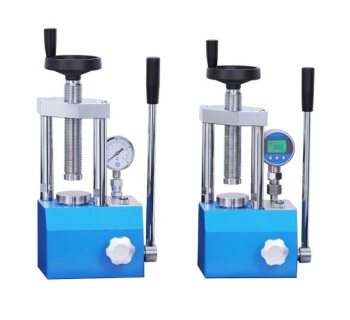
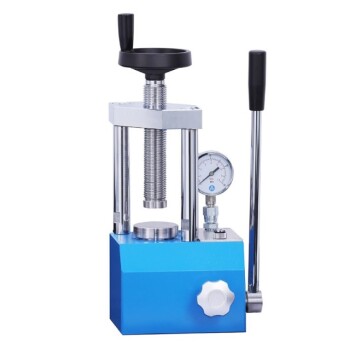
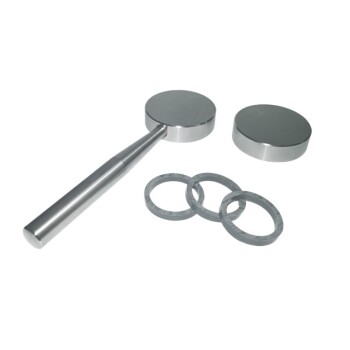
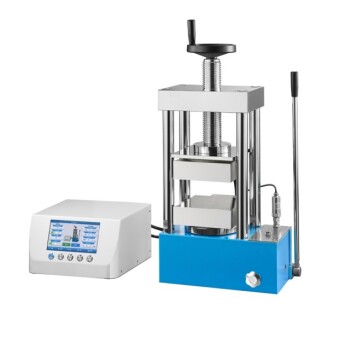
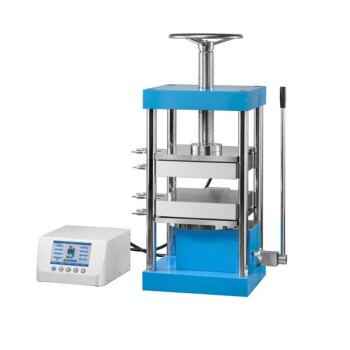
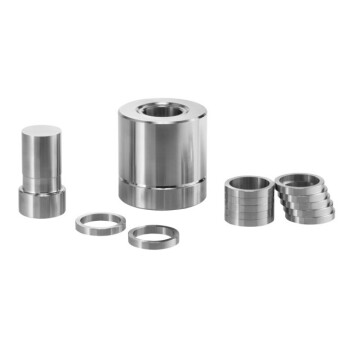
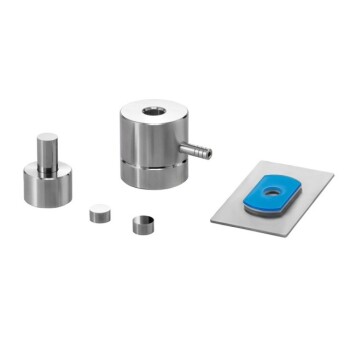
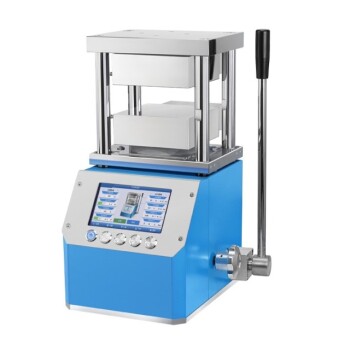
The final step is compressing the soil-binder mixture into a pellet. This is done using a laboratory press and a set of dies.
The mixture is loaded into a die and subjected to high pressure, typically between 20 and 30 tons. This force expels any air and compacts the powder into a dense, solid disc with a smooth, flat surface ready for analysis.
Understanding the Key Variables and Trade-offs
While the process is straightforward, the quality of your results depends on controlling several variables. Mistakes or inconsistencies here are a primary source of analytical error.
The Impact of Inconsistent Grinding
If a sample is not ground finely enough, your results will not be repeatable. A simple quality check is to analyze a sample, grind it further, and then analyze it again. If the results differ significantly, the initial grinding was insufficient.
The Binder Dilution Effect
Adding a binder is necessary for pellet integrity, but it also dilutes the sample. This reduces the concentration of the elements you are trying to measure. This trade-off is generally acceptable, but for trace element analysis, you must account for this dilution in your final calculations.
The Role of Pressure
Using the correct pressure is crucial. Too little pressure will result in a fragile pellet with internal voids, compromising density and accuracy. The 20-30 ton range ensures maximum compaction for most soil and binder mixtures. Consistency in pressure from sample to sample is essential for comparing results.
Pellet Thickness
The pellet must be "infinitely thick" from the perspective of the X-ray source. This means it must be thick enough that no X-rays pass through it to detect the sample holder underneath. For most soil analyses, a standard pellet thickness of a few millimeters is more than sufficient.
Making the Right Choice for Your Goal
Your analytical needs should dictate your preparation method.
- If your primary focus is high accuracy and repeatability: The pressed pellet method is the required standard. Concentrate on achieving a consistent particle size (<75µm) and maintaining a precise binder-to-sample ratio for all samples.
- If your primary focus is rapid field screening: Analyzing loose powder in a sample cup is an option, but you must accept that the results are semi-quantitative and subject to significant errors from particle size and density variations.
- If you are struggling to create a stable pellet: The most likely cause is insufficient grinding. Ensure the soil is a fine, flour-like powder before adding the binder, as this greatly improves pelletization.
Ultimately, consistent and meticulous sample preparation is the foundation upon which all reliable XRF analysis is built.
Summary Table:
| Step | Key Action | Target Specification |
|---|---|---|
| 1. Grinding | Reduce particle size | <75 micrometers (µm) |
| 2. Mixing | Combine with binder | 20-30% binder by weight |
| 3. Pressing | Compress into pellet | 20-30 tons of pressure |
Achieve precise and reliable soil analysis with KINTEK's expertise in laboratory equipment.
Proper sample preparation is the foundation of accurate XRF results. Whether you're conducting environmental monitoring, agricultural testing, or geological research, our specialized lab equipment and consumables are designed to support your workflow—from efficient grinding mills to durable pellet presses and high-quality binders.
Let KINTEK be your partner in ensuring data integrity. Contact our experts today to discuss your specific soil analysis needs and discover how our solutions can enhance your laboratory's efficiency and accuracy.
Visual Guide
Related Products
- Laboratory Hydraulic Press Split Electric Lab Pellet Press
- Automatic Laboratory Hydraulic Press for XRF & KBR Pellet Press
- Automatic Laboratory Hydraulic Pellet Press Machine for Lab Use
- Laboratory Hydraulic Pellet Press for XRF KBR FTIR Lab Applications
- Laboratory Hydraulic Press Lab Pellet Press for Button Battery
People Also Ask
- Why is 700 MPa required for Li8/7Ti2/7V4/7O2 solid-state battery assembly? Key to Maximizing Ion Transport
- What material can withstand a hydraulic press? Understanding Compressive Strength vs. Pressure
- What is the function of a precision hydraulic press in MEA fabrication? Optimize Fuel Cell Bonding and Efficiency
- What is the purpose of using a laboratory hydraulic press for dry pressing SiC? Master Pre-Forming for Hot Pressing
- What is the primary function of a laboratory hydraulic press in the preparation of graphite electrodes?
- What is the maximum capacity of a hydraulic press machine? From 20 to 80,000+ Tons
- What is the difference between a hydraulic jack and a hydraulic press? Choose the Right Tool for Lifting vs. Compressing
- What are the environmental impacts of a hydraulic press? Minimizing Energy and Fluid Footprints
