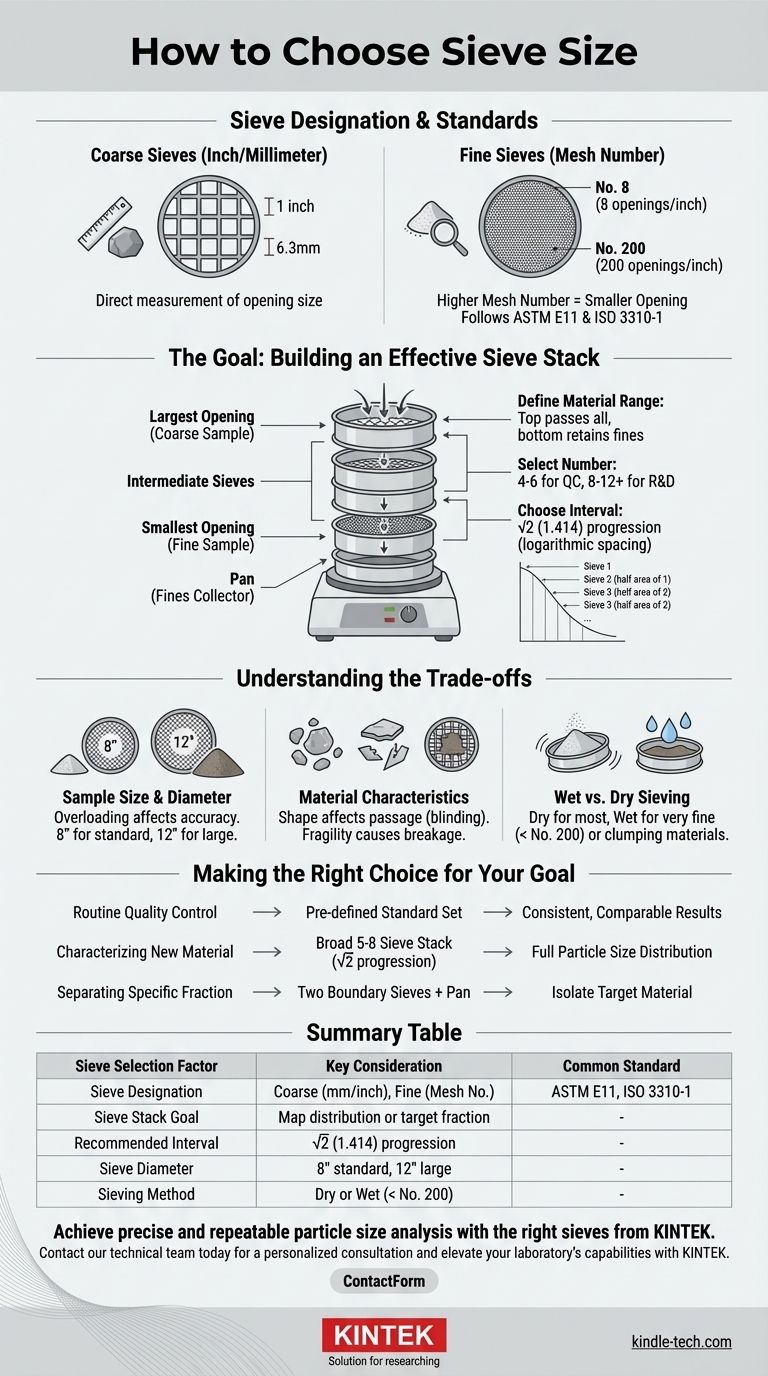
To choose a sieve size, you must first understand its designation. Sizes are defined either by a direct measurement of the opening (e.g., 1 inch or 6.3mm) for coarse sieves or by a "mesh number" for finer sieves. This mesh number, like No. 4, indicates the number of openings per linear inch, meaning a higher number corresponds to a smaller opening.
The crucial insight is that selecting the right sieve is not about finding a single size, but about building a strategic "stack" of sieves. This stack is designed to accurately map the particle size distribution of your specific material based on established standards.
Understanding Sieve Terminology
Before you can select sizes, you must be fluent in how they are described. The system is split into two primary categories based on the size of the openings.
Coarse Sieves: The Inch/Millimeter System
For sieves with larger openings, typically 1/4 inch (6.3mm) and above, the size is stated directly. A 1-inch sieve has square openings that are precisely one inch across. This is a straightforward, direct measurement system.
Fine Sieves: The Mesh Number System
For finer particles, sieves are designated by a mesh number as defined by standards like ASTM E11. The mesh number represents the count of openings along one linear inch of the screen.
For example, a No. 8 sieve has eight openings per inch, while a No. 200 sieve has two hundred. Therefore, a higher mesh number always means a smaller opening size.
The Importance of Standards
Adhering to a recognized standard, such as ASTM E11 (the dominant U.S. standard) or ISO 3310-1, is critical. These standards specify the exact opening dimensions, wire diameter, and permissible variations for each sieve designation, ensuring that results are accurate, repeatable, and comparable across different labs.
The Goal: Building an Effective Sieve Stack
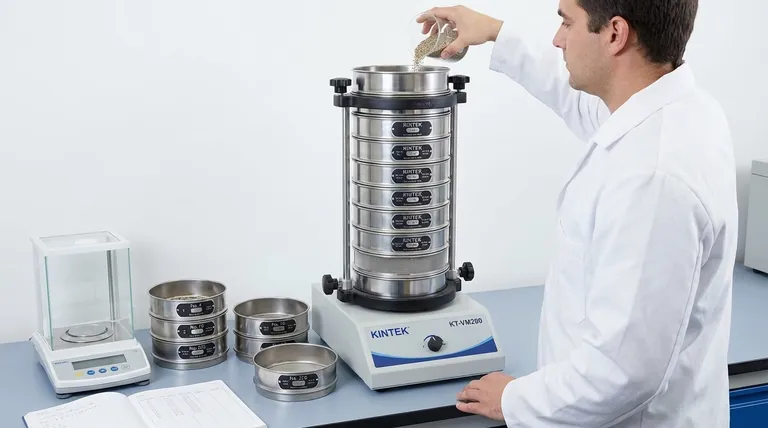
A single sieve only tells you if particles are larger or smaller than that one size. A particle size analysis requires a series of sieves, known as a sieve stack or nest, arranged from the largest opening on top to the smallest on the bottom, with a solid pan at the very end.
Define Your Material's Range
First, you need a general idea of your material's particle size. The top sieve in your stack must be large enough for all of your sample to pass through it. The finest sieve should be small enough to retain the smallest particles of interest, with only the finest dust collecting in the bottom pan.
Select the Right Number of Sieves
The number of sieves in your stack determines the resolution of your analysis.
- For routine quality control, 4 to 6 sieves may provide enough data.
- For research or detailed characterization, 8 to 12 or more sieves might be necessary for a high-resolution distribution curve.
Choose the Sieve Interval
The relationship between a sieve and the next one down in the stack is the most important decision. The most common and recommended practice is to use a √2 (or 1.414) progression.
In this progression, the opening area of each sieve is exactly half that of the sieve above it. This provides a consistent, logarithmic spacing that gives equal significance to size changes across the entire range, from coarse to fine. Standard sets based on this progression are widely available.
Understanding the Trade-offs
Choosing the right sieves involves more than just the opening size. The physical context of the test is equally important.
Sample Size and Sieve Diameter
The volume of material you are testing dictates the sieve diameter you should use. Overloading a sieve prevents particles from having a fair chance to pass through the openings, leading to inaccurate results.
- 8-inch diameter sieves are the most common standard for typical lab sample sizes.
- 12-inch diameter sieves are required for larger samples, especially with coarse aggregates.
Material Characteristics
The shape and fragility of your particles matter. Elongated or flat particles may not pass through openings as readily as spherical ones, a phenomenon known as blinding. Very fragile particles may break apart during shaking, skewing the results toward the finer end.
Wet vs. Dry Sieving
Very fine powders (typically smaller than a No. 200 sieve) or materials that clump together may require wet sieving. This process introduces water to help separate individual particles and wash them through the apertures, which can influence the test setup and sieve selection.
Making the Right Choice for Your Goal
Your optimal sieve stack depends directly on the objective of your analysis.
- If your primary focus is routine Quality Control: Use a pre-defined set of sieves specified in your internal procedures or industry standard to ensure consistent, comparable results over time.
- If your primary focus is characterizing a new material: Start with a broad, 5-to-8-sieve stack following the √2 progression to capture the full particle size distribution.
- If your primary focus is separating a specific size fraction: Select two sieves that act as upper and lower bounds for your target size, plus a pan, to efficiently isolate your desired material.
Ultimately, a well-chosen sieve stack is the foundation of an accurate and repeatable particle size analysis.
Summary Table:
| Sieve Selection Factor | Key Consideration | Common Standard |
|---|---|---|
| Sieve Designation | Coarse sieves use mm/inch; fine sieves use mesh number (e.g., No. 200). | ASTM E11, ISO 3310-1 |
| Sieve Stack Goal | Map full particle distribution (research) or target a specific fraction (QC). | - |
| Recommended Interval | Use a √2 (1.414) progression for consistent, logarithmic spacing. | - |
| Sieve Diameter | 8-inch for standard lab samples; 12-inch for larger/coarse materials. | - |
| Sieving Method | Dry sieving for most materials; wet sieving for fine powders (< No. 200). | - |
Achieve precise and repeatable particle size analysis with the right sieves from KINTEK.
Whether you are performing detailed R&D or routine quality control, selecting the correct sieve stack is critical for accurate results. KINTEK specializes in high-quality lab sieves and equipment, ensuring they meet ASTM and ISO standards for reliability.
Our experts can help you:
- Select the ideal sieve sizes and stack configuration for your specific material.
- Choose between standard 8-inch or large 12-inch diameter sieves to prevent sample overload.
- Access a full range of equipment for both dry and wet sieving applications.
Don't let an improper sieve setup compromise your data. Contact our technical team today for a personalized consultation and elevate your laboratory's capabilities with KINTEK.
Visual Guide
Related Products
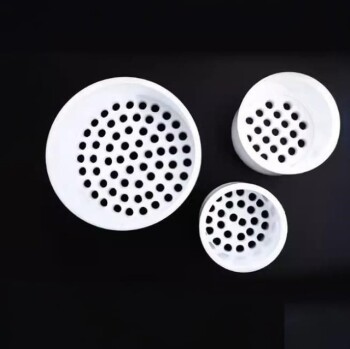
- Custom PTFE Teflon Parts Manufacturer for PTFE Mesh F4 Sieve
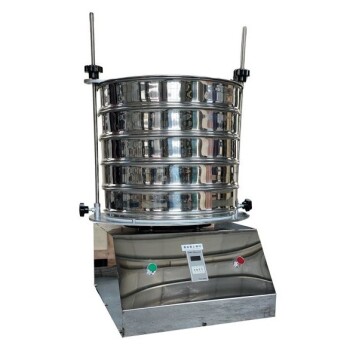
- Laboratory Test Sieves and Sieving Machines
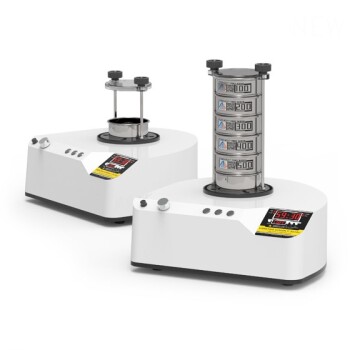
- Three-dimensional electromagnetic sieving instrument
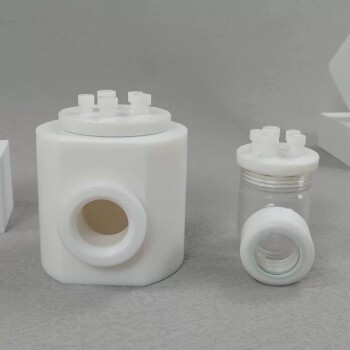
- Side Window Optical Electrolytic Electrochemical Cell
People Also Ask
- Is PTFE corrosion resistant? Discover the Ultimate Chemical Resistance for Your Lab
- What are the specific applications of PTFE in micro-batch slug flow systems? Enhance Your Microfluidic Reaction Purity
- What are the primary reasons for selecting PTFE as a matrix? Enhance Composites with Carbon Nanotube Reinforcement
- What are the specifications for test sieves? A Guide to ASTM & ISO Standards for Accurate Particle Analysis
- How is PTFE utilized for insulation in Alloy 22 corrosion setups? Ensure Signal Purity & Accuracy