A proper sieving test is a systematic, multi-step analytical procedure. It begins long before any material is shaken and concludes after the final data is evaluated. The core steps involve preparing a representative sample, selecting the correct equipment and parameters, performing the physical separation, and then carefully collecting and analyzing the resulting data.
Beyond simply separating particles, a formal sieve analysis is a precise measurement process. The reliability of your final particle size distribution data depends entirely on meticulous execution at every stage, from initial sampling to final calculations.
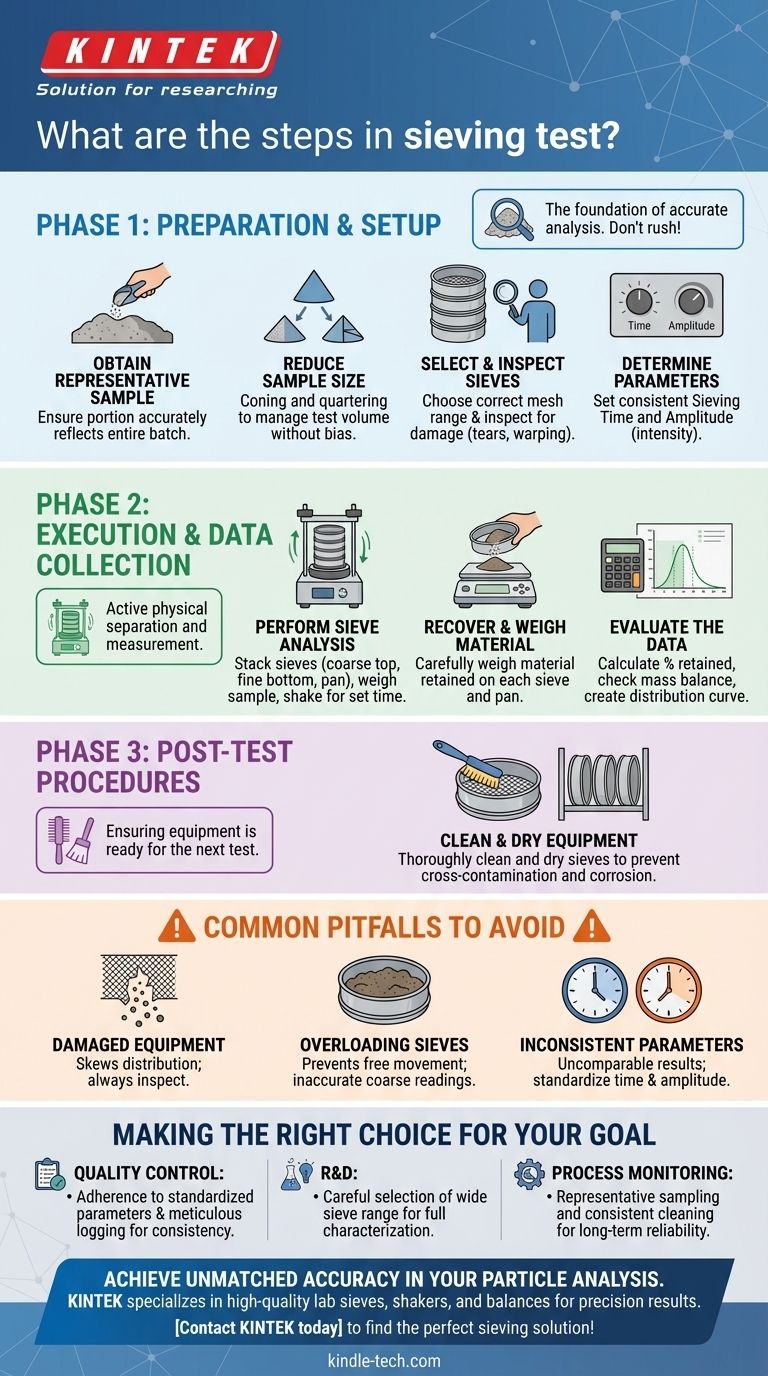
Phase 1: Preparation and Setup
The accuracy of your entire analysis is established in these initial steps. Rushing this phase is the most common source of error.
Step 1: Obtain a Representative Sample
The portion of material you test must accurately reflect the entire batch. If your initial sample is not representative, your final data, no matter how carefully collected, will be meaningless.
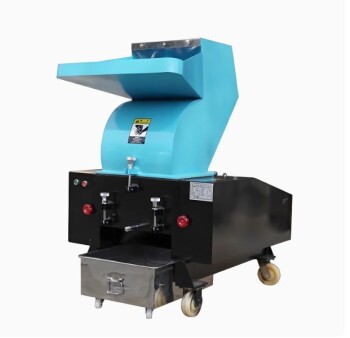
Step 2: Reduce the Sample Size (If Necessary)
For large batches, you must reduce the sample to a manageable test size without introducing bias. Techniques like coning and quartering are used to ensure the smaller test volume maintains the same particle distribution as the original source.
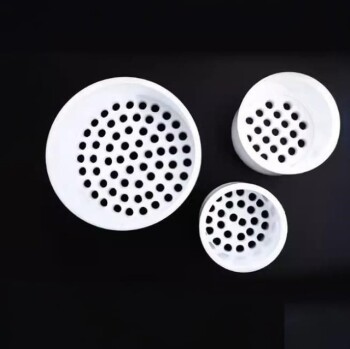
Step 3: Select and Inspect the Test Sieves
Choose a set of sieves with mesh sizes appropriate for the expected particle range of your material. Before use, always inspect each sieve for damage like warping, tears in the mesh, or detached solder, as any defect will invalidate the results.
Step 4: Determine Sieving Parameters
The two most critical parameters are sieving time and amplitude (the intensity of shaking). These must be selected and kept consistent for all tests to ensure results are repeatable and comparable.
Phase 2: Execution and Data Collection
This is the active part of the process where the physical separation of particles occurs.
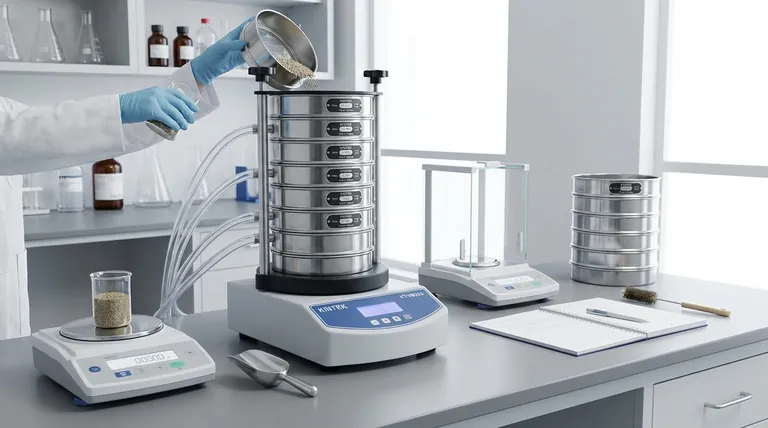
Step 5: Perform the Sieve Analysis
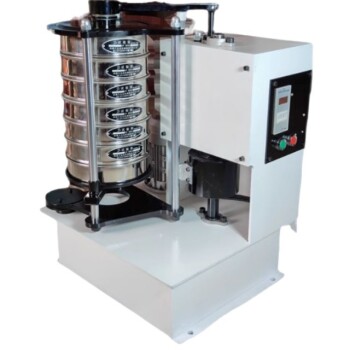
Assemble the inspected sieves into a stack, from the largest mesh opening on top to the smallest on the bottom, with a solid pan at the very end. Weigh your prepared sample, place it in the top sieve, secure the stack in the sieve shaker, and run it for the predetermined time.
Step 6: Recover and Weigh the Material
After shaking is complete, carefully remove the stack. Weigh the material retained on each individual sieve and in the bottom pan. Precision is critical here; use a high-accuracy balance and avoid losing any material.
Step 7: Evaluate the Data
Calculate the weight percentage of material retained on each sieve. A crucial quality check is to sum all the individual weights; this total should be very close to the initial sample weight. This data is then used to create a particle size distribution curve.
Common Pitfalls to Avoid
Seemingly minor mistakes can completely compromise your analysis. Awareness of these issues is key to generating trustworthy data.
Using Damaged Equipment
A stretched or torn sieve mesh allows oversized particles to pass through, skewing the entire distribution. Always perform a visual inspection before every use.
Overloading the Sieves
Placing too much material in the stack prevents particles from moving freely and finding their way to the correct sieve. This results in an inaccurate reading, with too much material being reported in the upper, coarser sieves.
Inconsistent Parameters
If you test one sample for 5 minutes and another for 15 minutes, the results cannot be compared. Time and amplitude must be standardized for any set of related analyses.
Phase 3: Post-Test Procedures
The process is not complete until the equipment is ready for the next accurate analysis.
Step 8: Clean and Dry All Equipment
Thoroughly clean every sieve and the pan to prevent cross-contamination between samples. Ensure the sieves are completely dry before storage, as moisture can cause particles to clump in future tests and lead to mesh corrosion.
Making the Right Choice for Your Goal
The emphasis you place on certain steps depends on your ultimate objective.
- If your primary focus is quality control: Adherence to standardized parameters (time, amplitude) and meticulous data logging are non-negotiable for ensuring batch-to-batch consistency.
- If your primary focus is research and development: The key is the careful selection of a wide range of sieve sizes to accurately characterize a new material's full particle size distribution.
- If your primary focus is routine process monitoring: The most critical steps are obtaining a truly representative sample and maintaining consistent post-test cleaning to ensure reliability over time.
Executing each step with precision transforms a simple mechanical action into a powerful analytical tool.
Summary Table:
| Phase | Key Steps | Critical Actions |
|---|---|---|
| Preparation | Sample Collection, Sieve Selection, Parameter Setting | Ensure representative sample; inspect sieves for damage. |
| Execution | Sieve Shaking, Weighing Retained Material | Use consistent time/amplitude; weigh material on each sieve accurately. |
| Post-Test | Data Evaluation, Equipment Cleaning | Check mass balance; clean and dry sieves thoroughly. |
Achieve Unmatched Accuracy in Your Particle Analysis
A proper sieving test is the foundation of reliable quality control and R&D. KINTEK specializes in providing high-quality lab sieves, shakers, and balances that ensure precision at every step—from representative sampling to consistent, repeatable results.
Whether you are in quality control, research, or process monitoring, our equipment is designed to meet the rigorous demands of your laboratory.
Contact KINTEK today to find the perfect sieving solution for your needs and elevate the accuracy of your particle size analysis!
Visual Guide
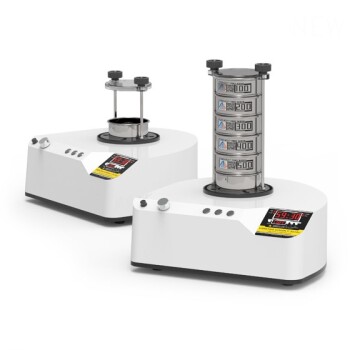
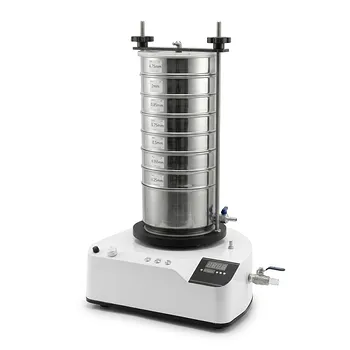
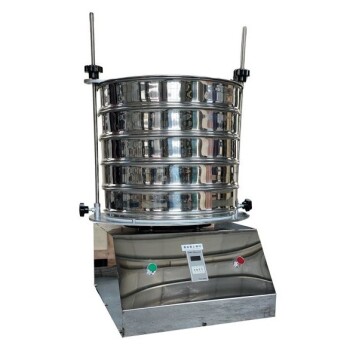
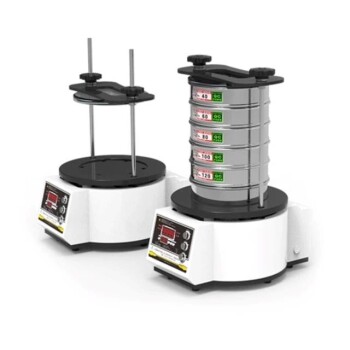
Related Products
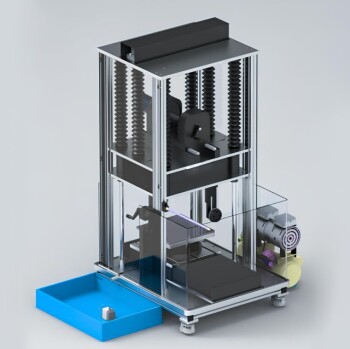
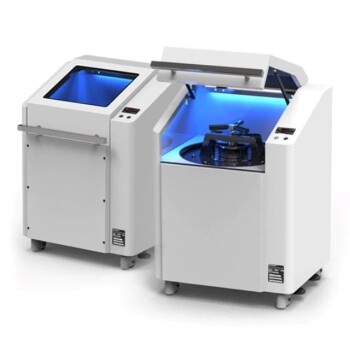
- Three-dimensional electromagnetic sieving instrument
- Laboratory Vibratory Sieve Shaker Machine for Dry and Wet Three-Dimensional Sieving
- Laboratory Test Sieves and Sieving Machines
- Laboratory Wet Three-Dimensional Vibratory Sieve Shaker Machine
- Laboratory Test Sieves and Vibratory Sieve Shaker Machine
People Also Ask
- What is sieving and how does it work? A Guide to Accurate Particle Size Analysis
- What are the limitations of sieving? Understanding the Constraints of Particle Size Analysis
- How is sieving important? The Critical Role of Particle Size Analysis in Quality Control
- What is the advantage of sieving? A Simple, Reliable Method for Particle Size Analysis
- What are the precautions for sieving method? Ensure Accurate Particle Size Analysis