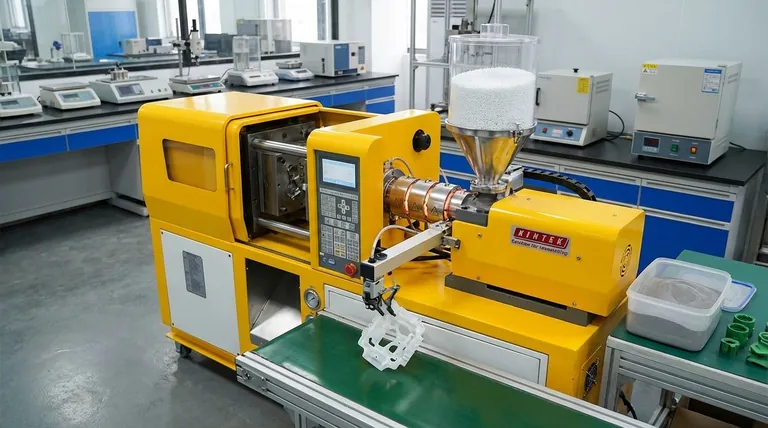
At its core, the injection molding process is a four-stage cycle that forces molten material into a mold under high pressure. The raw material, typically plastic pellets, is melted, injected into a closed mold, cooled to a solid state, and then ejected as a finished part. This cycle repeats rapidly, making it an exceptionally efficient method for mass production.
The key to understanding injection molding is to see it not just as a series of steps, but as a high-pressure, high-speed cycle of transformation. Mastering the interplay between temperature, pressure, and time is what determines the quality, speed, and cost of producing a finished part.
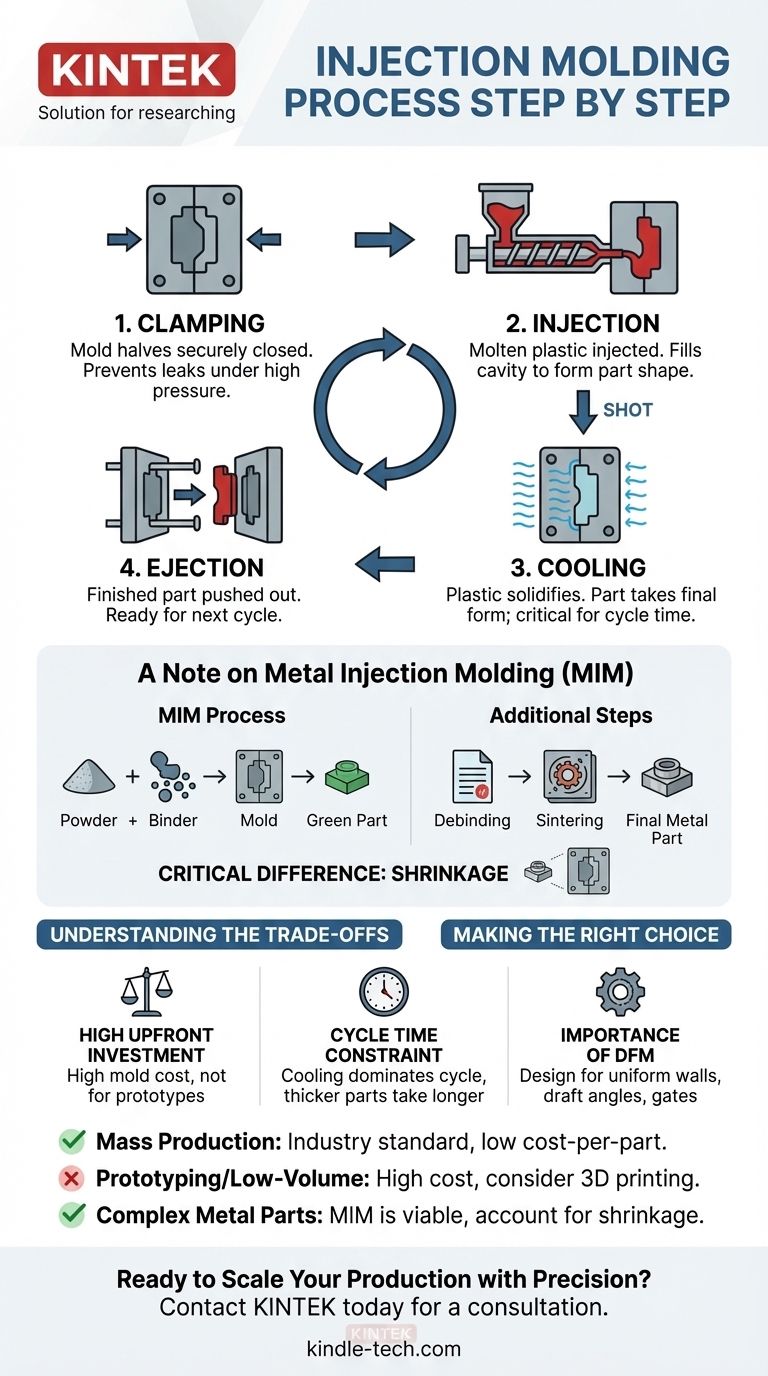
The Four Core Stages of Injection Molding
The entire process is a highly controlled and automated cycle. While variations exist, these four stages represent the fundamental mechanics of turning raw plastic pellets into a precise, solid component.
Stage 1: Clamping
Before any material is injected, the two halves of the mold tool must be securely closed. A powerful clamping unit pushes the mold halves together with immense force.
This force is critical to keep the mold sealed against the high pressure of the injection stage, preventing any molten material from leaking out, which would create a defect known as "flash."
Stage 2: Injection
With the mold clamped shut, raw plastic pellets are fed from a hopper into a barrel. Inside the barrel, a rotating screw and heater bands work together to melt and mix the plastic, a process called plasticization.
Once enough molten plastic has accumulated at the front of the barrel, the screw pushes forward like a plunger. This action injects the material, known as the "shot," into the mold cavity at high speed and pressure.
Stage 3: Cooling
As soon as the molten plastic fills the mold, it begins to cool by making contact with the mold's internal surfaces. During this phase, the plastic solidifies and takes the final shape of the part.
The cooling stage is often the longest part of the entire cycle. The time required depends on the type of plastic, the thickness of the part walls, and the design of the mold's cooling channels.
Stage 4: Ejection
After the part has cooled sufficiently, the clamping unit opens the mold. An ejector mechanism, typically using pins or plates, pushes the solidified part out of the mold cavity. The machine is now ready to begin the next cycle.
A Note on Metal Injection Molding (MIM)
It is important to distinguish plastic molding from Metal Injection Molding (MIM). While the initial step is similar, the overall process is fundamentally different.
The MIM Process
In MIM, a fine metal powder is mixed with a polymer binder to create the feedstock. This mixture is injected into a mold, just like plastic.
However, the "green part" that comes out of the mold must then undergo two additional steps: debinding, where the polymer binder is removed, and sintering, where the part is heated to a high temperature, causing the metal particles to fuse together and densify.
Critical Difference: Shrinkage
During sintering, the metal part shrinks significantly as the voids left by the binder are eliminated. Because of this, MIM molds must be designed to be proportionally larger than the desired final part to account for this predictable shrinkage.
Understanding the Trade-offs
Injection molding is a powerful technology, but it is not the right solution for every problem. Understanding its inherent trade-offs is crucial for making sound manufacturing decisions.
High Upfront Investment
The primary barrier to entry is the cost of the mold tool itself. These hardened steel tools are complex and expensive to machine, often costing tens of thousands of dollars or more. This makes the process uneconomical for prototypes or very small production runs.
The Cycle Time Constraint
The total time for one cycle dictates the production rate and, therefore, the cost per part. The cooling phase is the most significant factor in cycle time, meaning thicker parts take longer and cost more to produce.
The Importance of Design for Manufacturability (DFM)
Parts must be designed specifically for the injection molding process. Factors like uniform wall thickness, draft angles (slight tapering to allow for easy ejection), and the placement of gates (where plastic enters the cavity) are critical to avoiding defects and ensuring a successful outcome.
Making the Right Choice for Your Project
Use this guidance to determine if injection molding aligns with your goals.
- If your primary focus is mass production of a finalized part: Injection molding is the industry standard, offering an extremely low cost-per-part once the initial mold investment is covered.
- If your primary focus is prototyping or low-volume production: The high cost of a mold makes injection molding unsuitable; consider alternatives like 3D printing or urethane casting.
- If your primary focus is creating complex metal parts in high volume: Metal Injection Molding (MIM) is a viable and powerful option, but you must account for its unique post-processing steps and shrinkage in your design.
Ultimately, choosing injection molding is a commitment to manufacturing at scale.
Summary Table:
| Stage | Key Action | Purpose |
|---|---|---|
| 1. Clamping | Mold halves are securely closed. | Prevents leaks and defects under high pressure. |
| 2. Injection | Molten plastic is injected into the mold. | Fills the cavity to form the part shape. |
| 3. Cooling | The plastic solidifies inside the mold. | The part takes its final form; critical for cycle time. |
| 4. Ejection | The finished part is pushed out of the mold. | Completes the cycle, readying the machine for the next shot. |
Ready to Scale Your Production with Precision?
Understanding the injection molding process is the first step. Implementing it successfully requires the right equipment and expertise. At KINTEK, we specialize in high-performance lab equipment and consumables that support advanced manufacturing processes like injection molding.
Whether you are optimizing your cycle time, selecting materials, or scaling up production, our team is here to provide the reliable solutions you need. Let's discuss how we can help enhance your manufacturing efficiency and product quality.
Contact KINTEK today for a consultation and discover the right tools for your laboratory and production needs.
Visual Guide
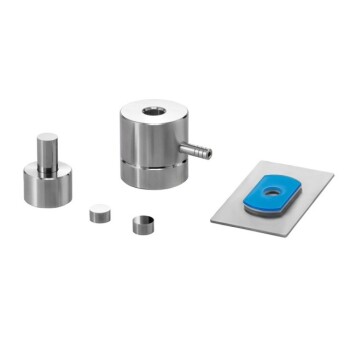
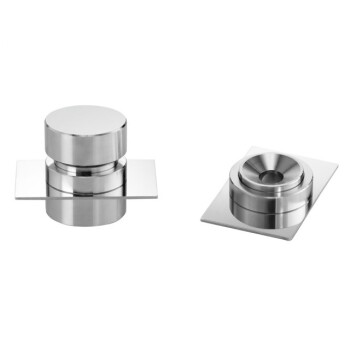
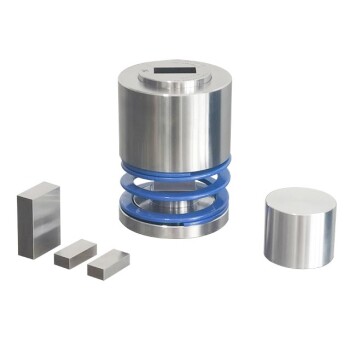
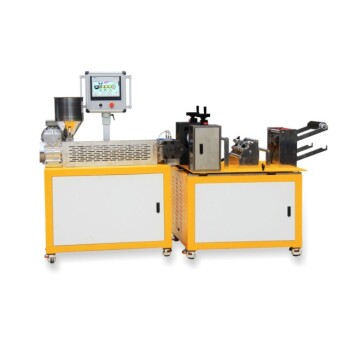
Related Products
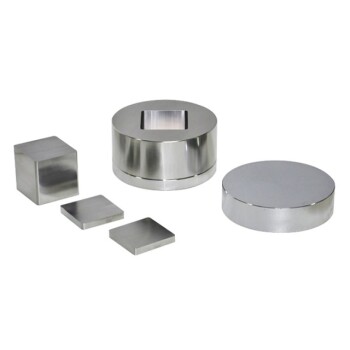
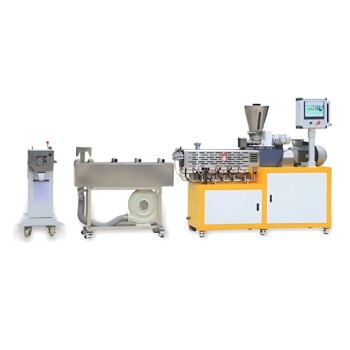
- Small Injection Molding Machine for Lab Use
- Lab Infrared Press Mold
- No Demolding Lab Infrared Press Mold for Laboratory Applications
- Ring Press Mold for Lab Applications
- Anti-Cracking Press Mold for Lab Use
People Also Ask
- What industry uses injection molding? From Medical to Automotive, It's Everywhere
- What are the stages of the molding process? A Guide to Plastic, Metal, and Ceramic Molding
- What is short capacity of injection Moulding machine? Optimize Your Shot Size for Flawless Parts
- What are the 5 steps of injection molding? A Guide to Efficient, High-Quality Production
- What are the two common types of injection molding processes? Thermoplastic vs. Thermoset Explained