The most definitive way to test a heating element is by measuring its electrical resistance with a multimeter. For most common household appliances, a functional heating element will show a reading between 10 and 30 ohms. A reading outside of this range, such as infinite resistance or zero, indicates the element has failed and needs to be replaced.
When an appliance stops heating, the heating element is the primary suspect. A simple resistance test with a multimeter provides a conclusive diagnosis, allowing you to either replace the correct part or confidently look for the problem elsewhere in the system.
Before You Begin: The Essential Safety Step
Your absolute first step is to ensure your safety. Working with electrical appliances is inherently dangerous if proper precautions are not taken.
Disconnect All Power
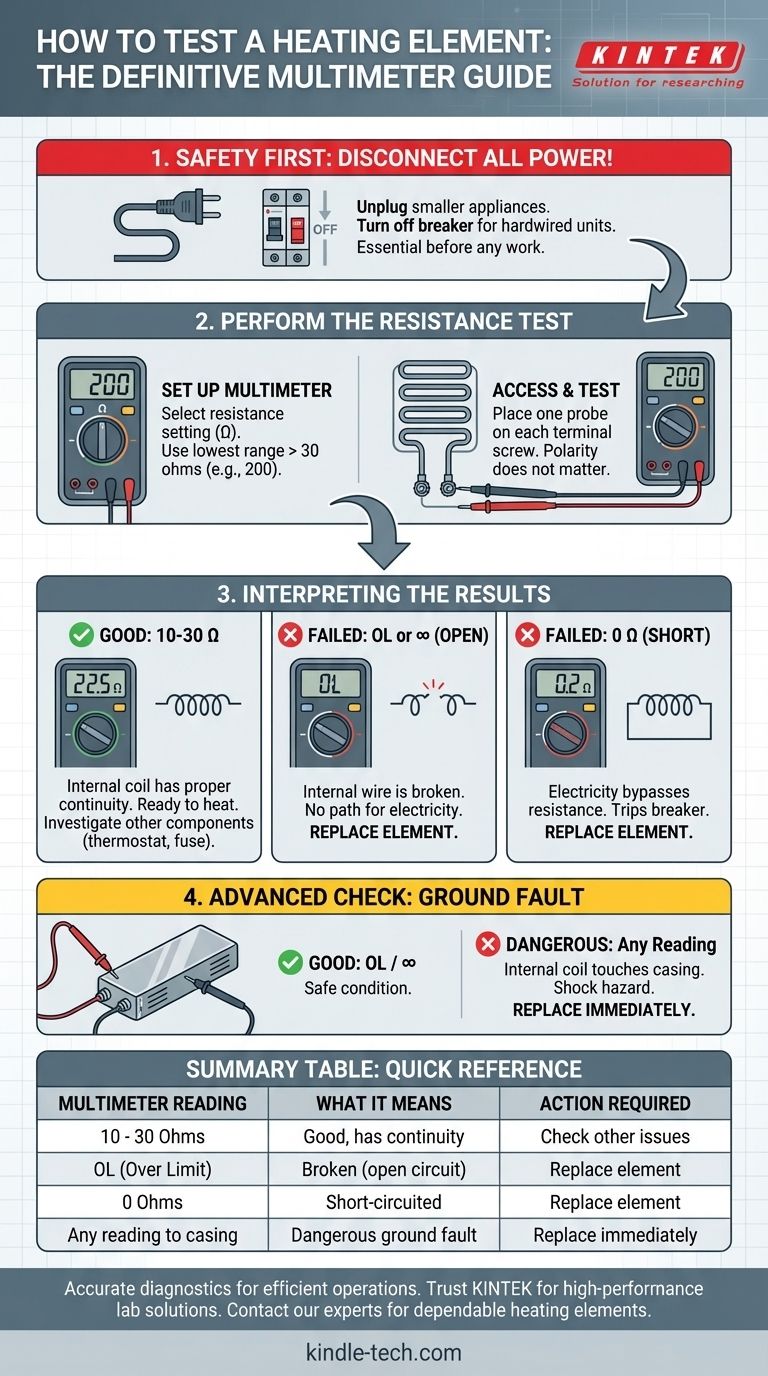
Before you open any panels or touch any components, you must disconnect the appliance from its power source. For smaller appliances, unplugging it from the wall is sufficient. For larger, hardwired appliances like an oven or water heater, you must turn off the corresponding breaker at your main electrical panel.
Performing the Resistance Test
With the power disconnected, you can proceed with the test. The goal is to check for continuity—an unbroken electrical path—through the element's internal wire.
Setting Up Your Multimeter
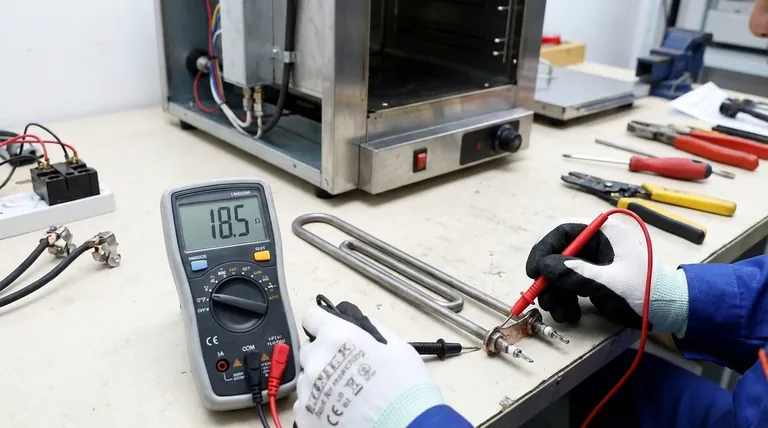
You will need a digital or analog multimeter. Turn the dial to the resistance setting, marked with the omega symbol (Ω). If your meter has multiple resistance ranges, select the lowest one that is greater than 30 ohms, often labeled as 200.
Accessing and Testing the Element
You will need to access the element's terminals. On a clothes dryer, this is typically behind a rear access panel. On a water heater, it's behind a small side cover.
Place one probe of your multimeter on one terminal screw of the heating element and the second probe on the other terminal. The polarity of the probes does not matter for this test.
Interpreting the Results
The number on your multimeter's screen tells you everything you need to know.
- A reading between 10 and 30 ohms: This is the expected result for a good heating element. It signifies that the internal coil has proper continuity and is ready to heat.
- A reading of "OL," "I," or infinity (∞): This means "Open Line" or "Over Limit." The internal wire of the element has broken. There is no path for electricity, so it cannot heat. The element has failed and must be replaced.
- A reading of or near 0 ohms: This indicates a short circuit. The electricity is passing through the element without any resistance, which will likely trip your circuit breaker. The element has failed and must be replaced.
Common Pitfalls and Advanced Checks
A simple continuity test solves most cases, but a more thorough diagnosis can prevent future issues.
The Visual Inspection Fallacy
A heating element can appear perfectly intact—with no visible breaks, burns, or blisters—and still be electrically bad. Never rely on a visual check alone; the multimeter provides the definitive answer.
Checking for a Ground Fault
A ground fault is a dangerous condition where the internal coil makes contact with the outer metal casing of the element. This can energize the frame of your appliance.
To check for this, place one multimeter probe on a terminal and the other probe directly on the metal sheath or casing of the element. A good element should show "OL" or infinity. Any resistance reading, even a high one, indicates a ground fault. The element is unsafe and must be replaced immediately.
When the Element Tests Good
If your element shows a healthy 10-30 ohm reading and no ground fault, it is not the cause of your heating problem. The issue lies elsewhere, and you should investigate other components like the high-limit thermostat, thermal fuse, or control board.
Making the Right Choice for Your Goal
Use your multimeter's reading to guide your next action with confidence.
- If your reading is between 10 and 30 ohms: Your heating element is good; investigate other components in the heating circuit, such as thermostats and fuses.
- If your reading is infinite (OL) or zero (0): Your heating element has failed and is the direct cause of the problem; it must be replaced.
- If you get any resistance reading from a terminal to the casing: Your element has a dangerous ground fault and must be replaced immediately, even if it still heats.
This simple electrical test empowers you to accurately diagnose the heart of your appliance's heating system.
Summary Table:
| Multimeter Reading | What It Means | Action Required |
|---|---|---|
| 10 - 30 Ohms | Element is good, has continuity. | Look for other issues (e.g., thermostat, fuse). |
| OL (Over Limit) | Element is broken (open circuit). | Replace the heating element. |
| 0 Ohms | Element is short-circuited. | Replace the heating element. |
| Any reading to casing | Dangerous ground fault. | Replace the heating element immediately. |
Accurate diagnostics are key to efficient lab operations. If your equipment's heating system fails, precise testing is just the first step. For reliable replacement parts and expert support, trust KINTEK. We specialize in high-performance lab equipment and consumables, ensuring your laboratory maintains peak productivity.
Contact our experts today for dependable heating elements and solutions tailored to your laboratory's needs.
Visual Guide
Related Products
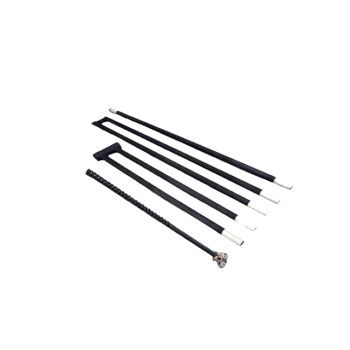
- Silicon Carbide SiC Thermal Heating Elements for Electric Furnace
- Laboratory Small Constant Temperature Heated Magnetic Stirrer Heater and Stirrer
- Custom PTFE Teflon Parts Manufacturer for Culture Dish and Evaporation Dish
- Customizable PEM Electrolysis Cells for Diverse Research Applications
- Customizable CO2 Reduction Flow Cell for NRR ORR and CO2RR Research
People Also Ask
- What is the working temperature of a heating element? Match Material to Your Application's Heat Needs
- What Roles Do Graphite Heaters and Carbon Insulation Play in SiC Coating? Mastering Thermal Precision
- What is the difference between Rockwool and ceramic Fibre? Choose the Right Insulation for Your Heat Needs
- Why are platinum and nickel-chromium wires used in TGA? Ensure High-Temperature Data Accuracy
- What role do ceramic heaters play in silver nanoparticle preparation? Achieve Precision and Stability in Synthesis
- Why is tungsten so heat resistant? Unlocking Its Atomic Secrets for Extreme Temperatures
- What role do laboratory heaters and thermocouples play in low-temperature nitriding? Achieve Precision Thermal Control
- How is a ceramic heater different? Discover the Self-Regulating Safety and Efficiency
