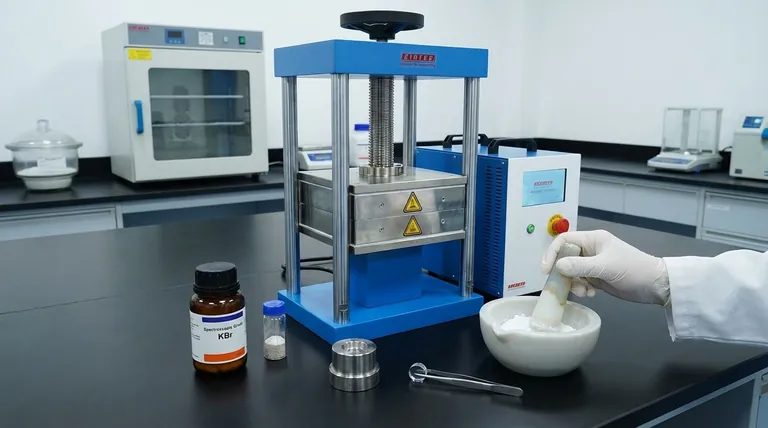
To prepare a KBr pellet for FTIR analysis, you must intimately mix a very small amount of your solid sample with spectroscopic-grade potassium bromide (KBr) powder. This mixture is then ground into a fine, homogenous dust and compressed under high pressure using a pellet press and die to form a thin, transparent disc suitable for analysis.
The ultimate goal is to create a solid solution where your sample is so finely dispersed within the KBr matrix that the pellet becomes transparent to the infrared beam. Success hinges on three critical factors: meticulous grinding, maintaining an absolutely dry environment, and applying pressure correctly.
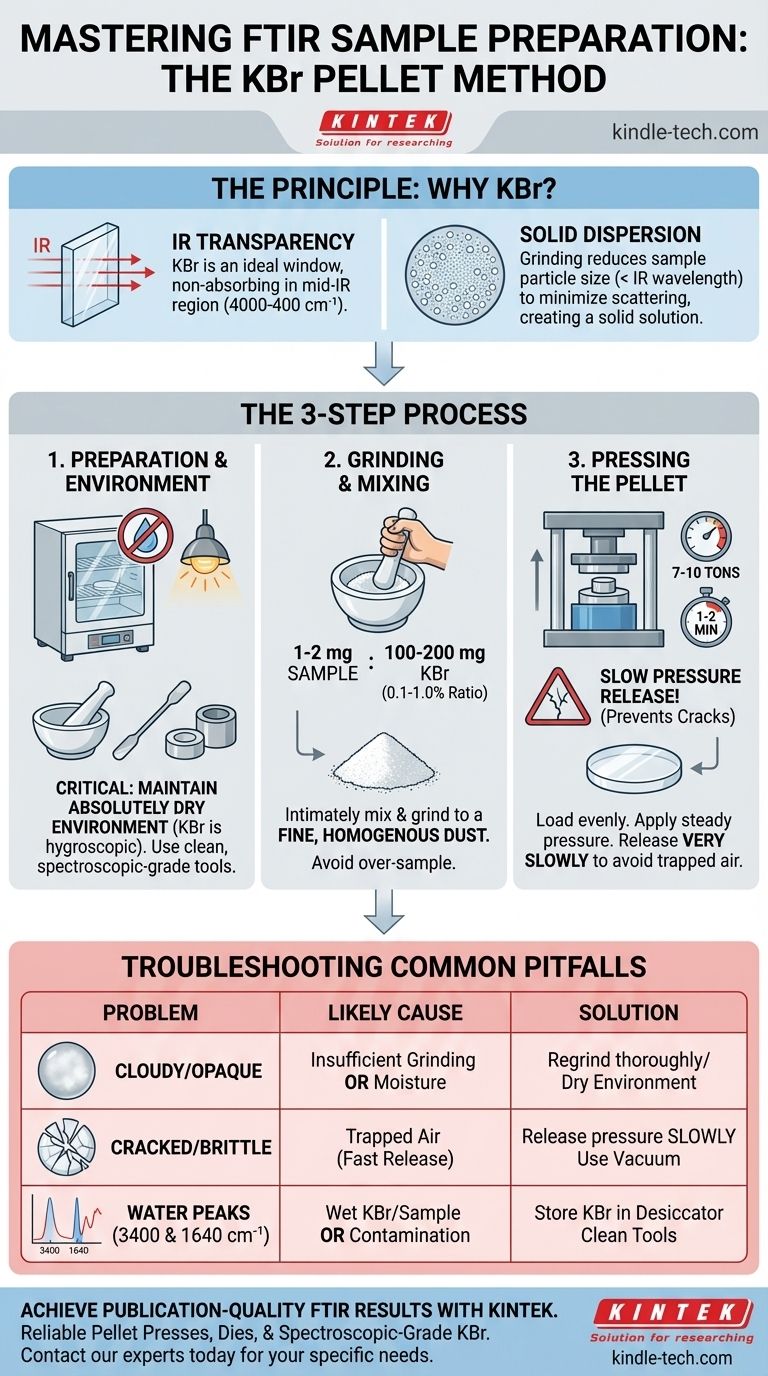
The Principle: Why Use KBr?
Understanding why this method works is key to troubleshooting it. KBr is used because it acts as an ideal window for the infrared light.
IR Transparency
Potassium bromide is a salt that does not absorb light in the mid-infrared region (roughly 4000 to 400 cm⁻¹). This makes it a perfect matrix material, as it allows the spectrometer's IR beam to pass through the pellet and interact only with your sample, not the KBr itself.
Creating a Solid Dispersion
By grinding the sample with KBr, you are not just mixing them. You are reducing the particle size of your sample below the wavelength of the IR light to minimize scattering. This uniform dispersion within the KBr matrix ensures the IR beam interacts with a representative amount of your sample.
Step 1: Gathering and Preparing Your Equipment
Proper preparation prevents contamination and artifacts in your final spectrum. A clean, dry setup is non-negotiable.
Essential Tools
You will need spectroscopic-grade KBr powder, a pestle and mortar (agate is preferred to minimize contamination), a pellet press, and a die set. A small spatula and a way to handle the pellet are also necessary.
The Importance of a Dry Environment
KBr is hygroscopic, meaning it readily absorbs moisture from the air. Water has very strong, broad absorption bands in the IR spectrum (around 3400 cm⁻¹ and 1640 cm⁻¹) that can easily obscure your sample's peaks. To prevent this, always store KBr in a desiccator and consider performing the preparation under a heat lamp or in a glovebox if the lab is humid.
Cleaning the Die Set
Before starting, thoroughly clean the die anvils and collar. Wipe them with a solvent like acetone or isopropanol on a laboratory tissue to remove any residual sample or oil, then ensure they are completely dry.
Step 2: Sample Preparation and Grinding
This is the most critical step for achieving a transparent pellet and a high-quality spectrum.
Determining the Right Ratio
The ideal concentration is 0.1% to 1.0% sample in KBr. A good starting point is to use approximately 1-2 mg of your solid sample and 100-200 mg of dry KBr powder. Using too much sample will result in an opaque pellet and saturated, flat-topped peaks in your spectrum.
The Grinding Process
First, place your small amount of sample into the clean, dry mortar and grind it into the finest powder possible. Then, add about a quarter of your KBr and grind again to mix. Add the remaining KBr in portions, grinding thoroughly after each addition until the mixture is a completely homogenous, fine powder.
Step 3: Pressing the Pellet
The goal here is to fuse the KBr mixture into a solid, glass-like disc.
Loading the Die
Carefully transfer the ground powder into the die collar. Distribute it as evenly as possible over the surface of the bottom anvil to ensure the final pellet has a uniform thickness.
Applying Pressure
Place the top anvil in the collar and transfer the entire assembly to the press. Apply pressure slowly and steadily. A typical pressure is 7-10 tons for a 13 mm die, held for 1-2 minutes. This allows the KBr particles to fuse and for trapped air to escape.
Releasing Pressure and Ejecting the Pellet
Release the pressure on the press very slowly. Releasing it too quickly is the most common cause of cracked or shattered pellets. Once the pressure is fully released, carefully remove the die assembly and eject the finished pellet. A good pellet will be thin and transparent or translucent.
Understanding Common Pitfalls
If your results are poor, the pellet is almost always the cause. Understanding why it failed is key to fixing it.
Cloudy or Opaque Pellets
This is the most frequent issue. It is almost always caused by either insufficient grinding (leaving sample particles large enough to scatter light) or moisture absorbed by the KBr. Re-grind your sample more thoroughly or take greater care to keep your KBr and equipment dry.
Cracked or Brittle Pellets
A pellet that cracks or shatters upon ejection was likely compromised by trapped air. This happens when pressure is applied or released too quickly. Sometimes, applying a vacuum to the die during pressing can help remove air and moisture, leading to a better-quality pellet.
Unwanted Peaks in Your Spectrum
Seeing a broad, rolling peak around 3400 cm⁻¹ and a sharper one near 1640 cm⁻¹ means your pellet contains water. This is a sign that your KBr or sample was not dry enough. Sharp, unusual peaks could also indicate contamination from an unclean mortar or die set.
Making the Right Choice for Your Goal
The required quality of your KBr pellet depends on the purpose of your analysis.
- If your primary focus is a quick qualitative scan: A slightly cloudy pellet may be acceptable, as long as your key sample peaks are clearly distinguishable from any moisture bands.
- If your primary focus is quantitative analysis or publication-quality data: Pellet transparency is non-negotiable. Invest the extra time in meticulous drying and grinding to produce a perfectly clear disc for the most accurate and artifact-free spectrum.
Mastering this technique is a matter of practice, but focusing on dryness and thorough grinding will consistently produce high-quality results.
Summary Table:
| Step | Key Action | Critical Factor |
|---|---|---|
| 1. Preparation | Gather spectroscopic-grade KBr, clean die set, work in dry environment | Prevent moisture contamination |
| 2. Grinding | Mix 0.1-1.0% sample with KBr, grind to fine homogeneous powder | Particle size below IR wavelength |
| 3. Pressing | Load die evenly, apply 7-10 tons pressure for 1-2 minutes, release slowly | Avoid trapped air and cracking |
| 4. Troubleshooting | Address cloudy pellets (grind more), cracked pellets (release pressure slowly), water peaks (dry environment) | Achieve transparency for quality spectra |
Achieve publication-quality FTIR results with reliable sample preparation equipment from KINTEK.
Whether you're performing qualitative scans or precise quantitative analysis, the right tools make all the difference. KINTEK specializes in high-quality laboratory equipment and consumables, including pellet presses, dies, and spectroscopic-grade KBr, designed specifically for demanding laboratory environments.
Let us help you eliminate common FTIR preparation pitfalls and ensure consistent, accurate results. Contact our experts today to discuss your specific application needs and discover how KINTEK solutions can enhance your analytical workflow.
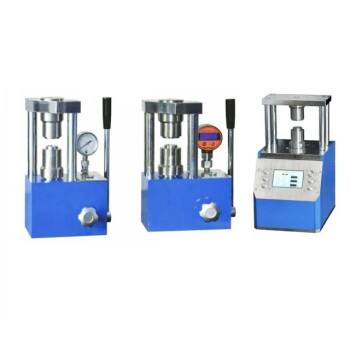
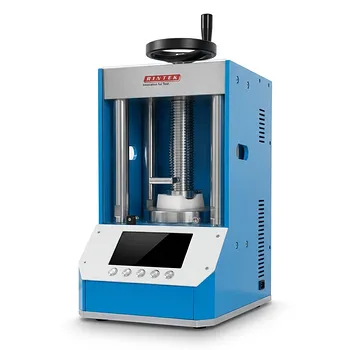
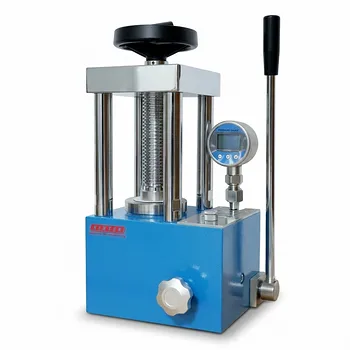
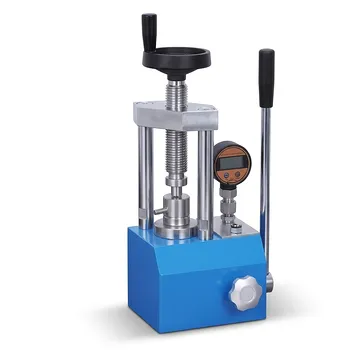
Visual Guide
Related Products
- kbr pellet press 2t
- Laboratory Hydraulic Pellet Press for XRF KBR FTIR Lab Applications
- Automatic Laboratory Hydraulic Press for XRF & KBR Pellet Press
- XRF & KBR plastic ring lab Powder Pellet Pressing Mold for FTIR
- XRF & KBR steel ring lab Powder Pellet Pressing Mold for FTIR
People Also Ask
- Why KBr is used in IR spectrophotometry? A Key to Transparent Sample Analysis
- What is the detailed procedure for preparing a KBr pellet for analysis? Master the Art of Clear Spectroscopic Pellets
- Why we use KBr pellets in IR? Unlock Clear Sample Analysis with Infrared-Transparent Matrix
- What measurement methods are commonly used for powder samples in infrared spectroscopy? Optimize Your FTIR Analysis
- Why KBr is used to make the pellet? Achieve High-Quality FTIR Analysis of Solid Samples