Preparing a KBr pellet is a fundamental technique in infrared (IR) spectroscopy for analyzing solid samples. The process involves mixing a small amount of your sample with high-purity potassium bromide (KBr) powder, grinding the mixture until it is exceptionally fine, and then compressing it under high pressure in a die to form a small, transparent disc. This disc can then be placed directly in the path of the spectrometer's IR beam.
The quality of your IR spectrum is directly determined by how well you prepare the KBr pellet. The goal is not just to create a solid disc, but to uniformly disperse your sample at a low concentration within a perfectly transparent, moisture-free KBr matrix.
The Principle Behind the KBr Pellet
To obtain a clean spectrum, the material holding your sample must be invisible to infrared radiation. Alkali halide salts like potassium bromide (KBr) are ideal for this purpose.
Why KBr is Used
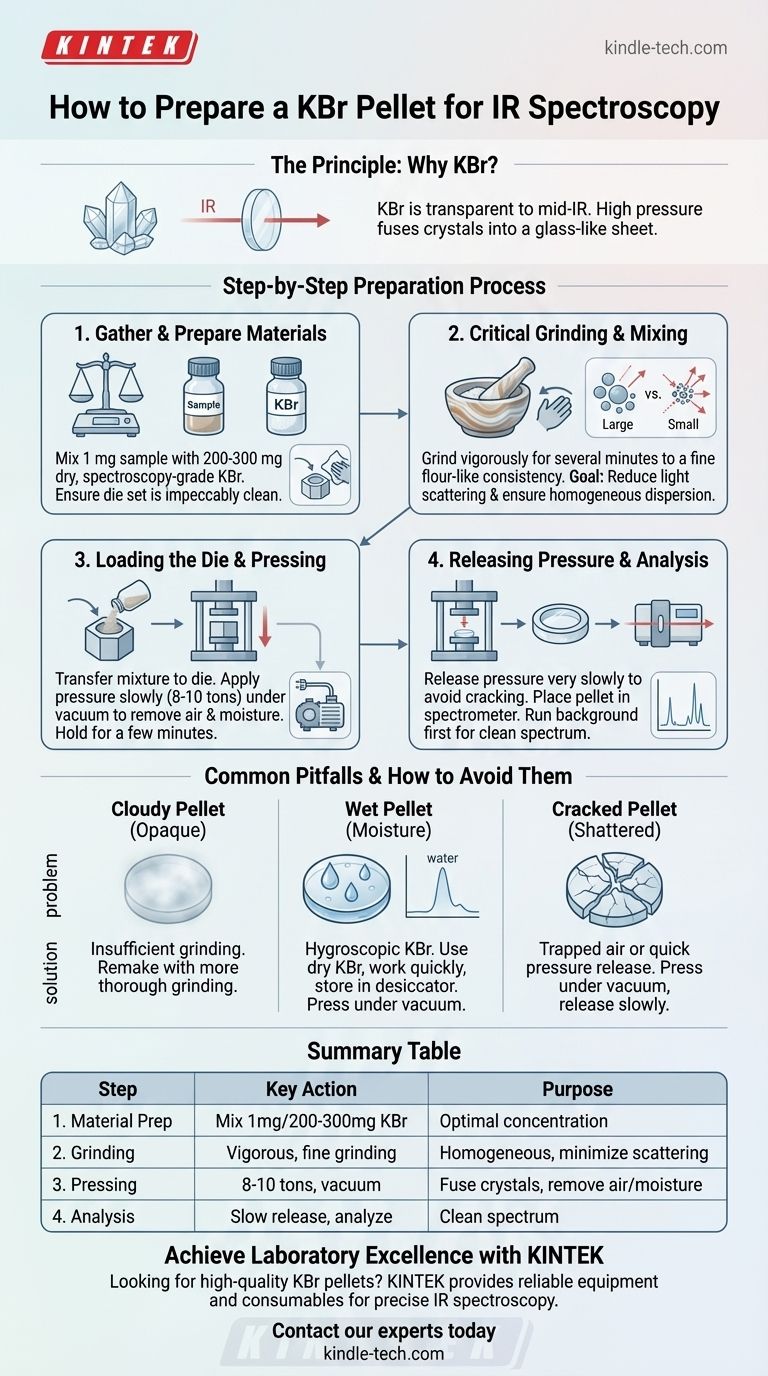
Potassium bromide is transparent to mid-infrared radiation, meaning it does not absorb light in the typical analysis range (4000 to 400 cm⁻¹). This ensures that any absorption peaks you see in the final spectrum belong to your sample, not the matrix material.
The Role of High Pressure
Under immense pressure (on the order of 8-10 tons), the crystalline KBr powder undergoes plastic deformation. This forces the individual salt crystals to fuse together, eliminating the air gaps between them and forming a solid, glass-like sheet that is transparent not only to visible light but, more importantly, to IR radiation.
The Step-by-Step Preparation Process
Achieving a high-quality pellet requires attention to detail at every stage. Rushing any step will likely result in a poor-quality spectrum.
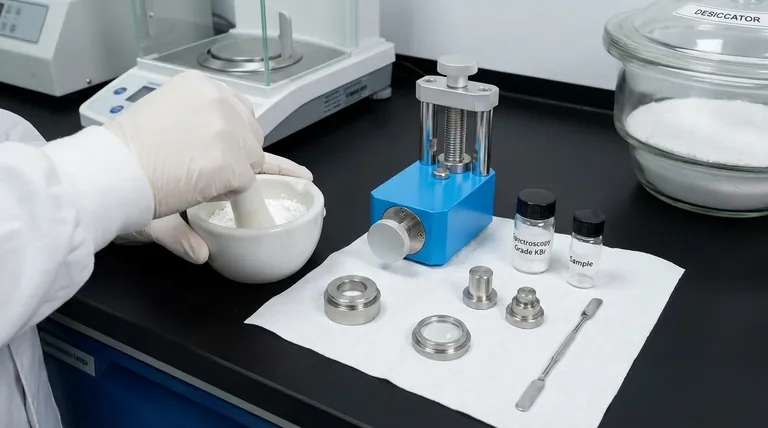
Step 1: Gather and Prepare Your Materials
The recommended ratio is approximately 1 mg of sample to every 200-300 mg of spectroscopy-grade KBr. Using too much sample will result in peaks that are too intense and "flat-topped" (total absorption), making the spectrum unusable.
Before starting, ensure the die set (collar, anvils, and bolts) is impeccably clean. Wiping all parts with a solvent like chloroform or acetone and drying thoroughly removes any residue from previous use.
Step 2: The Critical Grinding and Mixing Step
This is the most crucial step for ensuring a clear pellet. Combine your sample and the KBr powder in an agate mortar and pestle.
Grind the mixture vigorously for several minutes. The goal is to reduce the particle size to a fine, flour-like consistency. This minimizes light scattering (which causes a sloping baseline) and ensures the sample is homogeneously distributed throughout the KBr.
Step 3: Loading the Die and Pressing
Assemble the die by inserting the shorter anvil (or bottom bolt) into the main body or collar. Carefully transfer the ground sample mixture into the die cavity, spreading it evenly.
Insert the longer anvil (or top bolt) and place the entire assembly into a hydraulic press. It is critical to apply pressure under vacuum, if possible. The vacuum removes trapped air and, crucially, adsorbed moisture from the KBr.
Apply pressure slowly and steadily up to 8-10 tons and hold for a few minutes.
Step 4: Releasing Pressure and Analysis
Release the pressure on the press very slowly. Releasing it too quickly can cause the delicate pellet to crack.
Carefully remove the die from the press and extract the transparent pellet. It is often retained within a steel collar for easy handling. Place the collar into the spectrometer's sample holder and run your analysis. For best results, run a background spectrum first using a pellet made of pure KBr to subtract any atmospheric H₂O, CO₂, or residual matrix impurities.
Common Pitfalls and How to Avoid Them
The final appearance of the pellet is a direct indicator of its quality. Understanding common failures will help you troubleshoot the process.
The "Cloudy" Pellet Problem
If your pellet appears opaque or cloudy, it is almost always due to insufficient grinding. Large particles scatter infrared light, leading to a poor signal-to-noise ratio and a severely sloping baseline. The only solution is to remake the pellet, grinding the mixture more thoroughly.
The "Wet" Pellet Problem (Moisture)
KBr is hygroscopic, meaning it readily absorbs moisture from the air. Water has a very strong, broad absorption band in the IR spectrum (~3400 cm⁻¹) that can obscure important sample peaks. To avoid this, use dry, spectroscopy-grade KBr, work quickly, and store the KBr in a desiccator. Pressing under vacuum helps remove any moisture absorbed during preparation.
The "Cracked" Pellet Problem
A cracked or shattered pellet is typically caused by trapped air or releasing the pressure from the hydraulic press too abruptly. Pressing under vacuum minimizes trapped air, and a slow, controlled pressure release is essential for the pellet to anneal properly.
Making the Right Choice for Your Goal
Your specific analytical goal should guide your focus during pellet preparation.
- If your primary focus is qualitative identification: Your main goal is a clear, artifact-free spectrum. Focus on thorough grinding to get a transparent pellet and on eliminating moisture contamination.
- If your primary focus is quantitative analysis: Precision and consistency are paramount. You must accurately weigh the sample and KBr and ensure perfect homogeneity through grinding to create reproducible pellets.
- If your peaks are too strong or "flat-topped": Your sample concentration is too high. You must remake the pellet using significantly less sample relative to the KBr.
- If your spectrum has a noisy, sloping baseline: Your pellet is likely scattering light due to large particle size. Remake the pellet and grind the mixture for a longer time to achieve a finer powder.
Mastering this technique is a foundational skill that directly translates to the quality and reliability of your infrared spectroscopy data.
Summary Table:
| Step | Key Action | Purpose |
|---|---|---|
| 1. Material Prep | Mix 1 mg sample with 200-300 mg dry KBr | Achieve correct concentration for optimal IR transmission |
| 2. Grinding | Grind vigorously to fine powder in agate mortar | Ensure homogeneous dispersion and minimize light scattering |
| 3. Pressing | Compress at 8-10 tons under vacuum | Fuse KBr crystals into transparent disc, remove air/moisture |
| 4. Analysis | Slowly release pressure, place pellet in spectrometer | Obtain clean spectrum with sharp, identifiable peaks |
Achieve laboratory excellence with KINTEK.
Are you looking to consistently produce high-quality KBr pellets for precise IR spectroscopy analysis? KINTEK specializes in providing reliable laboratory equipment and consumables, including spectroscopy-grade KBr and durable pellet dies, designed to meet the exacting needs of research and quality control labs.
Let us help you enhance your sample preparation workflow and ensure the integrity of your spectral data. Contact our experts today to discuss your specific requirements and discover the right solutions for your laboratory.
Visual Guide
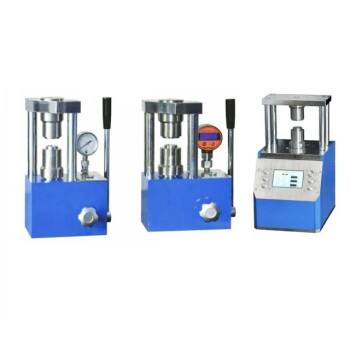
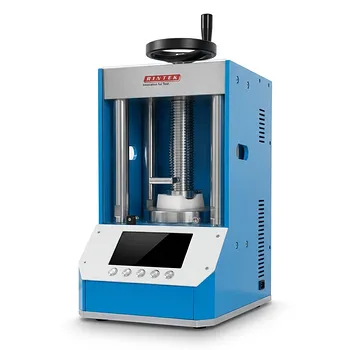
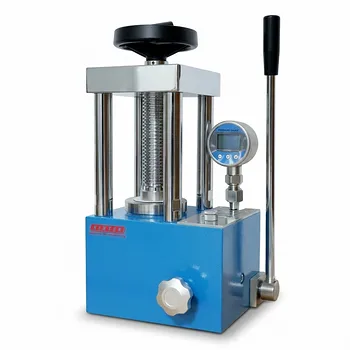
Related Products
- kbr pellet press 2t
- Laboratory Hydraulic Pellet Press for XRF KBR FTIR Lab Applications
- Automatic Laboratory Hydraulic Press for XRF & KBR Pellet Press
- XRF & KBR plastic ring lab Powder Pellet Pressing Mold for FTIR
- XRF & KBR steel ring lab Powder Pellet Pressing Mold for FTIR
People Also Ask
- How do you make KBr pellets? Master the Art of Creating Clear FTIR Discs for Accurate Analysis
- Why KBr is used in IR spectrophotometry? A Key to Transparent Sample Analysis
- How do you prepare KBr pellets for FTIR analysis? Master the Technique for High-Quality IR Spectra
- How do you prepare samples for IR spectroscopy? A Step-by-Step Guide for Solids, Liquids, and Gases
- What is the use of KBr pellets? Achieve Clear FTIR Analysis of Solid Samples