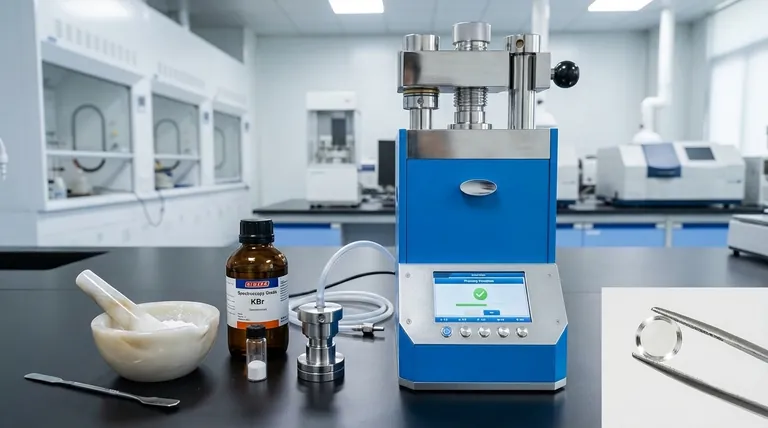
To prepare a KBr sample for FTIR analysis, you must grind your solid sample to a fine powder, thoroughly mix it with spectroscopy-grade potassium bromide (KBr) powder at a low concentration, and use a hydraulic press to compress the mixture in a die. This process creates a thin, transparent, or translucent pellet that allows infrared light to pass through for analysis. The key is to ensure all components are completely dry and the sample is homogeneously dispersed.
The ultimate goal is not simply to press a disc, but to create a "solid solution" where your sample molecules are isolated within a KBr matrix that is transparent to infrared radiation. The most common points of failure are moisture contamination and improper sample concentration, both of which will obscure your results.
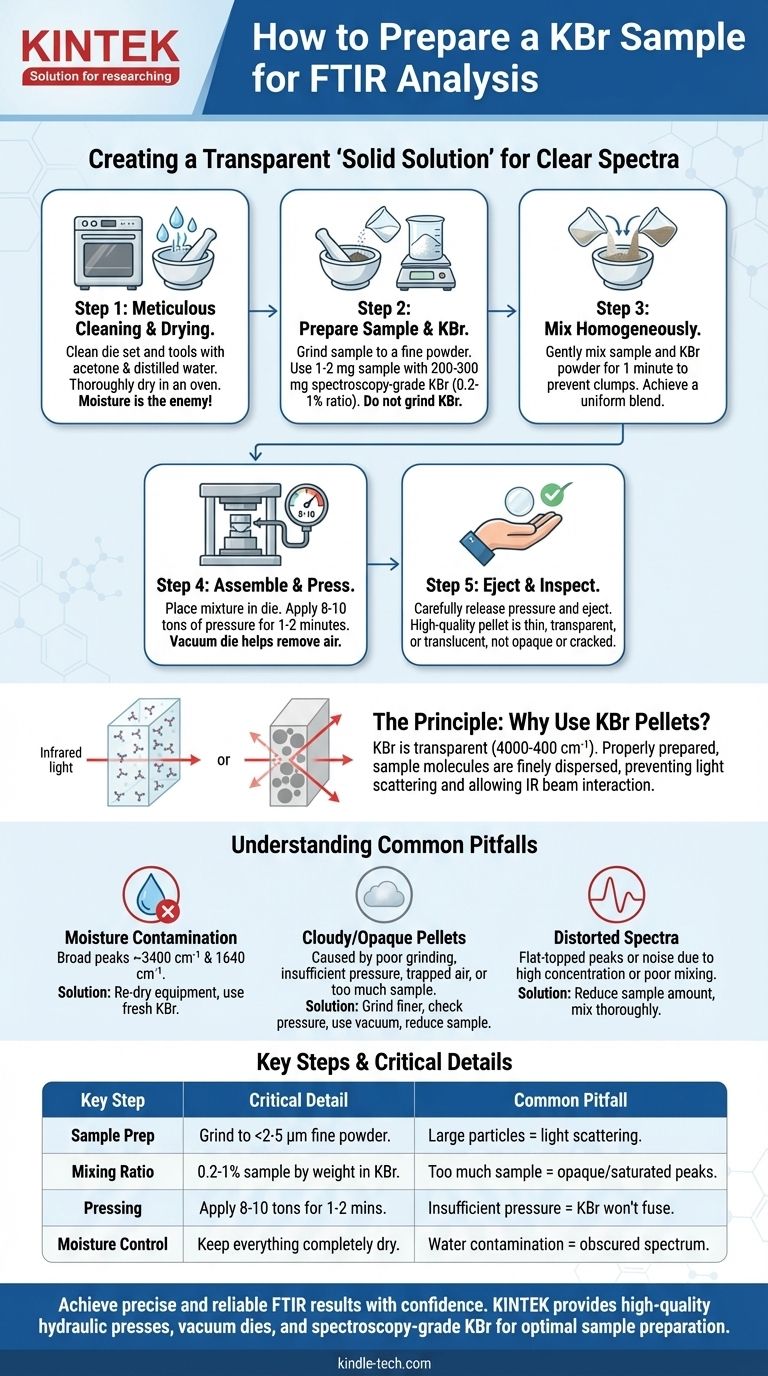
The Principle: Why Use KBr Pellets?
Preparing a high-quality pellet requires understanding why the technique works. The goal is to prepare a solid sample in a form that behaves like a liquid sample in the spectrometer.
Creating a "Solid Solution"
Potassium bromide (KBr) is the matrix of choice because it is transparent across the mid-infrared region (4000-400 cm⁻¹) and has a refractive index similar to many organic compounds when ground.
When properly prepared, the sample molecules are finely dispersed within the KBr, preventing light from scattering off solid particles and allowing the IR beam to interact primarily with the sample's chemical bonds.
The Importance of Particle Size
For a clear spectrum, the solid sample particles must be ground to a size smaller than the wavelength of the IR radiation being used. If particles are too large, they will scatter the light (an effect known as Mie scattering), causing a sloping baseline and poorly defined peaks.
Step-by-Step Preparation Protocol
Success depends on a methodical and clean workflow. Rushing any step will likely result in a poor-quality pellet and unusable data.
Step 1: Meticulous Cleaning and Drying
Before you begin, all your tools must be scrupulously clean and, most importantly, dry. Moisture is the primary enemy of KBr-based analysis.
Clean the die set (anvils and collar) and the mortar and pestle with a solvent like acetone, followed by distilled water. Dry all components thoroughly, ideally in an oven, to remove every trace of water and cleaning solvent.
Step 2: Preparing the Sample and KBr
The ratio of your sample to the KBr is critical. A sample concentration of 0.2% to 1% by weight is standard.
For a typical 13 mm diameter pellet, use approximately 1-2 mg of your sample and 200-300 mg of KBr powder. Use only spectroscopy-grade KBr that has been kept in a desiccator or drying oven.
In an agate mortar, grind the solid sample by itself until it becomes a fine, flour-like powder. Do not grind the KBr powder, as this increases its surface area and encourages it to absorb moisture from the air.
Step 3: Mixing the Sample and Matrix
Add the pre-weighed KBr powder to the ground sample in the mortar.
Mix the two powders gently but thoroughly with the pestle for about a minute. The goal is a completely homogeneous mixture with no visible clumps of the sample.
Step 4: Assembling the Die and Pressing
Carefully pour the powder mixture into the die collar, ensuring an even distribution. Assemble the die press according to your equipment's instructions.
Place the assembled die into a hydraulic press. Apply pressure slowly, typically to 8-10 tons of load, and hold for 1-2 minutes. Using a vacuum die can help remove trapped air and moisture, often resulting in a clearer pellet.
Step 5: Ejecting and Inspecting the Pellet
Slowly release the pressure and carefully disassemble the die to retrieve your pellet.
A high-quality pellet will be thin and either fully transparent or uniformly translucent. It should not be opaque, cloudy, or visibly cracked.
Understanding Common Pitfalls
Troubleshooting is a normal part of the process. Understanding what went wrong is key to fixing it.
The Problem of Moisture
KBr is hygroscopic, meaning it readily absorbs water from the atmosphere. Water has very strong IR absorption bands that can easily overwhelm the peaks from your sample. If you see broad, strong peaks around 3400 cm⁻¹ and 1640 cm⁻¹, you have water contamination.
Cloudy or Opaque Pellets
This is the most common failure. The cause is almost always one of four things:
- Poor Grinding: Large particles are scattering light.
- Insufficient Pressure: The KBr has not fully fused into a glassy state.
- Trapped Air/Moisture: Contaminants are causing imperfections.
- Too Much Sample: An overly high concentration prevents the pellet from becoming transparent.
Distorted or Noisy Spectra
If your pellet looks good but the spectrum is poor, the issue is likely concentration or mixing. Too much sample will cause the strongest peaks to "flat-top" (total absorption), making them useless for analysis. Inhomogeneous mixing will lead to a noisy, non-reproducible spectrum.
Making the Right Choice for Your Goal
Your specific goal will dictate which part of the process you need to focus on most.
- If your primary focus is a high-quality survey spectrum: Prioritize getting a transparent pellet by meticulously drying all components and grinding the sample finely before mixing.
- If your primary focus is quantitative analysis: Consistency is paramount. You must precisely weigh both the sample and KBr for every pellet and use an identical pressing time and pressure for your standard and unknowns.
- If you are troubleshooting a failed attempt: Start by suspecting moisture. Re-dry all your equipment and use fresh KBr from a desiccator. If it fails again, reduce your sample concentration.
Mastering this technique transforms it from a tedious task into a reliable tool for precise material analysis.
Summary Table:
| Key Step | Critical Detail | Common Pitfall |
|---|---|---|
| Sample Preparation | Grind sample to fine powder (<2-5 µm). | Large particles cause light scattering (cloudy pellet). |
| Mixing Ratio | Use 0.2-1% sample by weight in KBr. | Too much sample leads to opaque pellets and saturated peaks. |
| Pressing | Apply 8-10 tons of pressure for 1-2 minutes. | Insufficient pressure prevents KBr from fusing properly. |
| Moisture Control | Ensure all equipment and KBr are completely dry. | Water contamination obscures the spectrum with broad peaks. |
Achieve precise and reliable FTIR results with confidence. The KBr pellet technique is fundamental, but having the right, high-quality equipment is essential for success.
KINTEK specializes in providing laboratory professionals with reliable hydraulic presses, vacuum dies, spectroscopy-grade KBr, and durable die sets designed specifically for this application. Our products help you eliminate common pitfalls like moisture contamination and inconsistent pressing, ensuring you get clear, reproducible spectra every time.
Ready to optimize your sample preparation workflow? Contact our experts today to find the perfect solution for your lab's needs.
Visual Guide
Related Products
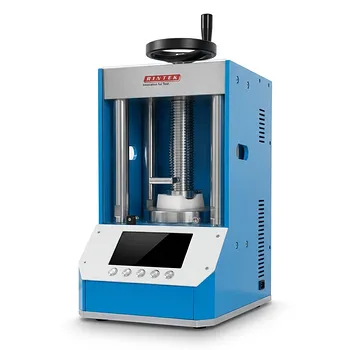
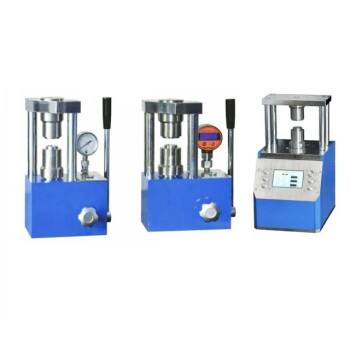
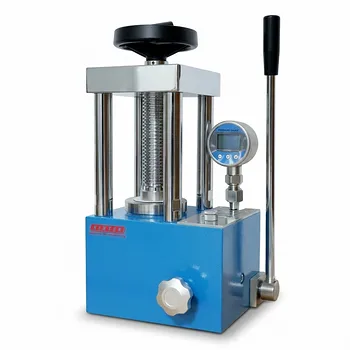
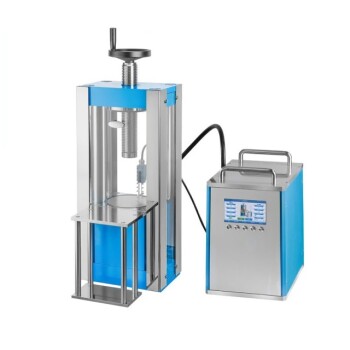
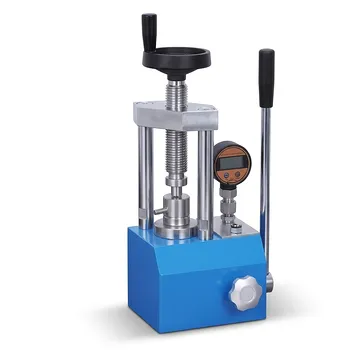
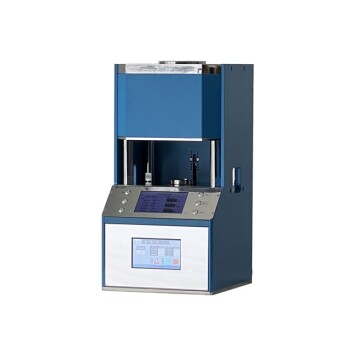
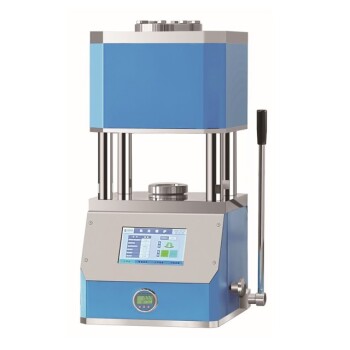
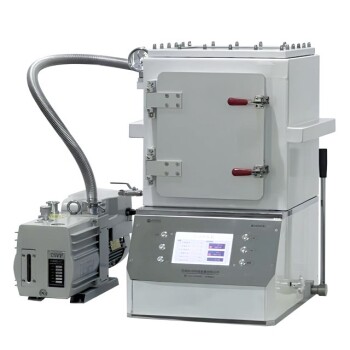
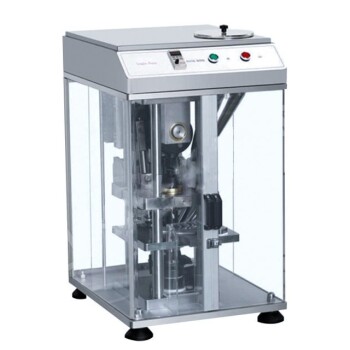
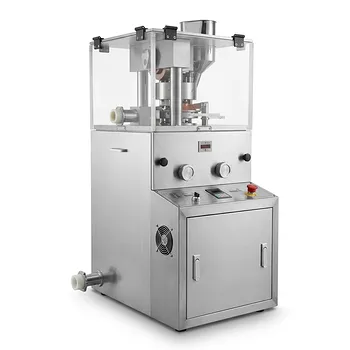
- Laboratory Hydraulic Pellet Press for XRF KBR FTIR Lab Applications
- Automatic Laboratory Hydraulic Press for XRF & KBR Pellet Press
- kbr pellet press 2t
- XRF & KBR steel ring lab Powder Pellet Pressing Mold for FTIR
- XRF & KBR plastic ring lab Powder Pellet Pressing Mold for FTIR
People Also Ask
- What is the purpose of using a laboratory pellet press when evaluating the electronic conductivity of carbon powders? Guide
- What is the necessity of using a laboratory hydraulic pellet press in the preparation of biomass fuel pellets? Guide
- What is the role of a laboratory hydraulic pellet press and stainless steel molds in the fabrication of RuO2/NbC anodes?
- What key role does a laboratory pellet press play in FTIR analysis? Master KBr Sample Preparation Excellence
- Why is a laboratory hydraulic press used to compress powders into pellets? Enhance Solid-State Reaction Kinetics