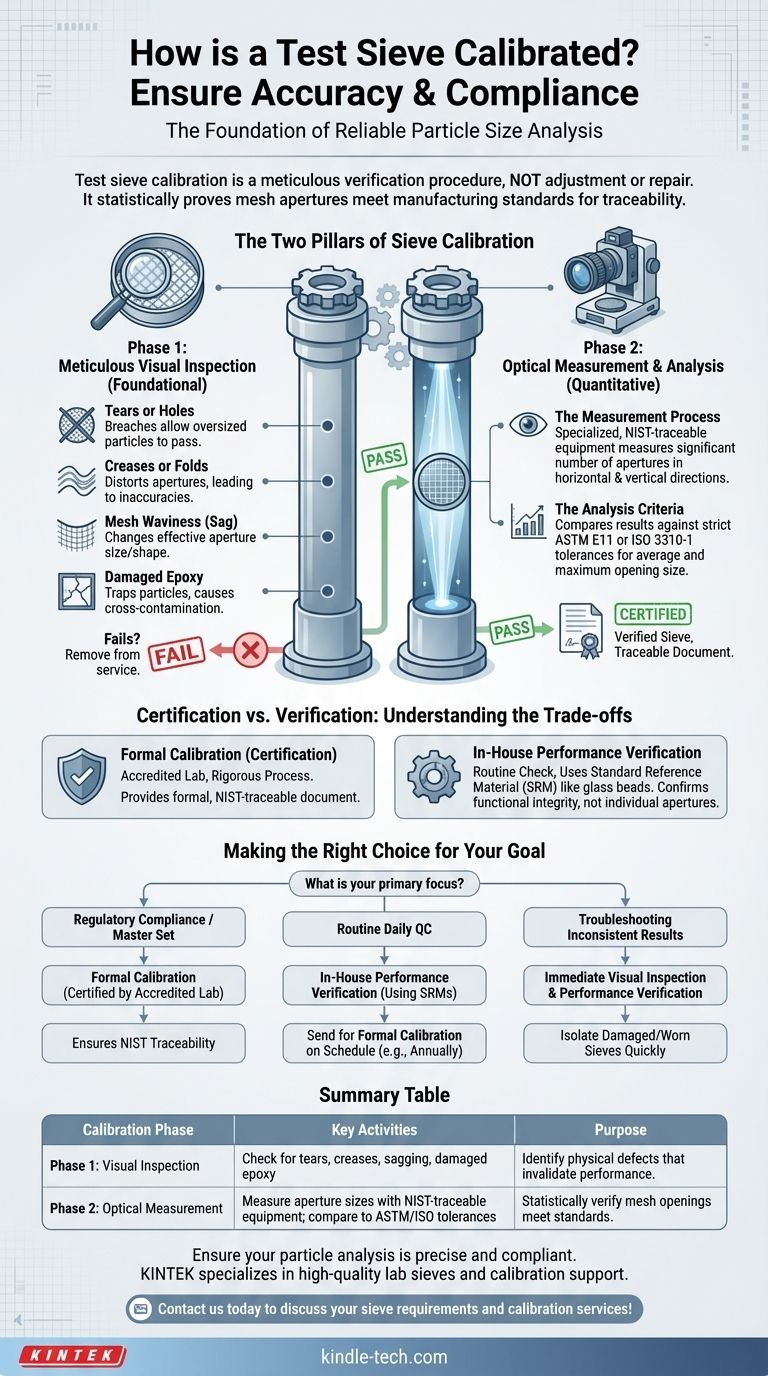
To calibrate a test sieve, the process involves two distinct stages: a thorough visual inspection for physical defects and a precise optical measurement of the mesh openings. This certification process verifies that the sieve's apertures conform to the strict dimensional tolerances required by standards such as ASTM E11 or ISO 3310-1, ensuring the accuracy and repeatability of your particle size analysis.
Test sieve calibration is not a process of adjustment or repair. It is a meticulous verification procedure that statistically proves the mesh apertures meet a specific manufacturing standard, providing the traceable documentation required for quality assurance and regulatory compliance.

The Two Pillars of Sieve Calibration
The entire calibration process rests on successfully passing two critical examinations. A failure at either stage means the sieve cannot be certified and should be removed from service.
Phase 1: Meticulous Visual Inspection
This is the foundational first step. Before any measurements are taken, the sieve is examined for any physical imperfections that would invalidate its performance. An accredited technician is looking for several key failure points.
- Tears or Holes: Any breach in the mesh renders the sieve useless, as it allows oversized particles to pass through.
- Creases or Folds: A sharp crease in the wire cloth permanently distorts the nearby apertures, creating areas that are out of specification.
- Mesh Waviness (Sag): The wire mesh must be perfectly flat and taut. Any sagging or waviness changes the effective size and shape of the apertures as particles approach them, leading to inaccurate results.
- Damaged Epoxy: The epoxy that secures the mesh to the frame must be intact. Cracks or gaps can trap particles, leading to cross-contamination between samples and skewed results.
Phase 2: Optical Measurement and Analysis
If a sieve passes the visual inspection, it moves to the quantitative analysis stage. This is performed using a specialized, NIST-traceable optical comparator or automated video imaging system.
- The Measurement Process: The system measures a statistically significant number of individual apertures across the entire surface of the mesh. Measurements are taken in both the horizontal (weft) and vertical (warp) directions of the weave.
- The Analysis Criteria: These measurements are then compared against the specific tolerances defined in the relevant standard (e.g., ASTM E11). The standard dictates the permissible variation for the average aperture opening and also sets a maximum allowable size for any single opening.
Understanding the Trade-offs: Certification vs. Verification
It's crucial to distinguish between a formal calibration (often called certification) and a more routine performance verification. They serve different purposes and have different levels of rigor.
Formal Calibration (Certification)
This is the rigorous process described above, performed by an accredited laboratory. It provides a formal, traceable document proving the sieve met the manufacturing standard at the time of testing. This is essential for primary reference sieves and regulated industries.
In-House Performance Verification
This is a simpler check you can perform in your own facility. It involves running a sample of a Standard Reference Material (SRM)—such as glass beads with a highly precise and known particle size distribution—through your sieve. You then weigh the amount retained. If it matches the SRM's certificate, you have verified the sieve is performing correctly. This does not certify the individual apertures but confirms the sieve's overall functional integrity.
Making the Right Choice for Your Goal
Your approach to calibration should be driven by your specific operational and quality requirements.
- If your primary focus is regulatory compliance or establishing a "master set": Your working sieves must be formally certified by an accredited, third-party lab to ensure NIST traceability.
- If your primary focus is routine, day-to-day quality control: Implement a program of regular in-house performance verification using SRMs, and send sieves for formal certification on a less frequent schedule (e.g., annually) based on use.
- If your primary focus is troubleshooting inconsistent results: Immediately perform a thorough visual inspection and a performance verification test to quickly isolate a damaged or worn-out sieve.
Ultimately, proper sieve calibration and verification are the foundation for reliable and repeatable particle size analysis.
Summary Table:
| Calibration Phase | Key Activities | Purpose |
|---|---|---|
| Phase 1: Visual Inspection | Check for tears, creases, sagging mesh, damaged epoxy | Identify physical defects that invalidate sieve performance |
| Phase 2: Optical Measurement | Measure aperture sizes using NIST-traceable equipment; compare to ASTM/ISO tolerances | Statistically verify mesh openings meet manufacturing standards |
Ensure your particle analysis is precise and compliant. KINTEK specializes in high-quality lab sieves and calibration support. Our equipment meets rigorous ASTM/ISO standards, providing the reliability your laboratory needs for accurate results. Contact us today to discuss your sieve requirements and calibration services!
Visual Guide
Related Products
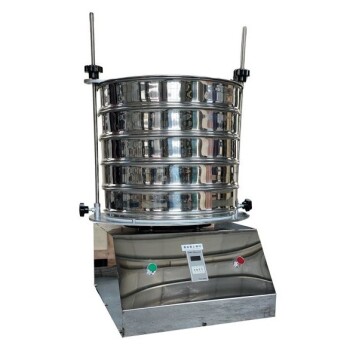
- Laboratory Test Sieves and Sieving Machines
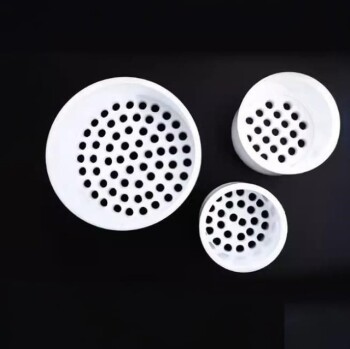
- Custom PTFE Teflon Parts Manufacturer for PTFE Mesh F4 Sieve
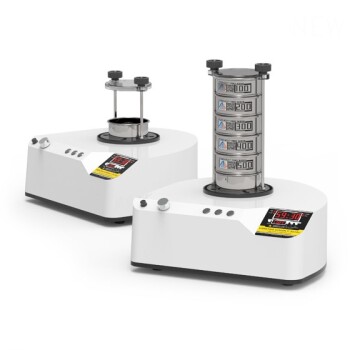
- Three-dimensional electromagnetic sieving instrument
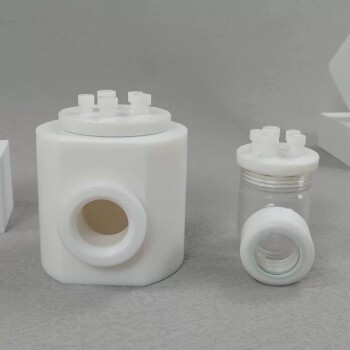
- Side Window Optical Electrolytic Electrochemical Cell
- Reference Electrode Calomel Silver Chloride Mercury Sulfate for Laboratory Use
People Also Ask
- What are the sieve used in laboratory? A Guide to Choosing the Right Sieve for Accurate Particle Analysis
- What are laboratory sieves used for? Measure Particle Size for Quality Control & R&D
- What are the uses of sieve in laboratory? Essential Guide to Particle Size Analysis
- What are the specifications for test sieves? A Guide to ASTM & ISO Standards for Accurate Particle Analysis
- What is the difference between ASTM standards sieves and is standard sieves? Ensure Compliance for Your Lab