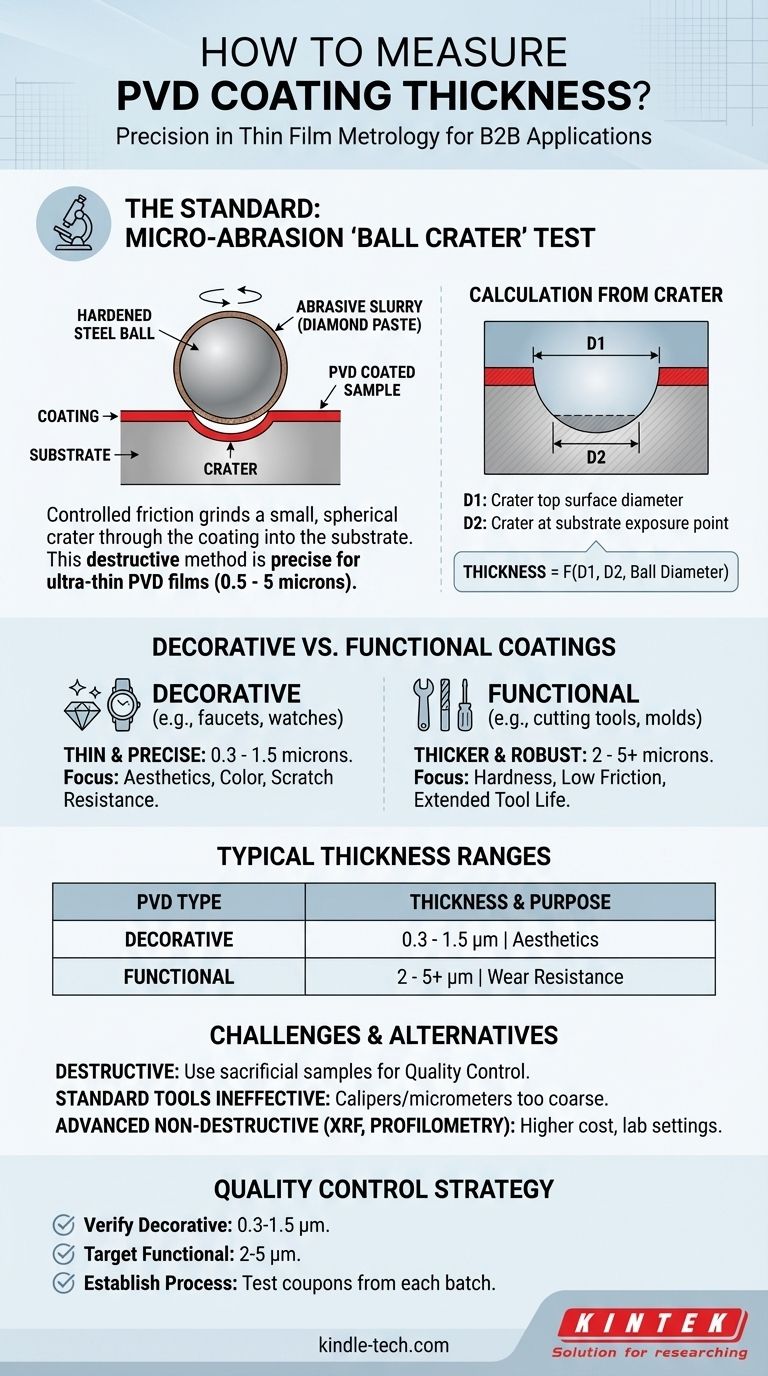
To measure the thickness of a PVD coating, the most common and accessible industry method is the micro-abrasion wear test, also known as the "ball crater" or "dimple-grinder" test. This technique is specifically designed to accurately measure the ultra-thin films created by Physical Vapor Deposition (PVD), which typically range from 0.5 to 5 microns.
While direct measurement is achieved with a destructive micro-abrasion test, a true assessment of quality requires understanding the expected thickness based on the coating's intended function—whether it is for decorative appearance or for functional performance.
The Standard Measurement Technique: Micro-Abrasion
The ball crater test is a destructive method, meaning it leaves a permanent mark on the tested surface. Because of this, it is often performed on sample coupons coated alongside a production batch or on a non-critical area of the part itself.
How the 'Ball Crater' Test Works
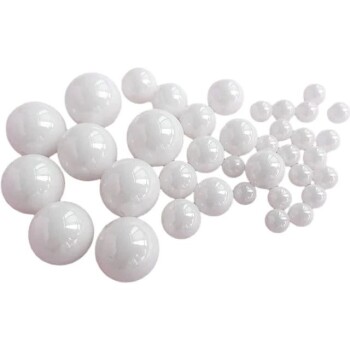
The process is straightforward but precise. A hardened steel ball of a known diameter is coated with a fine abrasive slurry (typically diamond paste) and rotated against the surface of the coated part.
This controlled friction grinds a small, spherical crater that passes through the PVD coating and into the underlying substrate material.
Calculating Thickness from the Crater
Once the grinding is complete, the crater is viewed under a microscope. The test relies on simple geometry.
By measuring the diameter of the crater at the top surface and the diameter of the crater at the point where it exposes the substrate, the coating's thickness can be calculated with high accuracy.
Why PVD Thickness Matters: Decorative vs. Functional
The required thickness of a PVD coating is dictated entirely by its application. Understanding this distinction is key to knowing what measurement value to expect. PVD coatings are not one-size-fits-all.
Decorative Coatings: Thin and Precise
For products where aesthetics are the primary goal, such as faucets, watches, or colored stainless steel sheets, the PVD coating is extremely thin.
These decorative films often measure between 0.3 and 1.5 microns. Their purpose is to provide a specific color, a durable finish, and basic resistance to scratches and tarnishing, without adding significant dimensionality.
Functional Coatings: Thicker and More Robust
For industrial applications like cutting tools, molds, and high-wear components, the PVD coating serves a functional purpose. These coatings are engineered for extreme hardness, low friction (lubricity), and thermal stability.
To achieve these properties, functional coatings are significantly thicker, typically ranging from 2 to 5 microns. In some highly demanding cases, they can be even thicker. This added material is essential for extending the operational life of the tool.
Understanding the Trade-offs and Challenges
Measuring PVD coatings requires specialized knowledge and equipment because you are dealing with layers thinner than a human blood cell.
The Test is Destructive
The primary drawback of the standard ball crater test is that it damages the part. You cannot test a finished, customer-ready product and then ship it. This necessitates a quality control strategy based on statistical process control and the testing of sacrificial samples.
Standard Tools are Ineffective
Mechanical measurement tools like calipers or micrometers are completely useless for this task. The thickness of a PVD film is far below their resolution and can't be measured by contact.
Advanced Non-Destructive Methods
Other, more advanced techniques like X-Ray Fluorescence (XRF) and profilometry can measure coating thickness non-destructively. However, these methods require more expensive equipment and are typically used in laboratory or high-volume production settings. For most shops, the ball crater test remains the practical standard.
Making the Right Choice for Your Goal
Your measurement strategy should align directly with the coating's purpose. Use the expected thickness range as your benchmark for quality control.
- If your primary focus is a decorative finish: Expect and verify measurements in the 0.3 to 1.5-micron range, ensuring color and finish are consistent across the batch.
- If your primary focus is a functional tool coating: Your target is a thickness between 2 and 5 microns, as this range is directly correlated to the tool's performance and wear life.
- If you are establishing a quality process: Use the micro-abrasion test on designated test coupons from each PVD batch to validate thickness without destroying valuable parts.
By combining the right measurement technique with an understanding of the coating's purpose, you can confidently validate the quality and performance of your PVD-coated components.

Summary Table:
| PVD Coating Type | Typical Thickness Range | Primary Purpose |
|---|---|---|
| Decorative (e.g., watches, faucets) | 0.3 - 1.5 microns | Aesthetics, scratch resistance |
| Functional (e.g., cutting tools, molds) | 2 - 5+ microns | Hardness, wear resistance, extended tool life |
Ensure your PVD coatings meet exact specifications with KINTEK's precision lab equipment. Whether you're performing ball crater tests or need advanced non-destructive measurement solutions, our expertise in laboratory equipment and consumables helps you maintain quality control for both decorative and functional coatings. Contact our specialists today to discuss the right tools for your PVD coating validation needs.
Visual Guide
Related Products
- Laboratory Test Sieves and Sieving Machines
- HFCVD Machine System Equipment for Drawing Die Nano-Diamond Coating
- Anti-Cracking Press Mold for Lab Use
- Vacuum Hot Press Furnace Machine for Lamination and Heating
- 915MHz MPCVD Diamond Machine Microwave Plasma Chemical Vapor Deposition System Reactor
People Also Ask
- What are the steps in sieving method? A Guide to Accurate Particle Size Separation
- How do you use a sieve shaker? Master Particle Size Analysis for Quality Control
- What type of materials can be separated using the method of sieving? A Guide to Efficient Particle Size Separation
- What are advantages and disadvantages of sieving method? A Guide to Reliable & Cost-Effective Particle Sizing
- Which equipment is operated for sieves when perform sieving tests? Achieve Accurate Particle Size Analysis
