At its core, a negative mold is a hollow cavity that is filled with a liquid material to create a solid object. The mold itself is the inverse, or "negative" shape, of the final part. The most common example is an ice cube tray: the tray is the negative mold, and the ice cubes it produces are the final positive objects.
The term "negative" simply describes a mold that is a hollow cavity—the inverse of the final object. You fill this cavity to create your part. This contrasts with a "positive" mold, which is a solid form that you build material around.
The Fundamental Principle: Positive vs. Negative Molds
To truly understand negative molding, it's best to compare it to its counterpart. The choice between them dictates the manufacturing process, material selection, and final surface quality.
Understanding the Negative Mold (The Cavity)
A negative mold is an enclosure. You pour a material like resin, concrete, or molten plastic into this cavity.
When the material hardens, it takes on the shape of the mold's interior walls. This means the exterior surface of your final part is defined by the interior surface of the mold.
This is the most intuitive type of molding, used for everything from making chocolates to casting engine blocks.
Understanding the Positive Mold (The Form)
A positive mold, also known as a plug or a buck, is a solid representation of the final object's shape.
Instead of filling a cavity, you build material in layers over the surface of the positive mold. This is common for creating hollow objects, like kayaks or fiberglass car bodies.
With a positive mold, the interior surface of your final part is defined by the exterior surface of the mold.
Why the Distinction Matters
The key difference lies in which surface of the final part is controlled by the high-quality mold surface. A negative mold gives you a perfect exterior; a positive mold gives you a perfect interior.
The Negative Molding Process in Practice
Creating a part using a negative mold generally follows a clear, repeatable sequence.
Step 1: Creating the Master Pattern
The process almost always begins with a "master" or "plug." This is a perfect, highly-finished positive model of the object you want to replicate.
Step 2: Forming the Negative Mold
Mold-making material, such as silicone rubber, urethane, or fiberglass, is applied over the master pattern. This material captures every detail from the master's surface. Once cured, it is removed to reveal a new, hollow negative mold.
Step 3: Casting the Final Part
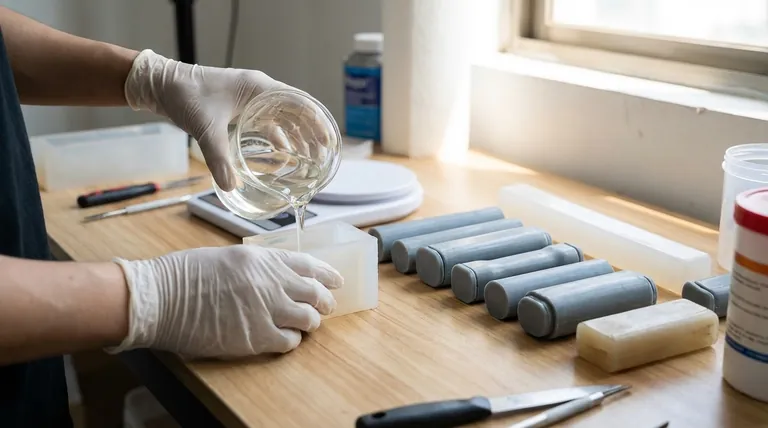
The negative mold is prepared with a release agent, and the final production material (the "casting material") is poured or injected into the cavity.
Step 4: Demolding the Part
After the casting material has fully cured and hardened, the negative mold is carefully removed, revealing the finished part which is a precise copy of the original master pattern.
Understanding the Trade-offs
Negative molding is incredibly powerful, but it's essential to understand its specific advantages and limitations.
Advantage: High-Quality Exterior Finish
Because the exterior of the part cures directly against the prepared interior surface of the mold, you can achieve a flawless, pre-finished surface. The mold can be polished to a mirror shine, and the cast part will replicate that finish perfectly.
Advantage: Simplicity and Repeatability
For solid objects, the "pour and fill" method is often simpler and faster than layering material over a positive form. This makes it ideal for producing many identical copies efficiently.
Limitation: Uncontrolled Interior Surface
The surface of the part that is not touching the mold (usually the "top" where the material was poured in) is not controlled. It is exposed to the air and will have a rougher, less precise finish.
Limitation: Trapped Air and Voids
Complex negative molds can easily trap air bubbles as the material is poured in. This results in voids or imperfections in the final cast. Mitigating this often requires specialized equipment like vacuum chambers or vibration tables to force the air out.
Making the Right Choice for Your Project
The decision to use a negative mold is driven by the specific requirements of the final product.
- If your primary focus is a flawless exterior surface and high-volume production: A negative mold is almost always the superior choice for its finish quality and repeatability.
- If your primary focus is creating a hollow object or controlling the interior surface finish (e.g., a boat hull): A positive mold, where you build layers on the outside, is the standard approach.
- If you need high precision on all surfaces: You will likely need a more complex two-part (or multi-part) negative mold that fully encloses the object, creating a complete cavity.
Understanding this fundamental distinction between filling a cavity and covering a form empowers you to select the most effective manufacturing strategy for your goal.
Summary Table:
| Feature | Negative Mold (Cavity) | Positive Mold (Form) |
|---|---|---|
| Mold Type | Hollow cavity | Solid form/plug |
| Process | Material is poured into the mold | Material is layered over the mold |
| Controls Which Surface? | Exterior surface of the final part | Interior surface of the final part |
| Best For | Solid objects, high-volume production, flawless exterior finish | Hollow objects, precise interior surfaces |
| Common Examples | Ice cubes, chocolates, resin castings, engine blocks | Kayaks, fiberglass car bodies, boat hulls |
Need to create precise, high-quality parts? The right mold is critical to your success. At KINTEK, we specialize in providing the laboratory equipment and consumables needed for advanced material research and prototyping, including mold-making and casting applications. Our experts can help you select the right tools to ensure flawless results. Contact our team today to discuss your project requirements and discover how KINTEK can support your laboratory's innovation.
Visual Guide

Related Products
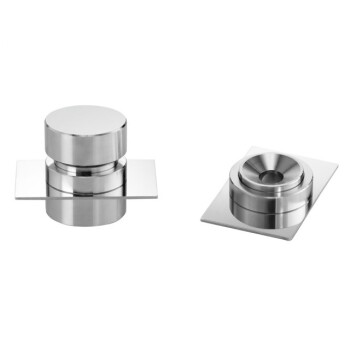
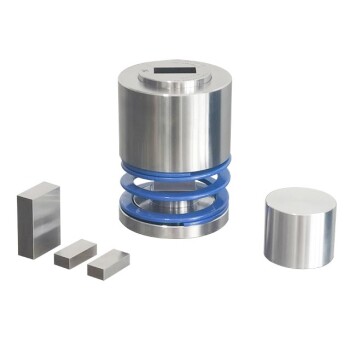
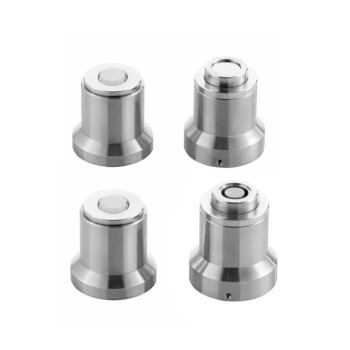
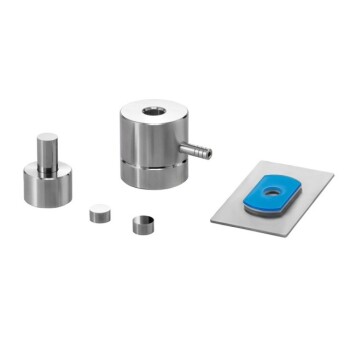
- Anti-Cracking Press Mold for Lab Use
- Special Shape Press Mold for Lab
- Cylindrical Press Mold for Lab Applications
- No Demolding Lab Infrared Press Mold for Laboratory Applications
- Square Bidirectional Pressure Mold for Lab Use
People Also Ask
- What is the function of press molds during the preparation of SiCf/Ti-43Al-9V composites? Achieve Structural Precision
- Why are pressure molds with non-conductive resin inner walls required for battery testing? Ensure Data Accuracy
- What is the purpose of specialized pressure devices in sulfide solid-state batteries? Ensure Chemo-Mechanical Stability
- What is the process of mold press? A Step-by-Step Guide to Compression Molding
- What is a press mold used for? Achieve Repeatable Precision and Efficiency