The heat treatment for vacuum brazing is the entire, precisely controlled thermal cycle performed within the vacuum furnace. This process is not a separate step but is integral to the brazing itself. It typically involves an initial pump-down to establish the vacuum, a controlled heating ramp, a temperature "soak" to ensure uniformity, and a final rise to the brazing temperature where the filler metal melts and flows.
The core principle to understand is that the vacuum brazing thermal cycle is designed to do more than just melt metal. It is an active process that cleans the component surfaces and ensures complete temperature uniformity across the assembly before the joint is formed, which is the key to creating a strong, clean, and flux-free bond.
The Role of the Vacuum Environment
Before examining the thermal stages, it's critical to understand why the process is performed in a vacuum. The vacuum itself is a key part of the treatment.
Eliminating the Need for Flux
In a typical atmosphere, heating metals causes them to form oxides on their surface, which prevents the brazing filler metal from wetting and bonding. Chemical fluxes are used to remove these oxides.
A high vacuum (typically in the 10⁻⁵ to 10⁻⁶ Torr range) removes most of the oxygen and other reactive gases. When heated in this environment, many metal oxides become unstable and decompose, leaving behind a pristine, oxide-free surface for the braze alloy to bond to.
Removing Contaminants
The combination of heat and low pressure also helps to vaporize and remove surface contaminants like oils, cleaning residues, and absorbed gases. This "outgassing" further purifies the joint area, leading to superior bond strength and integrity.
The Stages of the Vacuum Brazing Thermal Cycle
A successful vacuum braze depends on carefully managing each stage of the heating and cooling process. While exact parameters vary by material and part geometry, the fundamental stages remain consistent.
Stage 1: Initial Pump-Down
The first step is to remove the air from the furnace chamber. This process also removes water vapor, which is a significant source of oxygen that can cause oxidation even in a low-pressure environment.
Stage 2: Controlled Ramp-Up
Once the vacuum is established, the furnace begins heating at a controlled rate. A slow, steady ramp is crucial to prevent thermal shock and to minimize distortion, especially in complex assemblies with both thick and thin sections.
Stage 3: The Stand-Off Soak
This is arguably the most critical stage for ensuring a quality joint. The temperature is raised to a point just below the melting temperature of the braze alloy and held there.
This "soak" allows the temperature to equalize across the entire assembly. Thinner sections heat up quickly, while thicker sections lag behind. The soak ensures every part of the joint area reaches the same temperature before brazing begins.
Stage 4: Final Heat to Brazing Temperature
After the part is thermally uniform, the temperature is quickly raised to the specified brazing temperature. This melts the filler metal, which is then drawn into the joint by capillary action. This part of the cycle is kept relatively short to minimize any undesirable metallurgical reactions.
Stage 5: Controlled Cooling
Once the joint is formed, the assembly must be cooled in a controlled manner. The cooling rate can influence the final microstructure, hardness, and residual stress in the part. This step is often just as critical as the heating stages for the final performance of the assembly.
Common Pitfalls to Avoid
The precision of the thermal cycle is what makes vacuum brazing so effective, but it also presents opportunities for error.
Inadequate Vacuum Level
Failing to reach the required vacuum level before heating is a primary cause of failure. Insufficient vacuum leaves behind too much oxygen or water vapor, leading to oxidation and a weak, incomplete braze joint. This is why safety interlocks that prevent heating until a target vacuum is reached are standard.
Rushing the Soak
Skipping or shortening the stand-off soak to save time is a common mistake. This results in temperature gradients across the part. The filler metal will melt and flow toward the hottest areas first, potentially starving other parts of the joint and creating voids.
Incorrect Heating or Cooling Rates
Heating too quickly can warp delicate components. Cooling too quickly can induce high residual stresses or cause cracking, particularly when joining dissimilar materials with different thermal expansion rates.
Matching the Cycle to Your Application
The ideal thermal cycle depends entirely on your materials and your final goal.
- If your primary focus is joining complex assemblies with varied thicknesses: Prioritize a slow initial ramp rate and a thorough stand-off soak to guarantee thermal uniformity.
- If your primary focus is brazing reactive materials like titanium: Achieving a very deep, clean vacuum is your most critical objective to prevent embrittlement from oxygen contamination.
- If your primary focus is high-volume production of simple, uniform parts: You may be able to use a faster, more optimized thermal cycle, but the fundamental principles of uniformity and a clean environment still apply.
Ultimately, mastering the thermal cycle is the key to unlocking the exceptional strength and purity of a vacuum-brazed joint.
Summary Table:
| Stage | Key Function | Outcome |
|---|---|---|
| Initial Pump-Down | Removes air and water vapor | Prevents oxidation during heating |
| Controlled Ramp-Up | Heats assembly slowly | Avoids thermal shock and distortion |
| Stand-Off Soak | Holds temperature below braze point | Ensures uniform heat across the assembly |
| Final Heat to Brazing Temp | Melts the filler metal | Forms the joint via capillary action |
| Controlled Cooling | Cools the assembly at a set rate | Controls final microstructure and stress |
Ready to achieve flawless, high-strength brazed joints? The precise thermal control of a vacuum brazing furnace is essential for success. At KINTEK, we specialize in high-performance lab furnaces and thermal processing equipment designed for exacting applications like vacuum brazing. Our experts can help you select the right furnace to ensure perfect temperature uniformity, a clean vacuum environment, and repeatable results for your specific materials and assemblies.
Contact us today using the form below to discuss your project and discover how KINTEK's solutions can enhance your brazing process and product quality.
Visual Guide

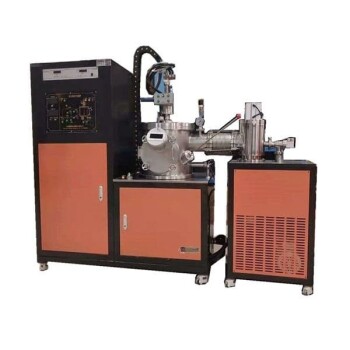
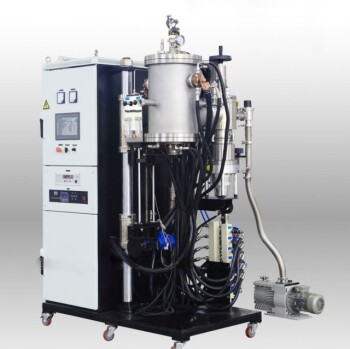
Related Products
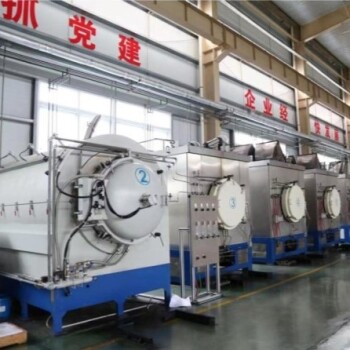
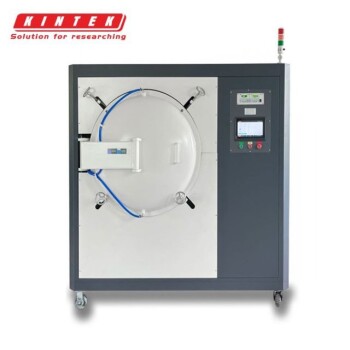
- Vacuum Heat Treat Sintering Brazing Furnace
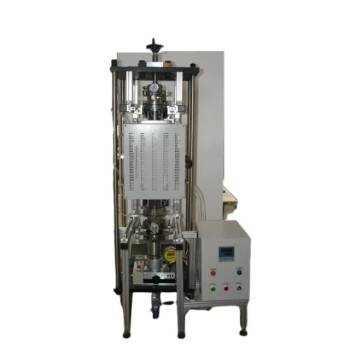
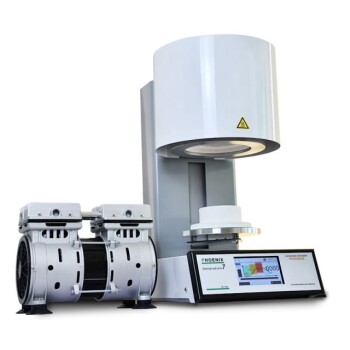
- Ultra-High Temperature Graphite Vacuum Graphitization Furnace
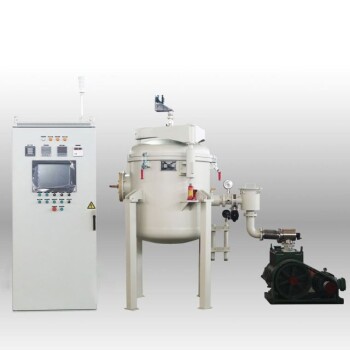
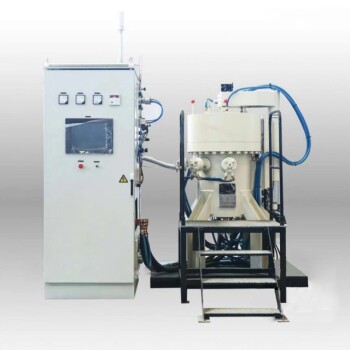
- Vacuum Heat Treat and Pressure Sintering Furnace for High Temperature Applications
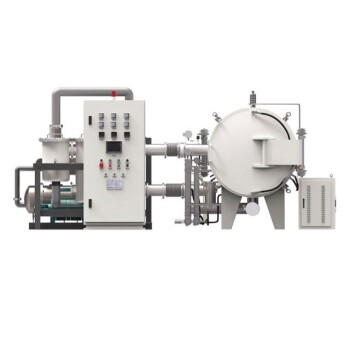
- Vacuum Hot Press Furnace Heated Vacuum Press Machine Tube Furnace
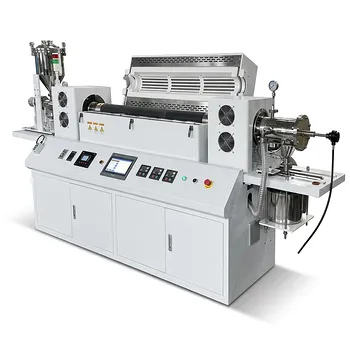
- Vacuum Sealed Continuous Working Rotary Tube Furnace Rotating Tube Furnace
People Also Ask
- What is a vacuum heat treatment furnace? Achieve Unmatched Purity and Control
- What is the cost of a vacuum brazing furnace? A guide to key factors and investment strategy
- Can brazing be used for ferrous metals? Yes, and here's how to ensure a strong joint.
- What is the temperature of vacuum heat treatment? Achieve Superior Material Properties & Pristine Finishes
- What are the specific functions of introducing reducing atmospheres or inert gas environments in vacuum brazing?