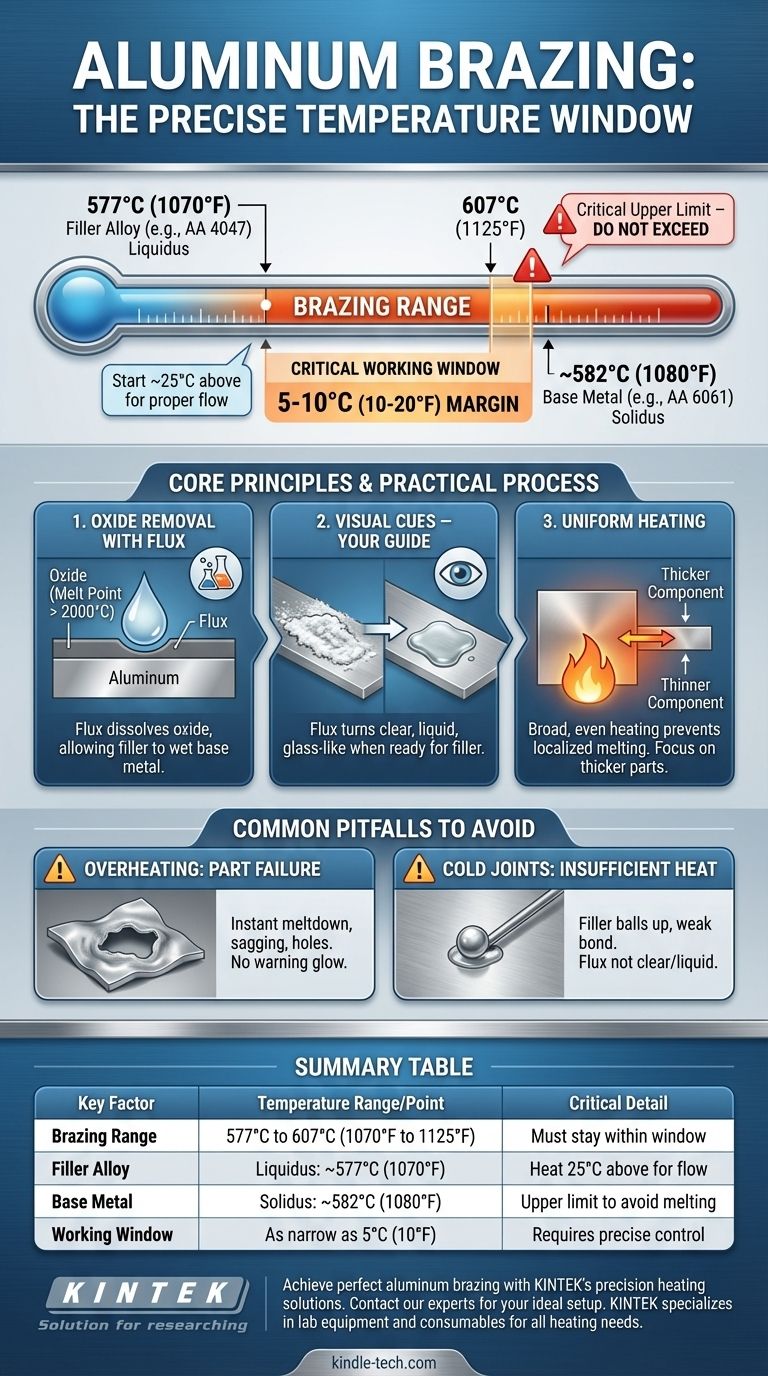
For most common applications, aluminum is brazed between 577°C and 607°C (1070°F and 1125°F). This is not a single, fixed number but a precise working range. The exact temperature is determined by the specific filler alloy being used, and it must be high enough to melt that filler but safely below the melting point of the aluminum parts you are joining.
Brazing aluminum successfully is less about hitting a single magic number and more about managing an extremely narrow temperature window. The goal is to melt the filler alloy so it can flow into the joint without accidentally melting the base metal—a difference that can be as small as 10°C (20°F).
The Core Principle: Filler vs. Base Metal
To braze aluminum correctly, you must understand the relationship between the filler metal that forms the joint and the base metal of the parts themselves.
The Role of the Filler Alloy
The brazing temperature is dictated entirely by the filler alloy (also called brazing rod or wire). Each alloy has a liquidus temperature, the point at which it becomes fully liquid.
A fundamental rule is to heat the assembly to at least 25°C (50°F) above the filler alloy's liquidus temperature. This ensures the filler flows readily into the joint through capillary action.
A very common filler for aluminum is AA 4047 (an aluminum-silicon alloy), which has a liquidus of approximately 577°C (1070°F). This is why the low end of the brazing range often starts here.
The Constraint of the Base Metal
The upper limit of your temperature window is defined by the melting point of the base aluminum you are joining. You must stay safely below this temperature to avoid catastrophic failure.
For example, a common structural alloy like AA 6061 begins to melt (its solidus temperature) around 582°C (1080°F).
The Critical Temperature Window
When you compare the numbers, the challenge becomes clear.
You must be hotter than the filler's liquidus (~577°C) but cooler than the base metal's solidus (~582°C). This gives you a working window of only a few degrees. This razor-thin margin is the single most critical factor in aluminum brazing.
Understanding the Practical Process
Achieving the right temperature is only part of the solution. The process itself has critical steps required for success.
Removing the Oxide Layer with Flux
Aluminum instantly forms a tough, transparent layer of aluminum oxide. This oxide has a melting point of over 2000°C (3600°F) and will prevent the filler metal from ever bonding with the aluminum underneath.
This layer must be removed using flux. Brazing fluxes for aluminum are chemical compounds that become active at brazing temperatures, aggressively dissolving the oxide layer and allowing the molten filler to wet the base metal.
Visual Cues Are Your Best Guide
Thermometers and temperature crayons can be helpful, but the most reliable indicator is the flux itself. When the assembly reaches the correct brazing temperature, the white, crusty flux will transform into a clear, liquid, glass-like layer.
Seeing this "wetting" action of the flux is the signal that the part is ready to accept the filler metal.
The Importance of Uniform Heating
Because the temperature window is so narrow, uneven heating is a primary cause of failure. If you heat one spot too quickly, that area will melt before the rest of the joint is hot enough to accept the filler.
Always heat the assembly broadly and evenly. If joining parts of different thicknesses, focus the heat on the thicker component and allow it to conduct heat to the thinner one.
Common Pitfalls to Avoid
Understanding the risks is key to preventing them. Brazing aluminum is unforgiving of mistakes.
Pitfall: Overheating and Part Failure
This is the most common and dramatic failure. Even a few seconds of excessive heat can cause a hole to form or the entire part to sag and collapse. Aluminum gives almost no visual warning (like glowing red) before it melts.
Pitfall: Insufficient Heat and "Cold" Joints
If the base metal is not hot enough, the filler alloy will not flow via capillary action. It will "ball up" on the surface, creating a weak, lumpy bond with no structural integrity. This is often caused by applying the filler rod before the flux has turned clear and liquid.
Pitfall: Incorrect Flux Application
Using too little flux will result in an incomplete cleaning of the oxide layer, causing voids and weak spots in the joint. Most aluminum brazing fluxes are corrosive, so it is critical to clean the part thoroughly with hot water and a brush after brazing to prevent future corrosion.
Making the Right Choice for Your Goal
Your approach should be guided by your specific application and experience level.
- If your primary focus is learning the process: Practice on scrap pieces of the same aluminum alloy. Use a pre-fluxed brazing rod to simplify the process and focus on observing the moment the flux turns clear and the filler begins to flow.
- If your primary focus is joining dissimilar thicknesses: Concentrate your heat source on the thicker piece. The goal is for the entire joint area to reach brazing temperature at the same moment.
- If your primary focus is maximum joint strength: Ensure your parts are perfectly clean before applying flux. A clean, well-fitted joint allows capillary action to work effectively, pulling the filler deep into the joint for a complete bond.
Ultimately, successful aluminum brazing is a skill of heat management, where you learn to trust the visual cues of the flux more than a temperature reading.
Summary Table:
| Key Factor | Temperature Range/Point | Critical Detail |
|---|---|---|
| Brazing Range | 577°C to 607°C (1070°F to 1125°F) | Must stay within this window |
| Filler Alloy (e.g., AA 4047) | Liquidus: ~577°C (1070°F) | Heat to 25°C above for proper flow |
| Base Metal (e.g., AA 6061) | Solidus: ~582°C (1080°F) | Critical upper limit to avoid melting |
| Working Window | As narrow as 5°C (10°F) | Requires precise temperature control |
Achieve perfect aluminum brazing results with KINTEK's precision heating solutions. Whether you're working in R&D, manufacturing, or repair, our laboratory furnaces and temperature control equipment provide the uniform heat and accuracy needed to master this delicate process. Don't let a narrow temperature window compromise your joints—contact our experts today to find the ideal brazing setup for your specific aluminum alloys and application requirements. KINTEK specializes in lab equipment and consumables, serving all your laboratory heating needs.
Visual Guide
Related Products
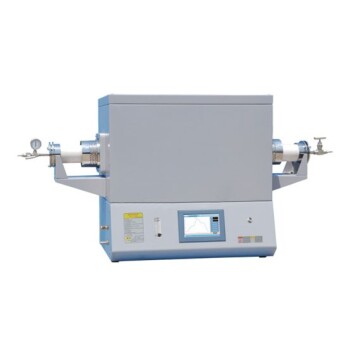
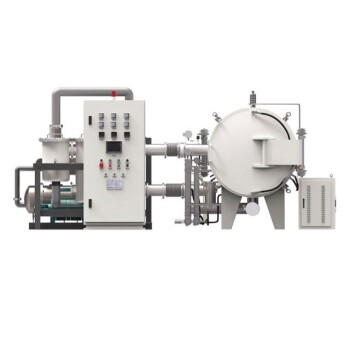
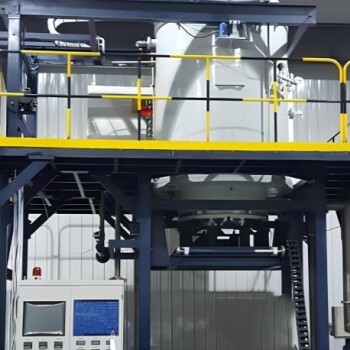
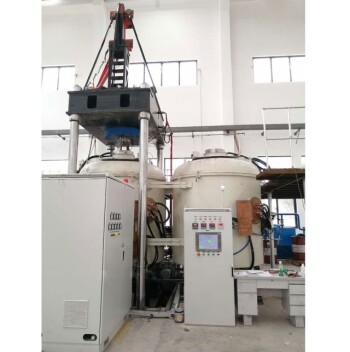
- Vacuum Heat Treat Sintering Brazing Furnace
- High Temperature Alumina (Al2O3) Furnace Tube for Engineering Advanced Fine Ceramics
- Engineering Advanced Fine Alumina Al2O3 Ceramic Crucible for Laboratory Muffle Furnace
- 1400℃ Laboratory High Temperature Tube Furnace with Alumina Tube
- 1700℃ Laboratory High Temperature Tube Furnace with Alumina Tube
People Also Ask
- How does a vacuum brazing furnace work? Achieve Superior, Flux-Free Metal Joining
- How do you braze a furnace? A Guide to High-Volume, Precision Metal Joining
- What is a vacuum heat treatment furnace? The Ultimate Guide to Controlled Atmosphere Processing
- What is the cost of a vacuum brazing furnace? A guide to key factors and investment strategy
- How does a vacuum heat treatment work? Achieve Superior Material Properties in a Pristine Environment