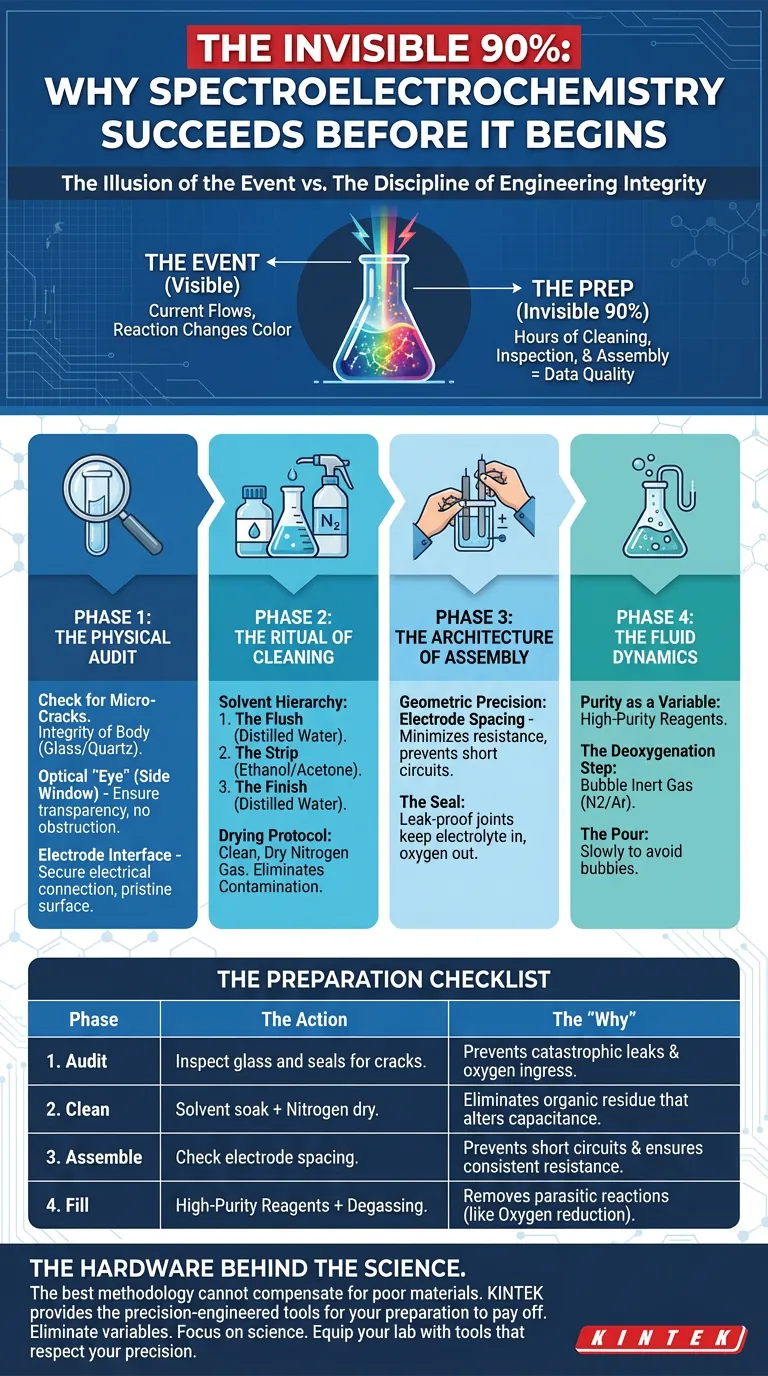
The Illusion of the Event
There is a psychological trap in scientific research. We tend to view the experiment—the moment the current flows or the reaction changes color—as the main event.
Everything else is just "prep."
But in spectroelectrochemistry, this distinction is dangerous. The quality of your data is rarely determined during the reaction. It is determined hours before, in the quiet, unglamorous moments of cleaning, inspection, and assembly.
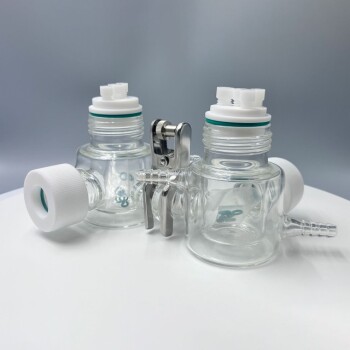
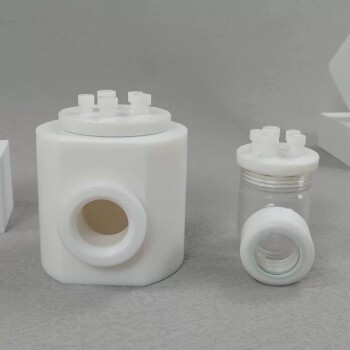
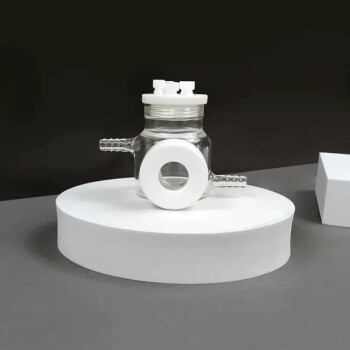
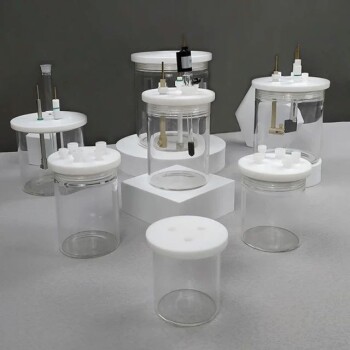
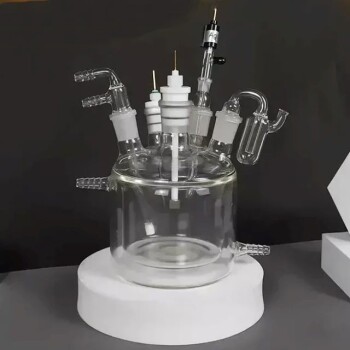
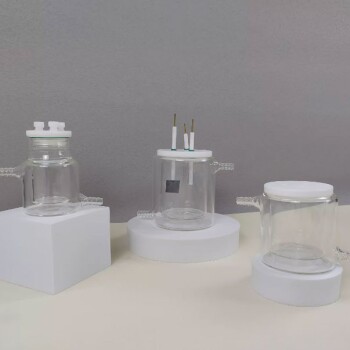
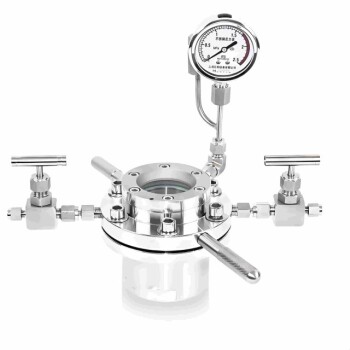
A side-window optical electrolytic cell is not merely a container. It is an active component of your measurement system. If the vessel is flawed, the physics are flawed.
Here is how to approach preparation not as a chore, but as a discipline of engineering integrity.
Phase 1: The Physical Audit
Entropy is the natural state of laboratory equipment. Seals degrade. Glass chips. Residue accumulates.
Before a single drop of chemical touches your bench, you must perform a rigorous physical audit. You are looking for structural weaknesses that will betray you later.
The Integrity of the Body
The main body, typically glass or quartz, must be scrutinized. You are looking for micro-cracks.
Under the stress of temperature changes or clamping pressure, a micro-crack becomes a leak. A leak introduces oxygen. Oxygen destroys reproducibility.
The Optical "Eye"
The side window is the defining feature of your apparatus. It is the interface between chemistry and optics.
If this window has a smudge, a scratch, or a film of dust, you are not measuring your sample. You are measuring the obstruction. Ensure it is optically transparent.
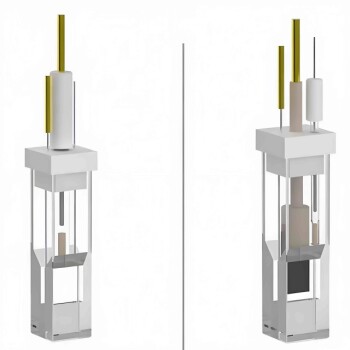
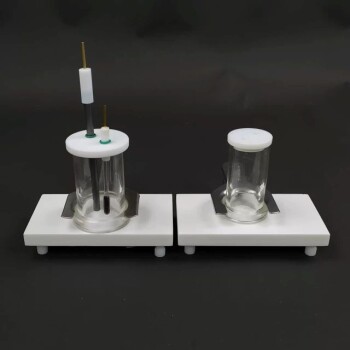
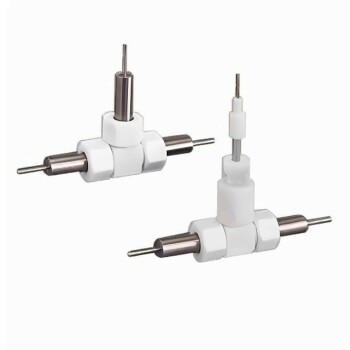
The Electrode Interface
Check the working, counter, and reference electrodes. Are they bent? Is the surface area compromised?
The interface where the electrode meets the cell must be pristine to ensure a secure electrical connection. A loose connection introduces noise; noise masquerades as data.
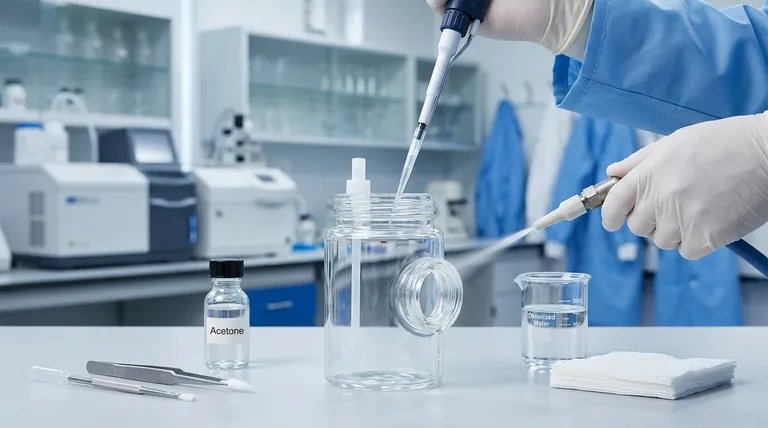
Phase 2: The Ritual of Cleaning
Contamination is the silent killer of electrochemistry.
A trace amount of grease from a fingerprint is enough to alter the double-layer capacitance of an electrode. The cleaning process must be absolute.
The Solvent Hierarchy
Cleaning is not just washing; it is a chemical reset.
- The Flush: Start with distilled or deionized water to remove loose particulates.
- The Strip: Use an organic solvent—ethanol or acetone are the standards—to dissolve oils and organic residues.
- The Finish: Rinse again with distilled water to remove the solvent itself.
The Drying Protocol
How you dry the cell matters as much as how you wash it.
Cloth leaves fibers. Air leaves dust.
The engineer’s choice is a stream of clean, dry nitrogen gas. It is fast, it is inert, and it ensures that the surface you just cleaned remains that way.
Phase 3: The Architecture of Assembly
You are building a circuit. The electrolytic cell is the closing loop of that circuit.
Geometric Precision
Install the electrodes with spatial awareness. They must be close enough to minimize solution resistance but must never touch.
A short circuit between the working and counter electrodes is an immediate failure.
The Seal
The seal is your defense against the atmosphere.
Once the electrodes are seated, verify the tightness of the joints. A leak-proof system does two things:
- It keeps the electrolyte in.
- It keeps the oxygen out.
Phase 4: The Fluid Dynamics
The electrolyte is the medium of truth. Its purity defines the signal-to-noise ratio of your experiment.
Purity as a Variable
Use only high-purity reagents. Impurities are not passive; they are parasitic. They participate in reactions you aren't studying, skewing voltammograms and spectra alike.
The Deoxygenation Step
Oxygen is electroactive. In many experiments, it is a nuisance that must be purged.
Bubbling an inert gas (Nitrogen or Argon) through the solution is not optional for sensitive work. It is the only way to ensure the current you measure comes from your analyte, not the air in the room.
The Pour
Fill the cell slowly. Bubbles are the enemy of optics. A bubble on the window scatters light. A bubble on the electrode blocks the reaction surface.
Summary: The Preparation Checklist
A disciplined process yields reproducible results.
| Phase | The Action | The "Why" |
|---|---|---|
| 1. Audit | Inspect glass and seals for cracks. | Prevents catastrophic leaks and oxygen ingress. |
| 2. Clean | Solvent soak + Nitrogen dry. | Eliminates organic residue that alters capacitance. |
| 3. Assemble | Check electrode spacing. | Prevents short circuits and ensures consistent resistance. |
| 4. Fill | High-purity reagents + Degassing. | Removes parasitic reactions (like Oxygen reduction). |
The Hardware Behind the Science
The best methodology in the world cannot compensate for poor materials.
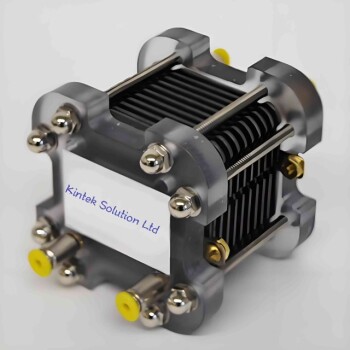
At KINTEK, we understand the "engineer's romance" of a perfectly executed experiment. We don't just sell equipment; we provide the foundational tools—from precision-engineered optical cells to high-purity consumables—that allow your preparation to pay off.
When you eliminate the variables of hardware failure, all that remains is the science.
Equip your lab with tools that respect your precision. Contact Our Experts to discuss how KINTEK can support your spectroelectrochemical research.
Visual Guide
Related Products
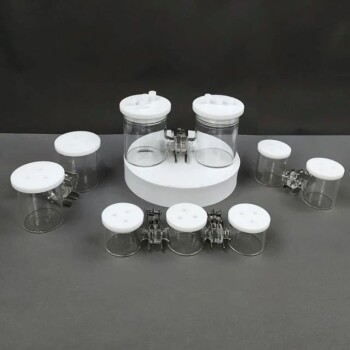
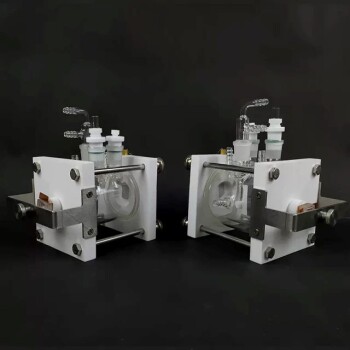
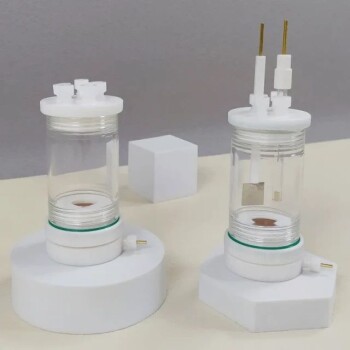
- H-Type Double-Layer Optical Electrolytic Electrochemical Cell with Water Bath
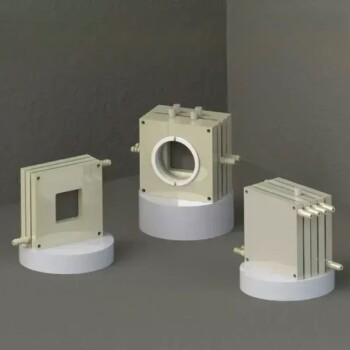
- Side Window Optical Electrolytic Electrochemical Cell
- Optical Water Bath Electrolytic Electrochemical Cell
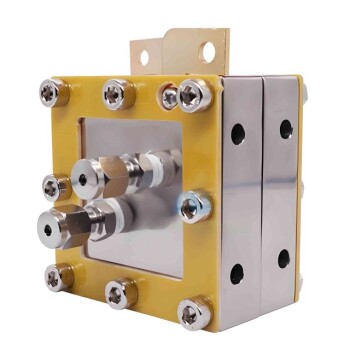
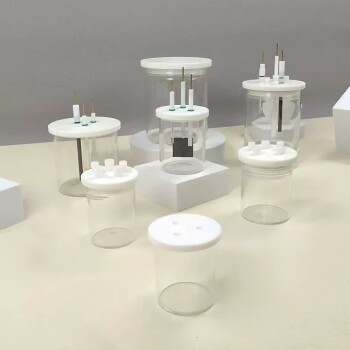
- Thin-Layer Spectral Electrolysis Electrochemical Cell
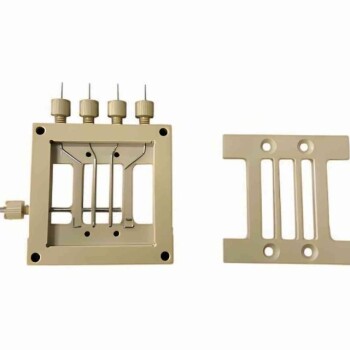
- Electrolytic Electrochemical Cell with Five-Port
Related Articles
- The Thermodynamics of Consistency: Mastering the Invisible Variable in Electrolysis
- The Silent Deformation: Why Good Intentions Break Precision Glassware
- The Thermodynamics of Precision: Mastering the Double-Layer Electrolytic Cell
- H-Type Electrochemical Cells vs. Flow-Cells
- Applications of H-Type Electrolytic Cell in Metal Extraction