To prepare a KBr pellet for IR spectroscopy, you must grind a very small amount of your solid sample (about 1 mg) with a larger amount of dry, infrared-grade potassium bromide powder (about 200-300 mg). This mixture is then placed into a die and compressed under high pressure (around 8 tons) to form a thin, transparent disc. This disc can then be placed directly in the spectrometer's sample holder for analysis.
The ultimate goal is not just to make a pellet, but to create a high-quality spectrum. Success depends on creating a uniform, moisture-free dispersion of your sample within the KBr matrix to minimize light scattering and contamination, ensuring a clear and accurate result.
The Principle: Why Use a KBr Pellet?
To obtain a clean infrared spectrum of a solid, the sample must be prepared in a way that allows IR radiation to pass through it. The KBr pellet method achieves this by using potassium bromide as a solid-state "solvent."
KBr as an "Invisible" Matrix
Potassium bromide (KBr) is used because it is transparent to infrared radiation across the typical mid-IR range (4000-400 cm⁻¹). This means the KBr itself does not absorb the light, allowing the spectrometer to detect only the absorptions from your sample molecules.
The Goal: Uniform Dispersion
The key to a good pellet is ensuring the solid sample is ground into particles that are smaller than the wavelength of the IR light being used. If the particles are too large, they will scatter the light, causing distorted peak shapes (the Christiansen effect) and a noisy, sloping baseline. Thorough grinding and mixing suspend these fine particles evenly throughout the KBr matrix.
A Step-by-Step Guide to Pellet Preparation
Precision at each stage is critical for a high-quality, transparent pellet. Even minor contamination or procedural errors can obscure your results.
Step 1: Meticulous Cleaning and Drying
Before you begin, all equipment must be perfectly clean and dry. Use a volatile solvent like acetone to clean the mortar, pestle, and all parts of the die set. Wipe them completely dry with a tissue.
This step removes any residual organic contaminants from previous uses and, crucially, eliminates water. Heating the die set gently in an oven before use is an excellent practice to ensure all moisture is gone.
Step 2: Achieving the Correct Concentration
The concentration of your sample in the KBr should be very low, typically between 0.2% and 1% by weight.
For a standard 13mm die, a good starting point is ~1 mg of sample and 200-300 mg of KBr powder. Too much sample will cause the pellet to be opaque and the resulting spectral peaks to be completely flat-topped ("bottomed out") due to total light absorption.
Step 3: Grinding and Mixing
This is the most critical step for avoiding light scattering.
First, place only your ~1 mg sample into a clean, dry agate mortar and grind it aggressively until it becomes a fine, fluffy powder.
Next, add a small portion of your pre-weighed KBr to the mortar and grind gently to mix it with the sample (a technique called trituration). Finally, add the remaining KBr and mix thoroughly for about a minute. Do not over-grind the KBr itself, as it is hygroscopic and prolonged grinding will incorporate atmospheric water.
Step 4: Loading the Die and Pressing
Carefully transfer the powder mixture into the die body, ensuring it forms an even layer. Use just enough powder to thinly cover the face of the anvil.
Assemble the die and place it in a hydraulic press. If using a vacuum die, attach the vacuum line to help remove trapped air and moisture. Apply pressure slowly, ramping up to approximately 8 tons of force. Hold the pressure for 1-2 minutes to allow the KBr to fuse into a clear disc.
Step 5: Releasing and Inspecting
Carefully release the pressure and disassemble the die. A successful pellet will be thin, translucent, or completely transparent, resembling a small piece of glass. It is now ready for analysis.
Understanding the Pitfalls and Trade-offs
The quality of your spectrum is directly tied to how well you avoided common preparation problems.
The Problem of Water Contamination
KBr is highly hygroscopic; it readily absorbs water from the air. This introduces broad, strong absorption bands around 3400 cm⁻¹ (O-H stretch) and 1640 cm⁻¹ (H-O-H bend), which can obscure important sample peaks.
To avoid this, always use spectroscopic-grade KBr from a desiccator or drying oven, work quickly, and consider pre-heating your die set.
Opaque or Cloudy Pellets
A cloudy pellet is a sign of poor preparation. The cause is almost always either light scattering from poorly ground sample particles or trapped moisture. The solution is to re-grind your sample more finely before mixing and to use a vacuum die to remove trapped air and water during pressing.
Incorrect Sample Concentration
If your spectrum shows no peaks, your concentration may be too low. Conversely, if all your peaks are off-scale and flat at 0% transmittance, your sample is too concentrated. You must prepare a new pellet with an adjusted sample-to-KBr ratio.
Applying This to Your Goal
Your approach should be dictated by your sample and your analytical needs.
- If your primary focus is a high-quality, reproducible analysis: Meticulously follow every step, paying special attention to grinding the sample thoroughly before mixing and maintaining a dry environment.
- If you are analyzing a moisture-sensitive compound: Work as quickly as possible, pre-heat all equipment in an oven, and use KBr powder stored in a desiccator.
- If your spectrum is noisy or has a sloping baseline: The most likely cause is an opaque pellet. Remake it, focusing on grinding the sample into finer particles to reduce light scattering.
- If your sample is a liquid or a low-melting solid: A KBr pellet is the wrong technique. Instead, place a single drop of the liquid between two polished salt plates (like NaCl or KBr) to form a thin film for analysis.
Mastering this technique transforms a challenging preparation into a reliable tool for clear and insightful spectral analysis.
Summary Table:
| Step | Key Action | Critical Detail |
|---|---|---|
| 1. Clean & Dry | Clean all equipment with acetone | Heat die set to remove moisture |
| 2. Weigh | Use ~1 mg sample & 200-300 mg KBr | Maintain 0.2-1% sample concentration |
| 3. Grind & Mix | Grind sample first, then mix with KBr | Avoid over-grinding hygroscopic KBr |
| 4. Press | Apply ~8 tons pressure for 1-2 minutes | Use vacuum die to remove air/moisture |
| 5. Inspect | Pellet should be thin and transparent | Cloudiness indicates poor preparation |
Achieve perfect IR sample preparation every time with KINTEK.
Preparing KBr pellets requires precision equipment and technique to avoid moisture contamination and light scattering. KINTEK specializes in high-quality laboratory presses, dies, and consumables designed specifically for reliable IR spectroscopy sample preparation.
Our products help you:
- Create uniform, transparent pellets with consistent pressure control
- Minimize moisture absorption with optimized die designs
- Improve spectral accuracy and reproducibility
Ready to enhance your IR analysis results? Contact our experts today to find the perfect solution for your laboratory's needs.
Visual Guide

Related Products
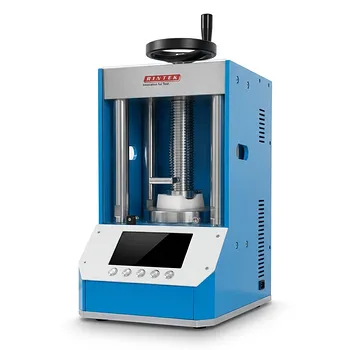
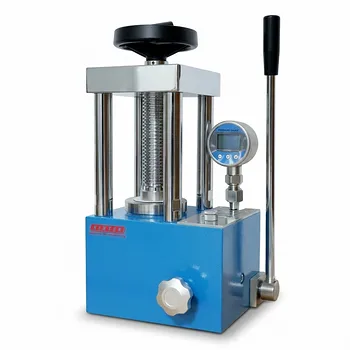
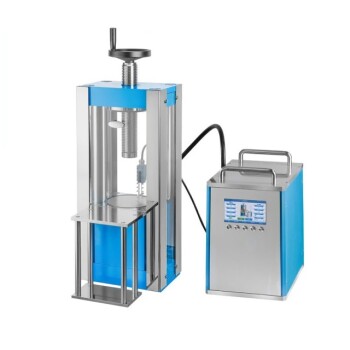
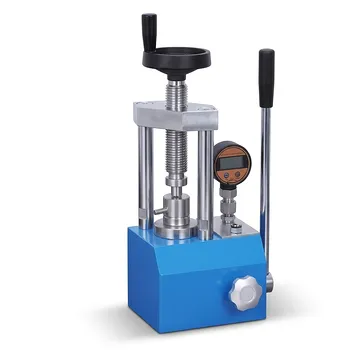
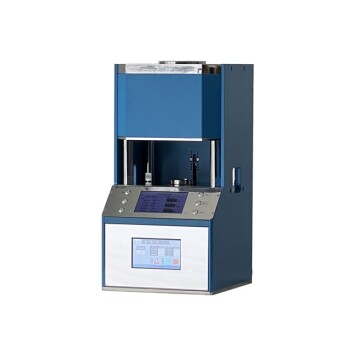
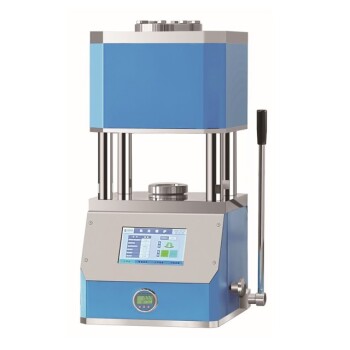
- Laboratory Hydraulic Pellet Press for XRF KBR FTIR Lab Applications
- Automatic Laboratory Hydraulic Press for XRF & KBR Pellet Press
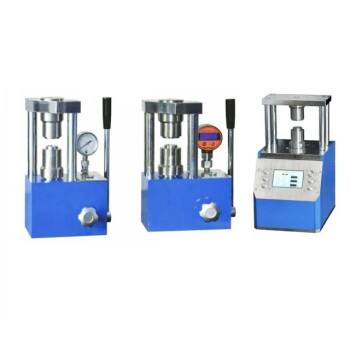
- kbr pellet press 2t
- XRF & KBR steel ring lab Powder Pellet Pressing Mold for FTIR
- XRF & KBR plastic ring lab Powder Pellet Pressing Mold for FTIR
People Also Ask
- Why are specialized battery research tools necessary for evaluating recycled graphite? Ensure Material Validation
- How does a laboratory hydraulic pellet press contribute to SiCw/2024 aluminum composite preforms? Optimize Densification
- How does a laboratory hydraulic pellet press assist in the preparation of perovskite electrolyte green bodies?
- Why is a laboratory hydraulic press used to compress powders into pellets? Enhance Solid-State Reaction Kinetics
- What key role does a laboratory pellet press play in FTIR analysis? Master KBr Sample Preparation Excellence