To run a muffle furnace, you begin by turning on the main power and setting your desired temperature on the controller. Once the furnace reaches and stabilizes at this temperature, you can carefully place your samples inside the chamber. After the heating cycle is complete, turn off the power and, most importantly, allow the furnace to cool down to a safe temperature before opening the door to retrieve your samples.
Operating a muffle furnace is a methodical process of controlled heating and cooling. Success and safety depend not just on the heating phase, but on meticulous preparation before you begin and a patient cooldown at the end.
The Core Principle: Isolated, Controlled Heat
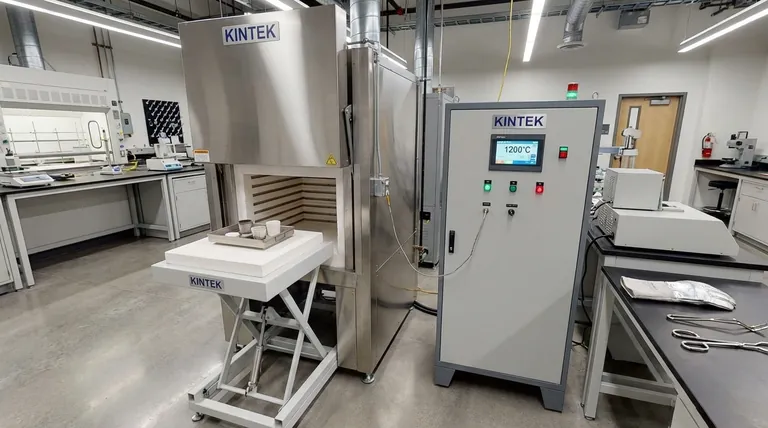
A muffle furnace is designed for high-temperature applications where the material being heated must be isolated from the byproducts of combustion. It provides a clean, controlled environment for processes like ashing, heat-treating metals, or materials research.
How It Works
The furnace chamber, or "muffle," is typically lined with high-performance refractory bricks to contain the extreme heat. Electric heating elements heat the chamber, which then transfers that energy to the sample inside. This process of heat transfer happens through convection, ensuring the sample is heated uniformly without direct contact with the heating source itself.
Key Components
The system consists of the furnace body and a separate temperature controller. The controller receives feedback from a thermocouple inside the furnace, allowing it to precisely regulate the temperature according to your setpoint. Indicator lights, often green for heating and red for holding a constant temperature, show the system's status.
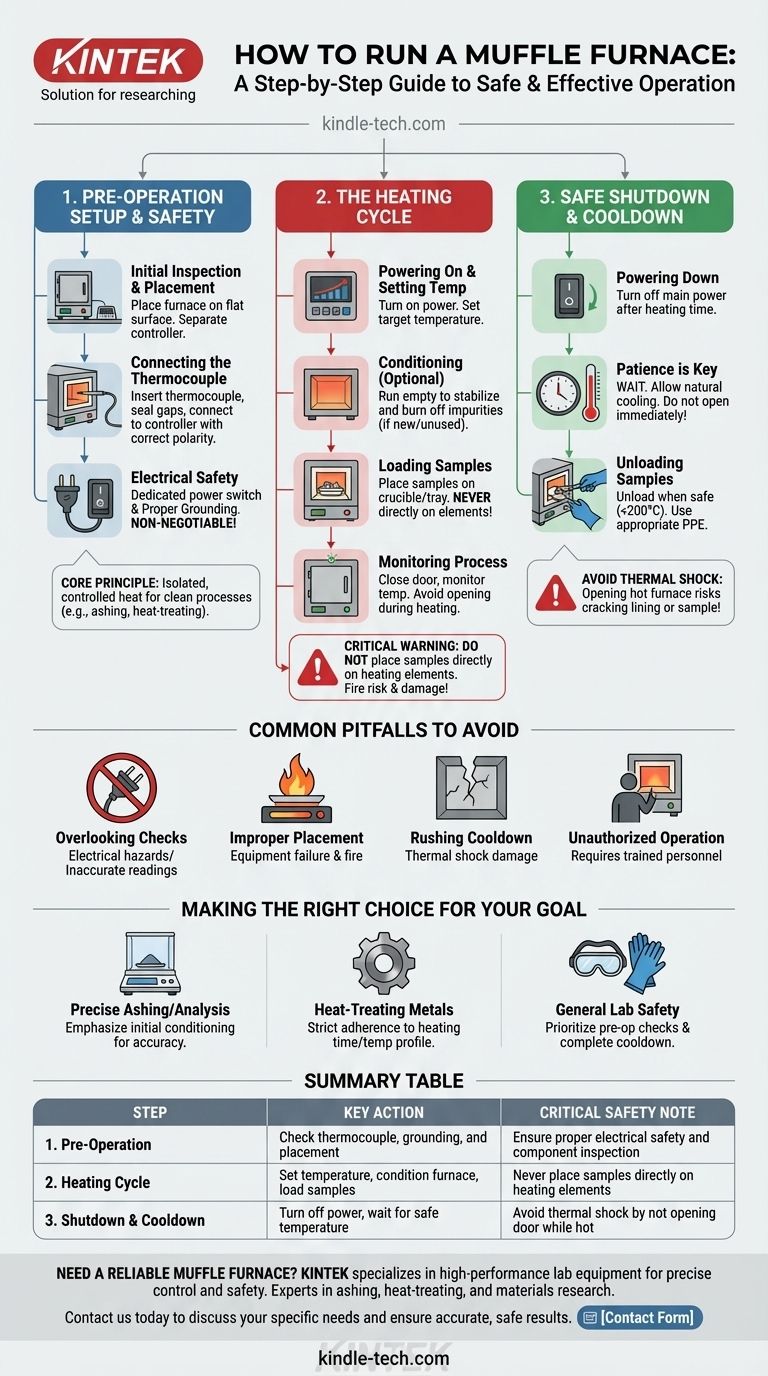
Step 1: Pre-Operation Setup and Safety
Proper setup is the foundation for safe and effective operation. Rushing this stage can lead to inaccurate results or equipment damage.
Initial Inspection and Placement
Before use, ensure the furnace and all accessories are present and in good condition. Place the furnace on a flat, stable surface. Crucially, position the controller away from the furnace body to protect its electronic components from overheating.
Connecting the Thermocouple
A thermocouple must be inserted into the furnace chamber to measure the temperature. Ensure any gaps around the insertion point are filled with a suitable material like asbestos rope to prevent heat loss. This thermocouple is then connected to the controller, paying strict attention to the correct positive and negative polarity.
Electrical Safety
A dedicated power switch should be installed for the furnace's main power line. Both the furnace and the controller must be properly grounded to prevent electrical shock. This is a non-negotiable safety step.
Step 2: The Heating Cycle - A Detailed Walkthrough
Once the furnace is safely set up, you can begin the operational sequence.
Powering On and Setting Temperature
After adjusting the thermometer indicator to its zero point, turn on the power switch. Use the controller to set the target temperature required for your specific process. The control panel will display the system's status and the real-time temperature as it begins to climb.
Conditioning the Furnace (If Necessary)
If the furnace is new or has been unused for a long time, it is best practice to run it empty first. This "baking" process allows the temperature to stabilize, drives out any moisture from the refractory lining, and burns off any residual impurities that could contaminate your sample.
Loading Your Samples
Once the furnace has reached the set temperature, you can place your samples inside the chamber. Ensure they are on a stable crucible or tray and will not tip over during the process. Never place samples directly on the furnace floor or heating elements, as this creates a significant fire risk and can damage the equipment.
Monitoring the Process
Close the furnace door securely to prevent heat loss and maintain a stable internal temperature. Monitor the control panel to ensure the temperature holds steady at your setpoint. Avoid opening the door during the heating cycle unless absolutely necessary.
Step 3: Safe Shutdown and Cooldown
The process is not finished until the samples are safely removed.
Powering Down
Once the specified heating time has elapsed, turn off the main power to the furnace. The heating elements will deactivate, and the furnace will begin to cool naturally.
The Importance of Patience
Do not open the furnace door immediately. The extreme temperature difference between the hot interior and the ambient air can cause thermal shock, potentially cracking the furnace lining or shattering your sample.
Unloading Samples
Wait until the furnace temperature has dropped to a safe level (often below 200°C, but consult your specific procedures). Using appropriate personal protective equipment (PPE) like heat-resistant gloves and tongs, carefully open the door and remove your samples.
Common Pitfalls to Avoid
Even simple equipment has risks if operated improperly. Understanding these helps ensure consistent, safe results.
Overlooking Pre-Operation Checks
Failure to ensure proper grounding or a secure thermocouple connection can lead to electrical hazards or inaccurate temperature readings, ruining your experiment.
Improper Sample Placement
Placing materials directly on heating elements is a primary cause of equipment failure and fire. Always use appropriate trays or crucibles to contain your sample.
Rushing the Cooldown
Opening the door while the furnace is at a high temperature is dangerous for the operator and risks destroying both the sample and the furnace lining through thermal shock.
Unauthorized Operation
As a high-temperature device, a muffle furnace should only be operated by trained personnel who understand its procedures and risks.
Making the Right Choice for Your Goal
Your operational focus will change slightly depending on your application.
- If your primary focus is precise ashing or material analysis: Emphasize the initial furnace conditioning step to burn off any contaminants that could skew your results.
- If your primary focus is heat-treating metals: Your main concern is strict adherence to the heating time and temperature profile required to achieve the desired material properties.
- If your primary focus is general lab safety: Prioritize the pre-operation electrical checks and always allow for a complete, natural cooldown before handling materials.
By treating the entire process with methodical care, you ensure accurate results and safe operation every time.
Summary Table:
| Step | Key Action | Critical Safety Note |
|---|---|---|
| 1. Pre-Operation | Check thermocouple, grounding, and placement | Ensure proper electrical safety and component inspection |
| 2. Heating Cycle | Set temperature, condition furnace, load samples | Never place samples directly on heating elements |
| 3. Shutdown & Cooldown | Turn off power, wait for safe temperature | Avoid thermal shock by not opening door while hot |
Need a reliable muffle furnace for your laboratory? KINTEK specializes in high-performance lab equipment, including muffle furnaces designed for precise temperature control and operator safety. Our experts can help you select the right model for applications like ashing, heat-treating, or materials research. Contact us today to discuss your specific needs and ensure accurate, safe results in your lab.
Visual Guide
Related Products
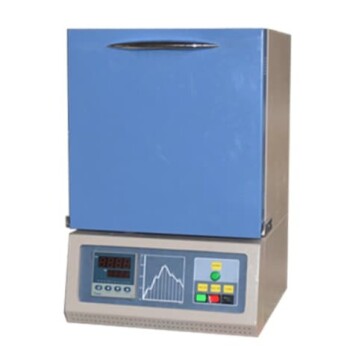
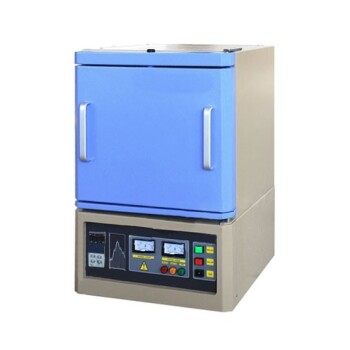
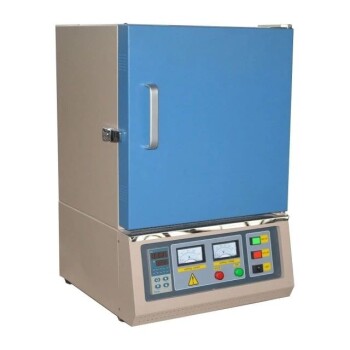
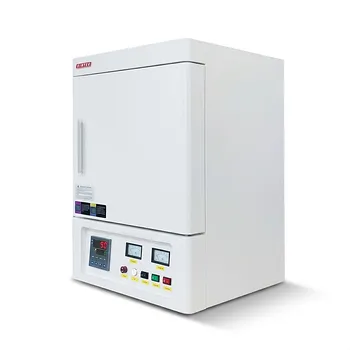
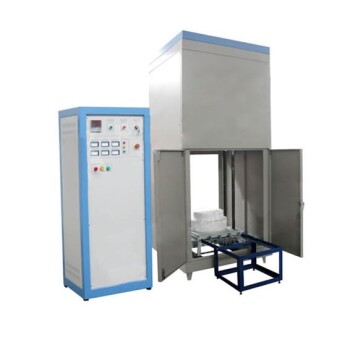
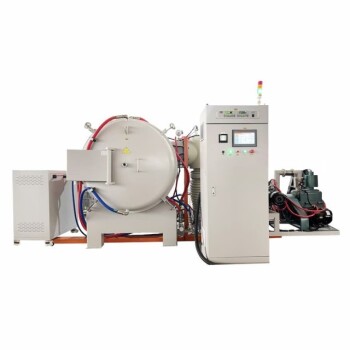
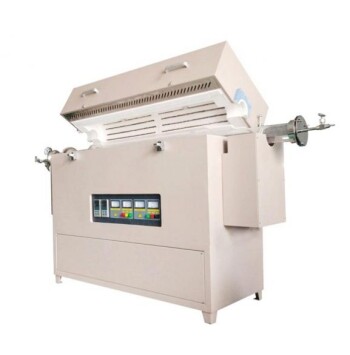
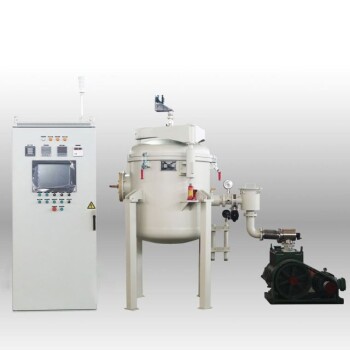
- 1200℃ Muffle Furnace Oven for Laboratory
- 1800℃ Muffle Oven Furnace for Laboratory
- 1400℃ Muffle Oven Furnace for Laboratory
- 1700℃ Muffle Oven Furnace for Laboratory
- High Temperature Muffle Oven Furnace for Laboratory Debinding and Pre Sintering
People Also Ask
- How does a muffle furnace influence 8YSZ ceramic densification? Master Precision Sintering at 1500°C
- What role does a laboratory high-temperature muffle furnace play in iron-based composite phase structure development?
- What is the purpose of using a high-temperature muffle furnace when evaluating the oxidation resistance of Carbon-Carbon composite materials?
- How does a muffle furnace ensure reliability in calcification roasting? Achieve Precision in Pellets Conversion
- How is a laboratory high-temperature muffle furnace utilized in sol-gel synthesis for perovskite catalysts?