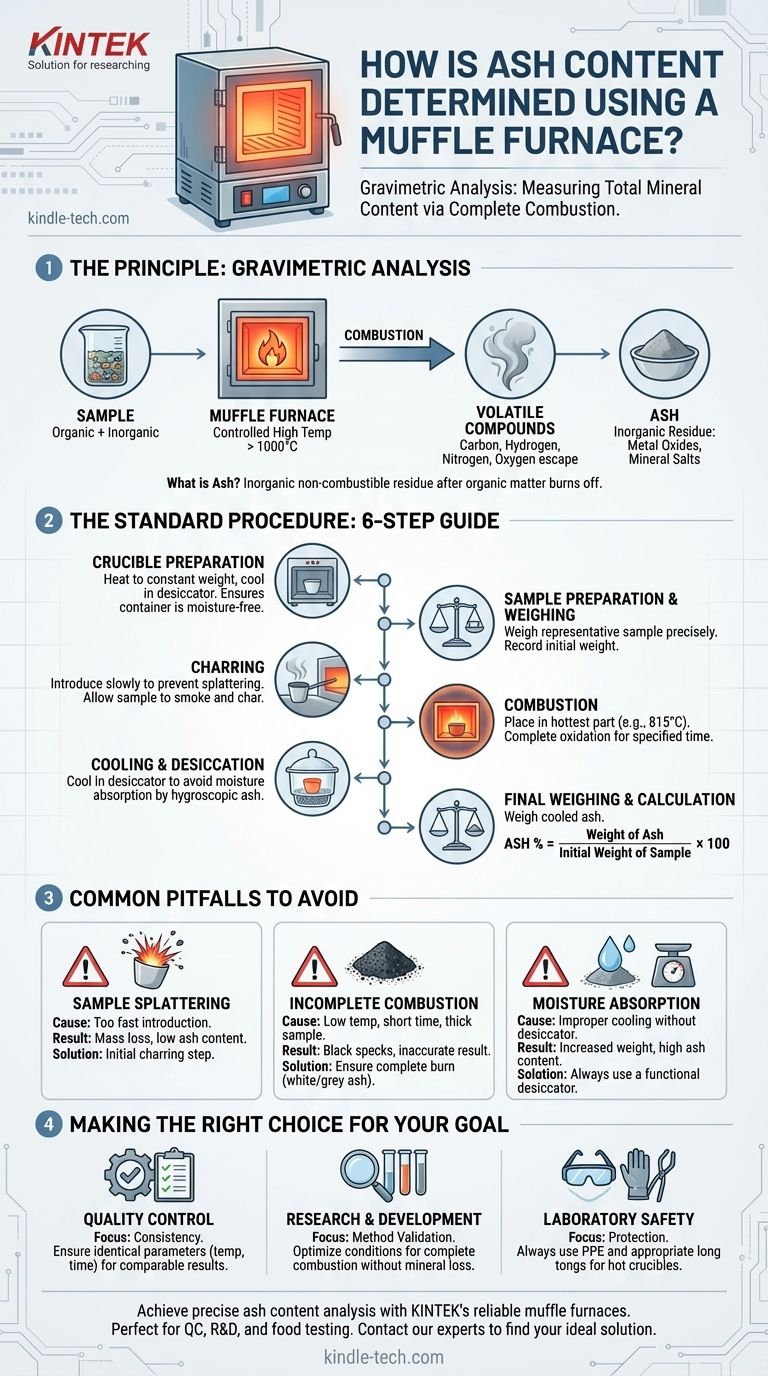
Determining the ash content of a material is a fundamental analytical procedure that involves the complete combustion of its organic components in a muffle furnace. The inorganic, non-combustible residue that remains is the "ash," which is then weighed to calculate its percentage of the original sample mass. This gravimetric method is a direct measure of the total mineral content.
The core principle is straightforward: a sample is weighed, heated to a high, controlled temperature until all organic matter burns away, and then the remaining inorganic ash is weighed again. The accuracy of the result hinges on precise temperature control, careful handling to prevent sample loss, and proper cooling to avoid moisture absorption.
The Principle: Gravimetric Analysis via Combustion
Ash content analysis is a form of gravimetric analysis, meaning it relies on measuring mass. The process is designed to remove all volatile and combustible materials—primarily carbon, hydrogen, nitrogen, and oxygen-based compounds—from the sample.
What is "Ash"?
Ash is the inorganic residue left after complete combustion. It is primarily composed of metal oxides and other non-combustible mineral salts that were present in the original material.
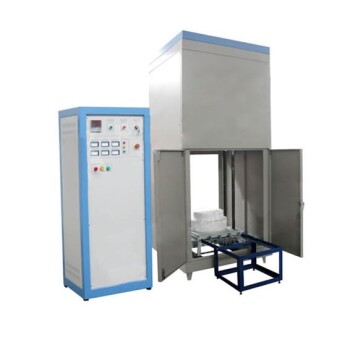
Why Use a Muffle Furnace?
A muffle furnace is essentially a high-temperature oven insulated to reach and maintain specific, uniform temperatures, often exceeding 1000°C. This controlled environment is crucial for ensuring that the entire organic portion of the sample is fully oxidized and burned off without decomposing the mineral components you intend to measure.
The Standard Procedure: A Step-by-Step Guide
While specific parameters like temperature and duration are dictated by the standard method (e.g., ASTM, ISO) for a given material, the fundamental steps are universal.
Step 1: Crucible Preparation
Before introducing your sample, the container (typically a porcelain crucible) must be prepared. It is heated in the muffle furnace at the testing temperature, cooled in a desiccator, and weighed. This process is repeated until a constant weight is achieved, ensuring any moisture or residue on the crucible itself is removed and won't affect the final result.
Step 2: Sample Preparation and Weighing
A representative portion of the material is weighed directly into the prepared crucible. It is critical to record this initial weight with high precision.
The sample should be spread into a thin, even layer at the bottom of the crucible. A thick sample can lead to incomplete combustion of the material at the center.
Step 3: The Ashing Process (Charring)
To prevent the sample from splattering and losing mass due to rapid combustion, it should be introduced into the furnace gradually.
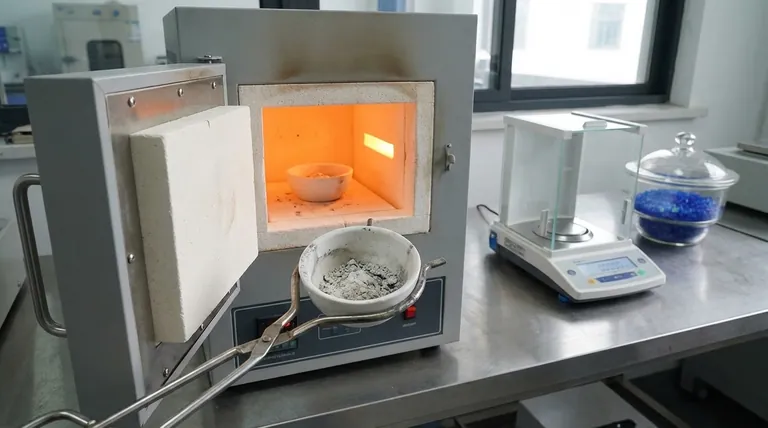
Place the crucible near the mouth of the preheated furnace. Allow the sample to slowly heat, smoke, and char for several minutes until the heavy smoke subsides.
Step 4: The Ashing Process (Combustion)
Once the sample has stopped smoking, gently push the crucible into the hottest, central part of the furnace. Close the furnace door and allow it to combust for the time specified by your method.
The furnace's controller will maintain the setpoint temperature (e.g., 815±15°C as per the reference). The system will cycle power on and off, often indicated by lights, to hold this temperature steady.
Step 5: Cooling and Desiccation
Once the ashing time is complete, the power is turned off. Using long tongs, carefully remove the hot crucible from the furnace and place it on a heat-resistant surface for a few minutes to cool slightly.
Crucially, you must then transfer the crucible to a desiccator. A desiccator is a sealed container with a drying agent that provides a moisture-free environment. This prevents the highly hygroscopic (water-absorbing) ash from gaining weight from atmospheric humidity, which would corrupt the final measurement.
Step 6: Final Weighing and Calculation
After the crucible has cooled to room temperature inside the desiccator, it is weighed again on the same analytical balance. The ash content is then calculated as a percentage.
Formula:
Ash % = (Weight of Ash / Initial Weight of Sample) x 100
Common Pitfalls to Avoid
Achieving accurate and repeatable results requires avoiding a few common errors.
Sample Splattering
This is caused by introducing the sample into the furnace too quickly. The violent, rapid combustion can eject small particles of the sample from the crucible, leading to an artificially low ash content result. The initial charring step is the solution.
Incomplete Combustion
If the final residue is dark or contains black specks, combustion was incomplete. This can be caused by the temperature being too low, the ashing time being too short, or the sample layer being too thick. The final ash should typically be a fine, light-colored (white or gray) powder.
Moisture Absorption
This is the most subtle but significant source of error. Hot ash is extremely reactive with moisture in the air. Failing to cool the crucible completely inside a functioning desiccator will result in a final weight that is too high, inflating your ash content value.
Making the Right Choice for Your Goal
Mastering this technique is about understanding the principles of precision, control, and cleanliness. The goal dictates the focus.
- If your primary focus is routine Quality Control: Consistency is paramount. Ensure the sample preparation, furnace temperature, and ashing time are identical for every test to get comparable results.
- If your primary focus is Research & Development: Method validation is key. You may need to experiment with different temperatures and times to find the optimal conditions that provide complete combustion without degrading the minerals of interest.
- If your primary focus is laboratory safety: Always use proper personal protective equipment (PPE), including heat-resistant gloves and safety glasses. Handle hot crucibles only with long, secure tongs.
Ultimately, a successful ash content determination is a testament to meticulous laboratory practice.
Summary Table:
| Step | Key Action | Purpose |
|---|---|---|
| 1 | Crucible Preparation | Remove moisture/residue for accurate tare weight |
| 2 | Sample Weighing | Record precise initial mass for calculation |
| 3 | Charring | Prevent sample splattering and mass loss |
| 4 | Combustion | Burn off organic matter at controlled temperature |
| 5 | Cooling in Desiccator | Prevent moisture absorption by hygroscopic ash |
| 6 | Final Weighing | Measure inorganic residue mass |
Need precise ash content analysis for your materials? KINTEK's muffle furnaces deliver the uniform high-temperature control and reliability essential for accurate gravimetric results. Whether you're in quality control, research, or food testing, our lab equipment ensures complete combustion without mineral degradation. Contact our experts today to find the perfect furnace for your specific application and achieve consistent, trustworthy ash content measurements.
Visual Guide
Related Products
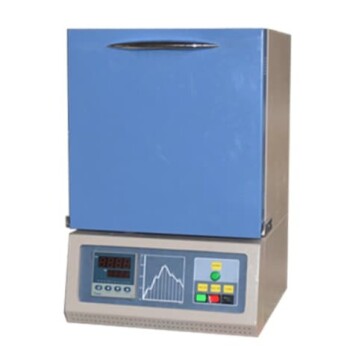
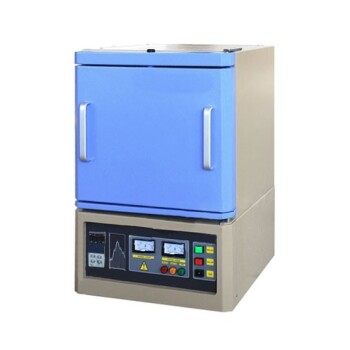
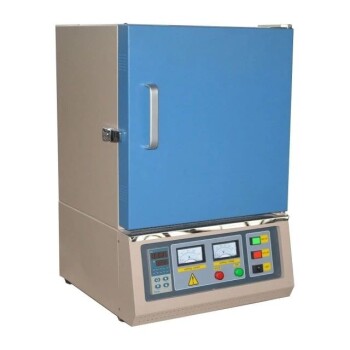
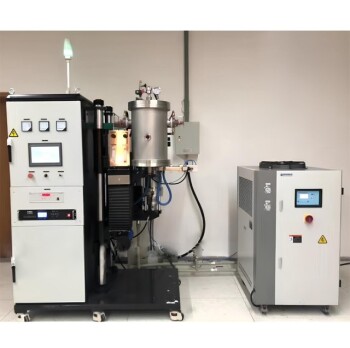
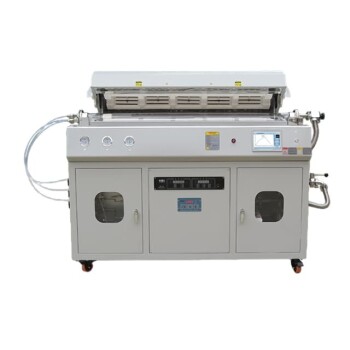
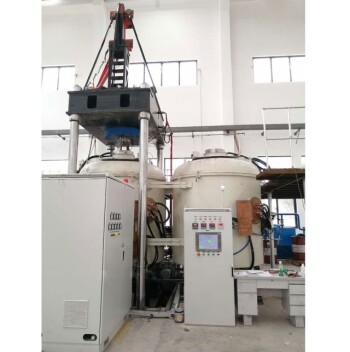
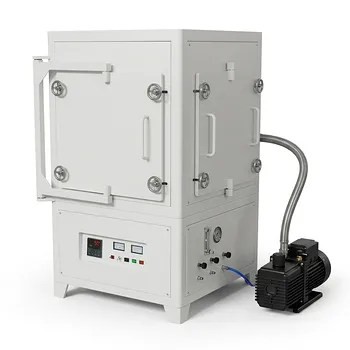
- 1200℃ Muffle Furnace Oven for Laboratory
- 1800℃ Muffle Oven Furnace for Laboratory
- 1400℃ Muffle Oven Furnace for Laboratory
- 1700℃ Muffle Oven Furnace for Laboratory
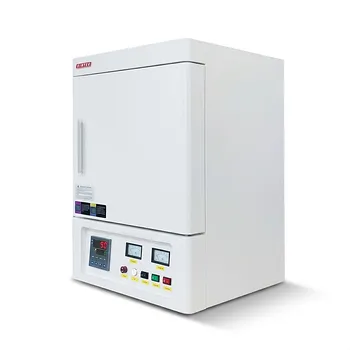
- High Temperature Muffle Oven Furnace for Laboratory Debinding and Pre Sintering
People Also Ask
- What role does a muffle furnace play in CNT/Alumina catalyst calcination? Master the Thermochemical Transformation
- How does a muffle furnace ensure reliability in calcification roasting? Achieve Precision in Pellets Conversion
- Why is a laboratory high-temperature muffle furnace required for the post-annealing treatment of copper oxide?
- How does a muffle furnace influence 8YSZ ceramic densification? Master Precision Sintering at 1500°C
- How does a muffle furnace facilitate POM transformation? Achieve Precision Sub-Nanometer Cluster Synthesis