Proper electrode preparation is the non-negotiable foundation for any successful electrochemical experiment. The process involves a systematic sequence of mechanical polishing, chemical cleaning, and electrochemical activation. These steps work together to remove physical and chemical impurities, creating a pristine and reproducible surface that ensures the integrity and reliability of your data.
The objective of electrode preparation is not merely to clean the surface, but to create a well-defined, electrochemically active interface that is identical at the start of every single measurement. This discipline is what separates noisy, unreliable data from clear, publication-quality results.
The Goal: A Pristine and Reproducible Surface
An electrode's surface is where the entire electrochemical reaction takes place. Any deviation or contamination on that surface directly impacts your results, leading to poor reproducibility, high background signals, and incorrect measurements.
Why an "Out-of-the-Box" Electrode Isn't Ready
A new electrode, or one used previously, is never ready for a sensitive experiment. Its surface can be coated with protective oils, adsorbed atmospheric contaminants, insoluble products from prior reactions, or a passivating metal oxide layer.
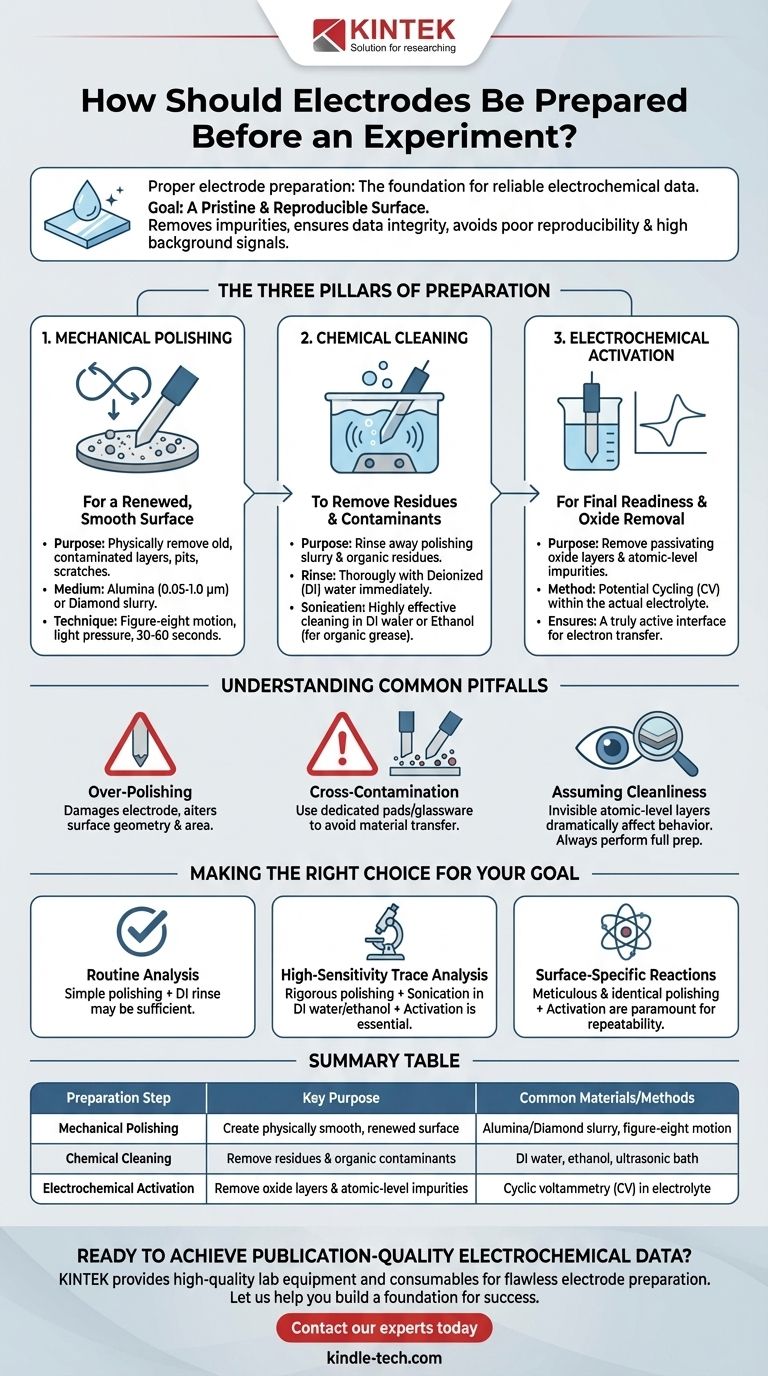
The Three Pillars of Preparation
Effective preparation is a three-stage process, each with a distinct purpose:
- Mechanical Polishing: To create a physically smooth and renewed surface.
- Chemical Cleaning: To remove polishing residues and organic contaminants.
- Electrochemical Activation: To remove the final, atomic-level impurities and oxide layers.
Step 1: Mechanical Polishing for a Renewed Surface
For solid electrodes (like glassy carbon, gold, or platinum), polishing is the first and most critical step. It physically removes the old, contaminated top layer of the electrode material.
The Purpose of Polishing
Polishing uses a fine abrasive slurry to gently grind away the surface, exposing a fresh, uniform layer of the underlying electrode material. This eliminates pits, scratches, and embedded impurities from previous use.
Choosing Your Polishing Medium
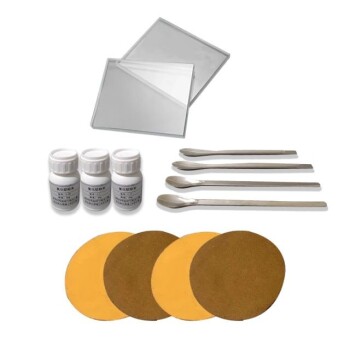
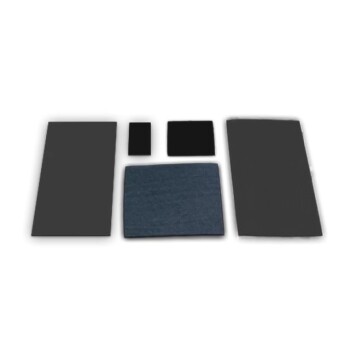
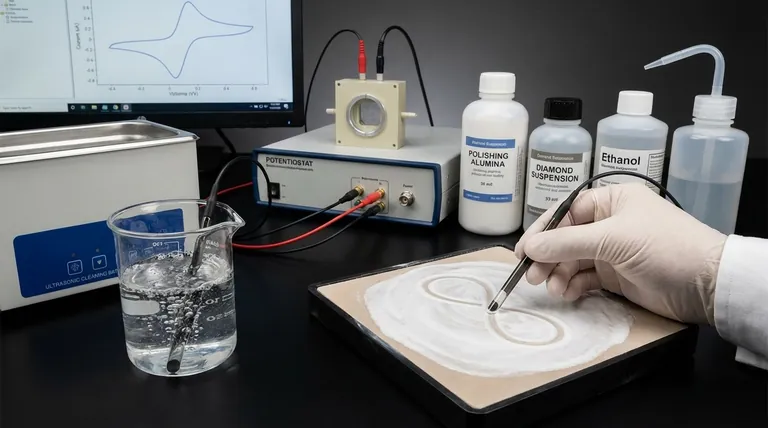
The most common media are alumina and diamond slurries, applied to a soft polishing pad.
- Alumina (Al₂O₃): A cost-effective choice for general-purpose polishing. It is typically available in particle sizes from 1.0 down to 0.05 microns.
- Diamond: Offers a harder abrasive for more efficient polishing, especially on harder materials. It is often preferred for research-grade applications.
The Figure-Eight Polishing Technique
To avoid creating grooves and ensure an evenly polished surface, place a small amount of slurry on the pad and move the electrode in a figure-eight motion. Apply light, consistent pressure for about 30-60 seconds.
Step 2: Chemical Cleaning to Remove Contaminants
After polishing, the electrode is physically renewed but chemically dirty, covered in the abrasive slurry and dislodged material. The goal now is to rinse this away completely.
Rinsing Away Polishing Slurry
Immediately after polishing, rinse the electrode tip thoroughly with deionized (DI) water. This removes the bulk of the polishing media before it has a chance to dry and adhere to the surface.
The Role of Sonication
Sonication is a highly effective cleaning method. Place the electrode tip in a beaker of DI water or a suitable solvent (like ethanol) and place the beaker in an ultrasonic bath for several minutes. The high-frequency sound waves create cavitation bubbles that dislodge fine particles from the surface that rinsing alone cannot remove.
Choosing the Right Solvent
- Deionized Water: The primary solvent for rinsing away aqueous polishing slurries.
- Ethanol or Isopropanol: Excellent for removing organic grease or residues. A final sonication in one of these solvents after the water step ensures a truly clean surface.
Step 3: Electrochemical Activation for Final Readiness
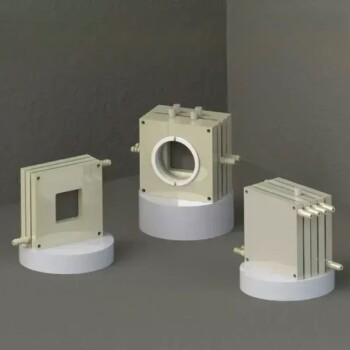
This final step prepares the electrode for the electron transfer reaction itself. It is performed in the actual electrolyte you will use for your experiment, inside your electrochemical cell.
What is Electrochemical Activation?
Many electrode materials, especially metals like platinum and gold, naturally form a thin, passivating oxide layer when exposed to air. This layer can inhibit electron transfer and must be removed. Activation uses an applied potential to electrochemically reduce this oxide layer.
A Common Method: Potential Cycling
A standard activation technique is to run several cycles of cyclic voltammetry (CV) over a wide potential window. Cycling the potential between its positive and negative limits repeatedly reduces the surface oxides and desorbs any remaining, deeply-adsorbed impurities, leaving a truly active surface.
Understanding Common Pitfalls
Even with a defined procedure, errors can compromise your results. Being aware of them is crucial for maintaining data quality.
The Risk of Over-Polishing
Applying too much pressure or polishing for too long can damage the electrode. It can round the edges, alter the surface geometry, and change the effective electrode area, introducing a variable into your measurements.
Cross-Contamination from Materials
Always use clean, dedicated polishing pads and glassware for electrode preparation. A polishing pad used for a gold electrode should not be used for a platinum electrode, as trace amounts of gold could be transferred, creating an alloyed surface.
Assuming the Electrode is Clean
Never assume an electrode is ready, even if it looks clean to the naked eye. Atomic-level contaminants and oxide layers are invisible but have a dramatic effect on electrochemical behavior. Always perform the full preparation sequence.
Making the Right Choice for Your Goal
The required rigor of preparation depends on the sensitivity of your experiment. Tailor your approach to your specific objective.
- If your primary focus is routine analysis or student labs: A simple sequence of 0.05-micron alumina polishing followed by a thorough DI water rinse may be sufficient.
- If your primary focus is high-sensitivity trace analysis: Rigorous polishing followed by sonication in both DI water and ethanol, plus electrochemical activation, is essential to achieve a low background signal.
- If your primary focus is studying surface-specific reactions: Meticulous and highly repeatable polishing and activation are paramount to ensure the surface morphology and activity are identical for every run.
Ultimately, a disciplined and consistent approach to electrode preparation is your best investment in generating accurate and trustworthy electrochemical data.
Summary Table:
| Preparation Step | Key Purpose | Common Materials/Methods |
|---|---|---|
| Mechanical Polishing | Create a physically smooth, renewed surface | Alumina/Diamond slurry, figure-eight motion |
| Chemical Cleaning | Remove polishing residues & organic contaminants | DI water, ethanol, ultrasonic bath |
| Electrochemical Activation | Remove oxide layers & atomic-level impurities | Cyclic voltammetry (CV) in electrolyte |
Ready to achieve publication-quality electrochemical data?
Proper electrode preparation is non-negotiable for reliable results. KINTEK specializes in providing the high-quality lab equipment and consumables—from precision polishing supplies to ultrasonic cleaners—that your laboratory needs to execute this critical process flawlessly.
Let us help you build a foundation for success. Contact our experts today to discuss your specific electrode preparation requirements and discover how KINTEK can support your research with dependable products and technical knowledge.
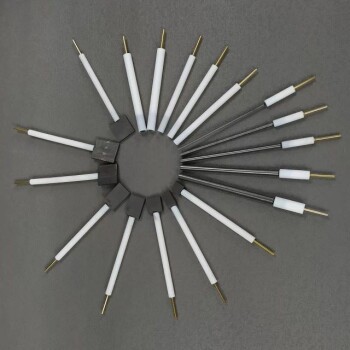
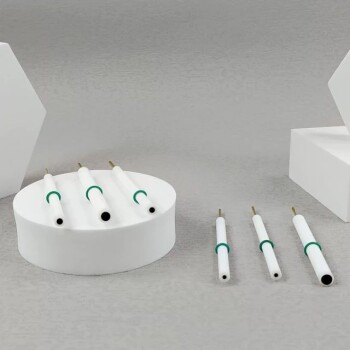
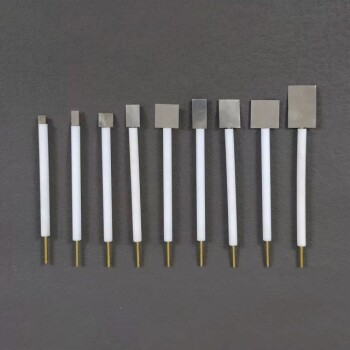
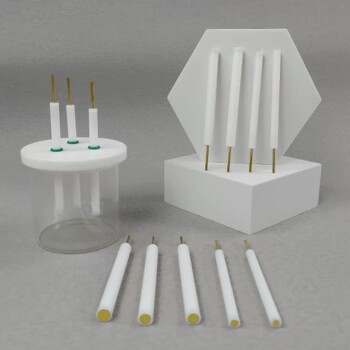
Visual Guide
Related Products
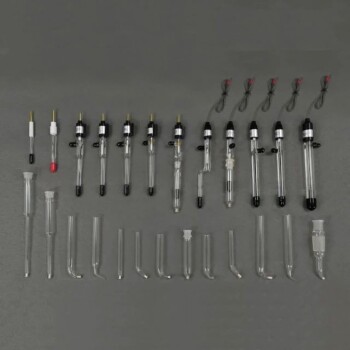
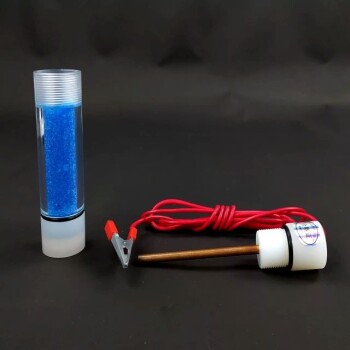
- Reference Electrode Calomel Silver Chloride Mercury Sulfate for Laboratory Use
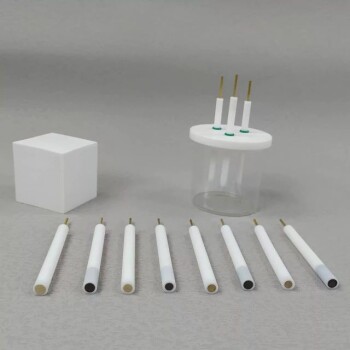
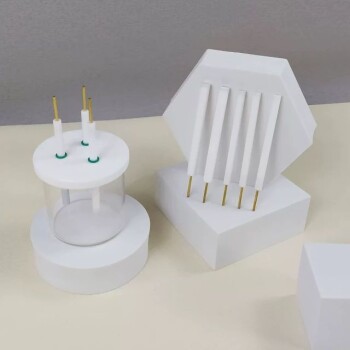
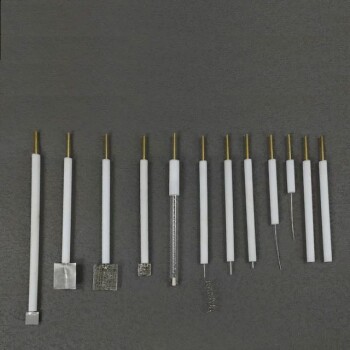
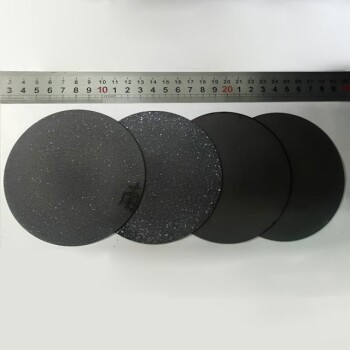
- Metal Disc Electrode Electrochemical Electrode
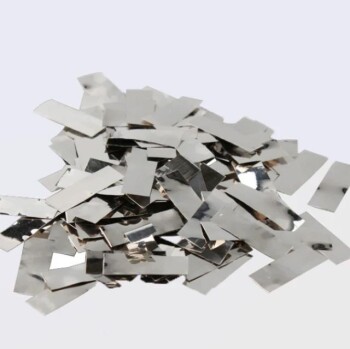
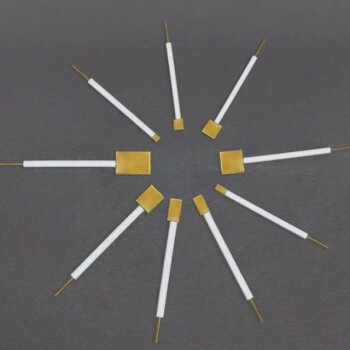
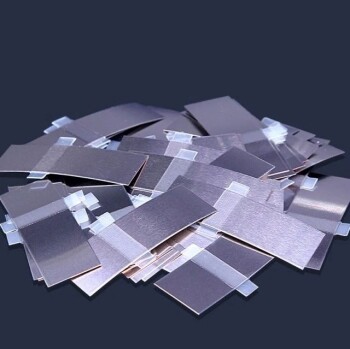
- Platinum Sheet Electrode for Battery Lab Applications
- Rotating Platinum Disk Electrode for Electrochemical Applications
- Graphite Disc Rod and Sheet Electrode Electrochemical Graphite Electrode
People Also Ask
- Which electrode is used as a reference electrode for measuring half-cell potentials? Understanding the Universal Standard
- What is the recommended maintenance for the filling solution of a reference electrode? A Guide to Stable & Accurate Readings
- What is the reference electrode in potentiometry? The Key to Stable & Accurate Measurements
- What is the purpose of the reference electrode? Achieve Stable & Accurate Electrochemical Measurements
- Which electrode is used as a ground reference? Master the Key to Accurate Electrochemical Measurements