XRF (X-ray Fluorescence) technology can measure metal or alloy coatings with thicknesses ranging from approximately 0.001μm to 50μm.
This technology can accurately measure both single and multi-layer coatings on various substrates, including metals, polymers, ceramics, and glass.
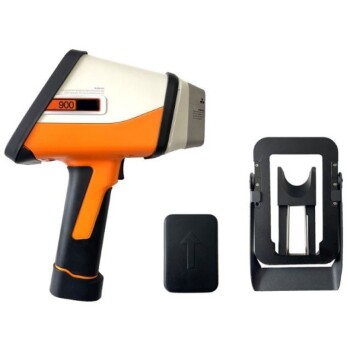
Measurements can be done using either benchtop or handheld XRF instruments.
The choice between benchtop and handheld instruments depends on the size of the parts and the specific application requirements.
4 Key Points Explained: How Thick is XRF Plating?

1. Thickness Range for XRF Measurement
XRF technology can measure coatings with thicknesses ranging from 0.001μm to 50μm.
This range includes both very thin coatings and thicker ones, making XRF versatile for various applications.
2. Types of XRF Instruments
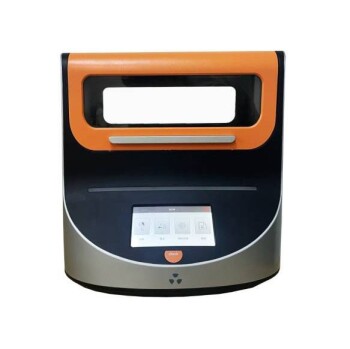
Benchtop XRF Spectrometers: Designed for measuring coating thickness and composition on small parts or specific areas on large parts.
They can be configured with high-precision motorized sample stages, adjustable lighting, and zoomable cameras for clear imaging.
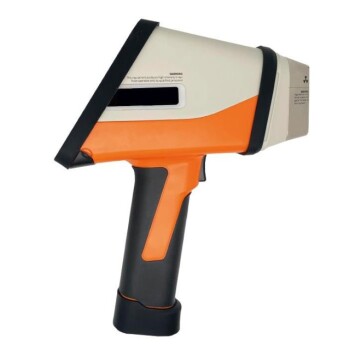
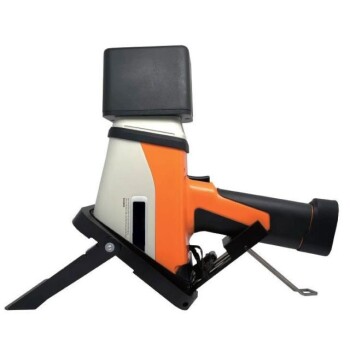
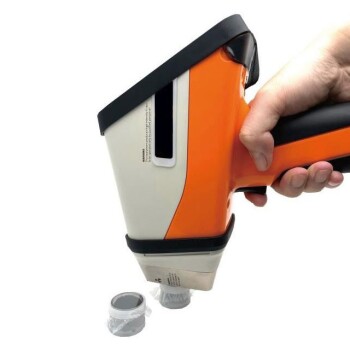
Handheld XRF Instruments: More portable and suitable for measuring large parts that cannot fit into a benchtop sample chamber.
They are ideal for in-service inspections and supply chain monitoring.
3. Aperture Technologies
Collimators and Capillary Optics: These are used in benchtop XRF spectrometers to limit the size of the X-ray beam, which affects the accuracy and precision of the measurements.
The choice between collimators and capillary optics depends on the size of the part and the coating thickness.
4. Impact of Coating Thickness on Measurement
For thinner coatings, both the electroplated material and the substrate can be measured accurately.
However, as the coating thickness increases, the substrate intensity decreases due to the attenuation of X-rays by the coating.
Surface roughness can affect the accuracy of XRF measurements.
Benchtop XRF instruments with motorized sample stages can scan an area to provide an average thickness value, which is particularly useful for samples with uneven surfaces.
Calibration Standards: Both thin film and monolithic standards are used, depending on the application.
Thin film standards offer flexibility, while monolithic standards are more robust and closely resemble actual parts.
Instrument Certification: XRF instruments should be calibrated annually to ensure accurate and reliable measurements.
This involves inspecting the analytical components, electronics, and mechanical parts.
Sample Focusing: Proper focusing is critical to maintain a fixed distance between the X-ray tube, sample, and detector.
Incorrect focusing can lead to inaccurate measurements.
Part Placement: The orientation of the part can affect the measurement results.
Proper alignment ensures accurate data collection.
A larger sample surface is usually preferred for XRF analysis, typically either 32 mm or 40 mm.
This ensures better coverage and more accurate results.
By understanding these key points, a lab equipment purchaser can make informed decisions about selecting the appropriate XRF instrument for their specific needs, ensuring accurate and reliable measurements of coating thickness.
Continue exploring, consult our experts
Ready to elevate your precision? Discover how KINTEK SOLUTION's advanced XRF technology can cater to your unique coating thickness analysis needs.
With benchtop and handheld options, tailored to your exact specifications, let our expert team guide you toward the ideal solution.
Act now to secure accuracy without compromise – your precision is our priority. Contact KINTEK SOLUTION today to start optimizing your lab's capabilities!
