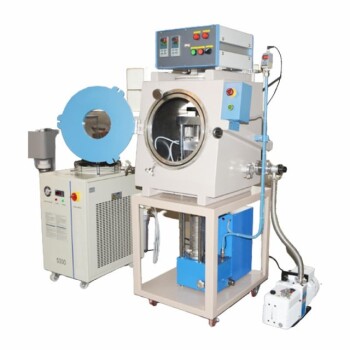
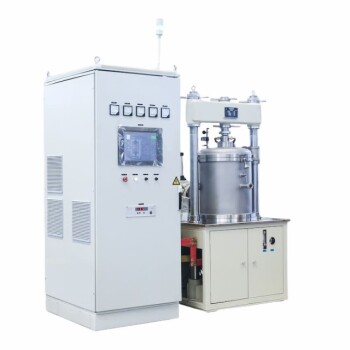
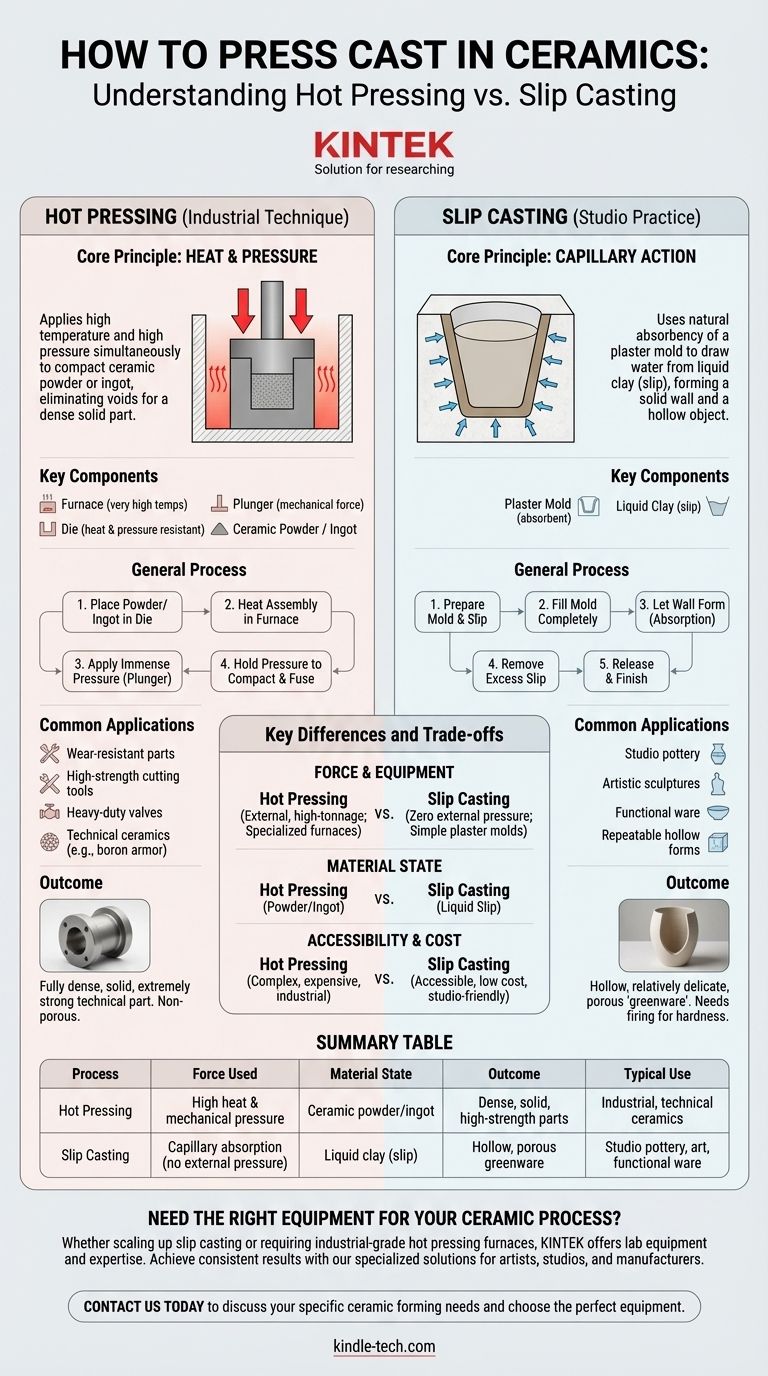
To press cast in ceramics, you are likely referring to one of two distinct processes: hot pressing, an industrial technique that uses a furnace and mechanical pressure to form dense parts, or the more common studio practice of slip casting, which uses a plaster mold to form a hollow object from liquid clay. Hot pressing involves heating ceramic powder or an ingot and pressing it into a die, while slip casting involves pouring liquid slip into an absorbent mold and allowing it to form a solid wall.
The term "press casting" is ambiguous and often causes confusion. The critical distinction lies in the force used: hot pressing uses external heat and high mechanical pressure to create dense, technical parts, whereas slip casting uses the natural absorbency of a plaster mold to form hollow, artistic, or functional ware.
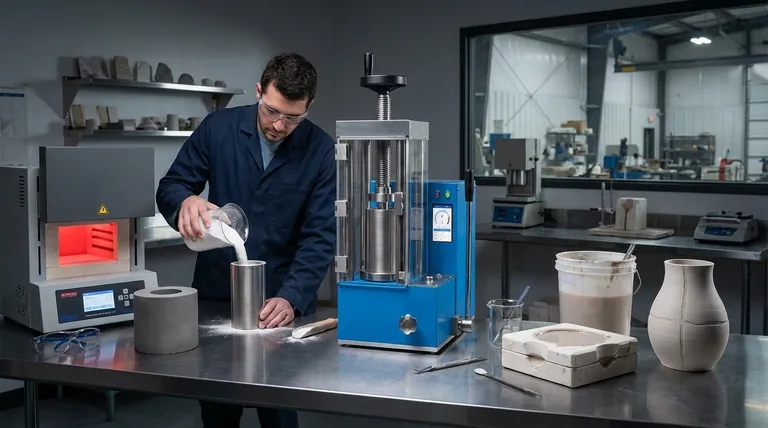
Understanding Hot Pressing Ceramics
Hot pressing is a high-performance manufacturing technique used to produce exceptionally dense and strong ceramic components. It is not a typical studio pottery method.
The Core Principle: Heat and Pressure
The fundamental idea behind hot pressing is to apply high temperature and high pressure simultaneously. Heating the ceramic powder makes the particles more plastic, allowing the external pressure to force them together, eliminating voids and creating a dense, solid part.
The Key Components
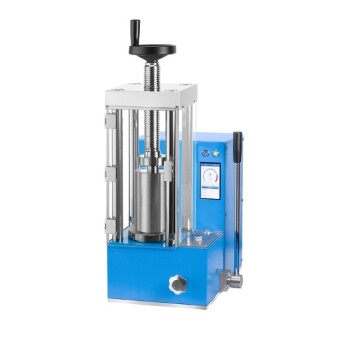
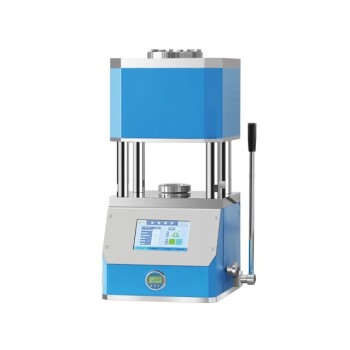
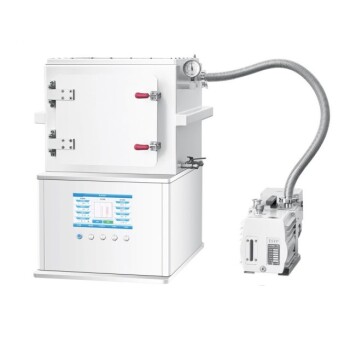
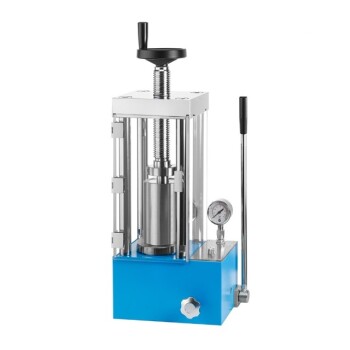
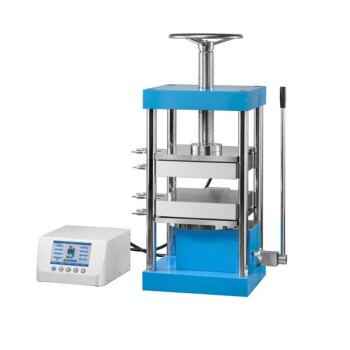
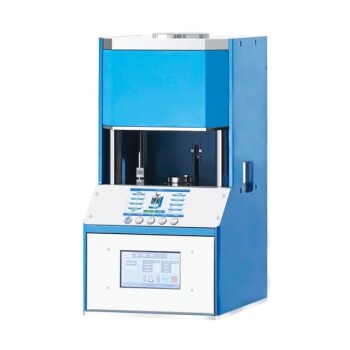
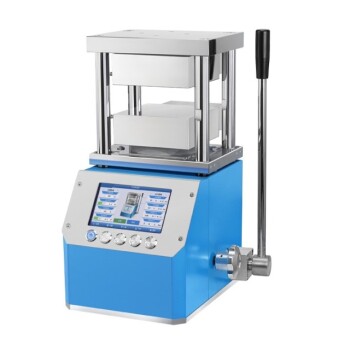
This industrial process requires specialized equipment, including:
- A furnace capable of reaching very high temperatures.
- A die (the mold) that can withstand extreme heat and pressure.
- A plunger or ram to apply mechanical force.
- The raw material, which is typically a fine ceramic powder or a pre-formed ingot.
The General Process
- The ceramic powder or ingot is placed into the die cavity.
- The entire assembly is heated inside the pressing furnace to a specific temperature.
- Once at temperature, the plunger applies immense mechanical pressure.
- This pressure is held for a set time, compacting the particles and fusing them together into a solid, non-porous object.
Common Applications
Hot pressing is essential for creating materials for demanding environments. Applications include wear-resistant parts for machinery, high-strength cutting tools, components for heavy-duty valves, and technical ceramics like boron carbide for body armor.
Understanding Slip Casting (The Common Confusion)
When people in a studio or hobbyist context mention "casting," they are almost always referring to slip casting. This process uses no external pressure or heat.
The Core Principle: Capillary Action
Slip casting works by using the natural absorbency of a plaster mold. When liquid clay (slip) is poured into the mold, the plaster draws the water out of the slip that is in direct contact with it, causing a solid wall of clay to form.
The Step-by-Step Process
Following the steps for slip casting is straightforward and requires no complex machinery.
Step 1: Prepare Your Mold and Slip
Line up the parts of your plaster mold and secure them tightly, often with large rubber bands. Ensure your slip is mixed to a smooth, even consistency.
Step 2: Fill the Mold
Slowly and steadily pour the slip into the mold's opening. Fill it completely to the top to ensure an even casting and to avoid air bubbles.
Step 3: Form the Wall
Let the filled mold sit. The plaster will begin absorbing water from the slip, forming a solid clay wall. The longer you wait, the thicker this wall will become.
Step 4: Remove Excess Slip
Once the wall reaches your desired thickness, carefully tip the mold over and pour all of the remaining liquid slip out.
Step 5: Release and Finish
Allow the mold to sit until the clay inside has firmed up from a wet to a leather-hard state. At this point, you can carefully open the mold to reveal your hollow piece. The casting can then be cleaned of seam lines and finished as desired.
Key Differences and Trade-offs
Choosing the right method depends entirely on your final goal, as the processes, costs, and results are vastly different.
Force and Equipment
Hot pressing is defined by its use of external, high-tonnage pressure and specialized furnaces. Slip casting uses zero external pressure and relies on simple, reusable plaster molds.
Material State and Outcome
Hot pressing starts with powder or an ingot and produces a fully dense, solid, and extremely strong technical part. Slip casting starts with liquid clay and produces a relatively delicate, hollow, and porous "greenware" piece that must be fired to achieve hardness.
Accessibility and Cost
Slip casting is highly accessible to artists, hobbyists, and small studios due to its low cost and simple equipment. Hot pressing is a complex, energy-intensive, and expensive industrial process reserved for high-performance manufacturing.
Making the Right Choice for Your Goal
To determine the correct process, first define the characteristics of the object you want to create.
- If your primary focus is creating high-performance, solid, non-porous parts for technical or dental use: You are looking for industrial hot pressing.
- If your primary focus is producing hollow vessels, sculptures, or repeatable forms in a studio environment: The technique you need is slip casting.
- If your primary focus is making solid objects by hand: You may be thinking of press molding, a simpler technique where solid clay is pressed between two mold halves by hand.
Understanding the fundamental difference between using force and using absorption is the key to choosing the right ceramic forming process for your project.
Summary Table:
| Process | Force Used | Material State | Outcome | Typical Use |
|---|---|---|---|---|
| Hot Pressing | High heat & mechanical pressure | Ceramic powder/ingot | Dense, solid, high-strength parts | Industrial, technical ceramics |
| Slip Casting | Capillary absorption (no external pressure) | Liquid clay (slip) | Hollow, porous greenware | Studio pottery, art, functional ware |
Need the Right Equipment for Your Ceramic Process?
Whether you're scaling up slip casting production or require industrial-grade hot pressing furnaces, KINTEK has the lab equipment and expertise to support your ceramic projects. Our specialized solutions help artists, studios, and manufacturers achieve consistent results with reliable tools and consumables.
Contact us today to discuss your specific ceramic forming needs and let us help you choose the perfect equipment for your workflow. Get in touch via our contact form!
Visual Guide
Related Products
- Electric Lab Cold Isostatic Press CIP Machine for Cold Isostatic Pressing
- Warm Isostatic Press for Solid State Battery Research
- 24T 30T 60T Heated Hydraulic Press Machine with Heated Plates for Laboratory Hot Press
- Double Plate Heating Press Mold for Lab
- Warm Isostatic Press WIP Workstation 300Mpa for High Pressure Applications
People Also Ask
- What is the function of graphite molds in Cu/WC vacuum hot pressing? Optimize Your Composite Sintering Process
- What role do metal molds play during the cold pressing stage of VC/Cu composite fabrication? High-Precision Shaping
- What key functions do laboratory hydraulic presses and molds perform for rubber-plastic-wood waste composites?
- What role does a graphite mold play in WCp/Cu FGM stacking? Ensure Precision with High-Performance Tooling
- How to keep ceramic clay from sticking to mold? Master Moisture Control for a Perfect Release
- What functions do high-temperature molds perform in vacuum hot pressing? Enhance Metal Layered Composite Precision
- What is the process of ceramic mold casting? Achieve Precision Casting for Complex Parts
- What is the role of graphite molds in vacuum hot-press sintering? Optimize Ti/Al2O3 Composite Bonding
