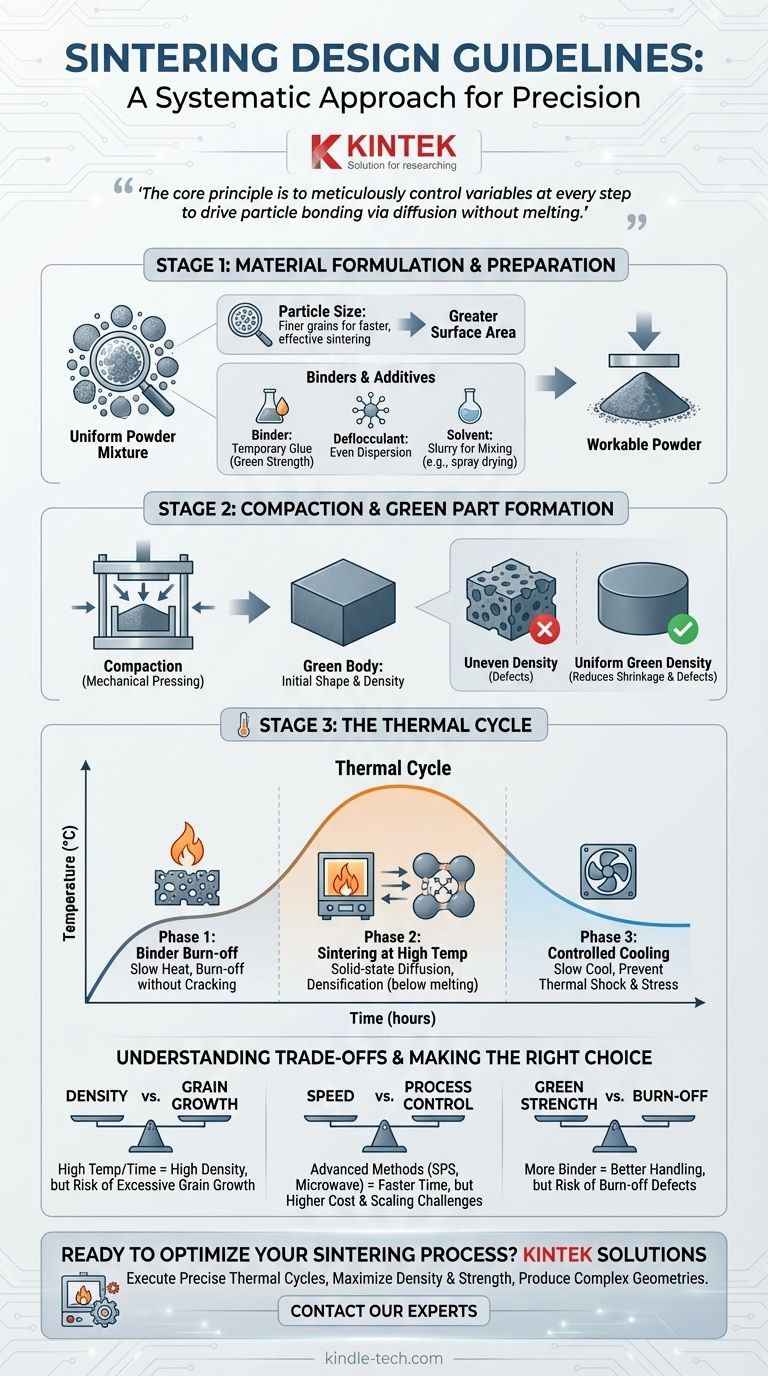
Effective sintering design is not a single checklist but a systematic approach that focuses on three critical stages: formulating the raw materials, forming the initial part, and executing a precise thermal cycle. Each stage involves key decisions that directly influence the final product's density, strength, and structural integrity.
The core principle of sintering design is to meticulously control the variables at every step—from the initial powder characteristics to the final cooling rate—to drive particle bonding through diffusion without melting the material.
Stage 1: Material Formulation and Preparation
The foundation of any sintered component is the powder from which it is made. The choices made here dictate the behavior of the material throughout the entire process.
Selecting the Base Powder
The primary characteristic to design for is particle size. Finer grain sizes generally promote faster and more effective sintering because they provide a greater surface area, which is the driving force for the diffusion that bonds particles together.
Incorporating Binders and Additives
Pure powder often doesn't hold its shape well. To create a workable mixture, several components are typically added:
- Binder: Acts as a temporary glue to provide strength to the part in its pre-sintered ("green") state.
- Deflocculant: Helps ensure the powder particles are evenly dispersed within the mixture, preventing clumps.
- Solvent (e.g., water): Creates a slurry that can be easily mixed and processed, often through methods like spray drying to create a uniform, flowable powder ready for pressing.
Stage 2: Compaction and Green Part Formation
This stage gives the component its initial shape and density. The goal is to arrange the powder particles as closely as possible before applying heat.
The Purpose of Compaction
Compaction, typically done via mechanical pressing in a mold, creates the "green body". The primary objective is to increase particle-to-particle contact and eliminate large voids.
Achieving Uniform Green Density
A higher and more uniform green density is a critical design goal. It reduces the amount of shrinkage required during sintering, minimizes processing time, and helps prevent defects like warping or cracking in the final part.
Stage 3: The Thermal Cycle (Sintering)
This is the heart of the process, where the green body is transformed into a solid, cohesive structure. The thermal cycle must be designed with distinct phases.
Phase 1: Binder Burn-off
Before the main sintering begins, the part is heated slowly to a low temperature. This crucial step is designed to burn off the binder and other additives without creating internal defects. Removing the binder too quickly can cause the part to crack.
Phase 2: Sintering at High Temperature
The temperature is raised to a point below the material's melting point. At this temperature, thermally activated solid-state diffusion occurs. Atoms move across the boundaries between particles, forming "necks" that grow and fuse the particles together, densifying the part.
Phase 3: Controlled Cooling
The final stage is cooling the component back to room temperature. The cooling rate must be carefully controlled to prevent thermal shock and the introduction of internal stresses, which could compromise the part's mechanical properties.
Understanding the Trade-offs
Effective design requires balancing competing factors. There is no single "best" method, only the most appropriate one for a given application.
Density vs. Grain Growth
Achieving maximum density often requires higher temperatures or longer sintering times. However, these same conditions can cause excessive grain growth, where smaller grains merge into larger ones, which can sometimes negatively impact material properties like toughness.
Speed vs. Process Control
Advanced methods like Spark Plasma Sintering (SPS) or Microwave Sintering can dramatically reduce processing time compared to conventional furnace heating. The trade-off is often in equipment cost and the ability to scale for very large or complex parts.
Green Strength vs. Burn-off
Using a higher percentage of binder can make the green part more robust and easier to handle. However, this increases the amount of material that must be burned out, raising the risk of defects if the burn-off stage is not designed and executed perfectly.
Making the Right Choice for Your Goal
Your specific design decisions should be guided by the primary objective for your component.
- If your primary focus is maximum density and strength: Prioritize using a fine-grain powder and optimize compaction pressure to achieve the highest possible green density before heating.
- If your primary focus is producing complex geometries: Pay close attention to binder selection and design a slow, controlled binder burn-off cycle to prevent cracking and distortion.
- If your primary focus is process efficiency and cost: Concentrate on maximizing green density to reduce the necessary sintering time and temperature, which are major drivers of energy consumption.
By understanding these stages as a series of interconnected design choices, you gain precise control over the final properties of your sintered component.
Summary Table:
| Sintering Design Stage | Key Design Focus | Primary Goal |
|---|---|---|
| Stage 1: Material Formulation | Particle size, binder/additive selection | Create a uniform, workable powder mixture |
| Stage 2: Compaction | Pressure application, green density uniformity | Achieve high, uniform particle contact in the "green body" |
| Stage 3: Thermal Cycle | Precise temperature control during burn-off, sintering, and cooling | Drive particle bonding via diffusion for final density and strength |
Ready to Optimize Your Sintering Process?
Achieving the perfect balance of density, strength, and geometry for your sintered components requires precise control and the right equipment. KINTEK specializes in advanced lab furnaces and consumables designed for the exacting demands of sintering.
We provide the tools and expertise to help you:
- Execute precise thermal cycles for optimal binder burn-off and particle diffusion.
- Maximize density and strength with equipment that ensures uniform heating.
- Produce complex geometries reliably by controlling every stage of the process.
Let's discuss your sintering challenges. Contact our experts today to find the perfect solution for your laboratory's needs.
Visual Guide
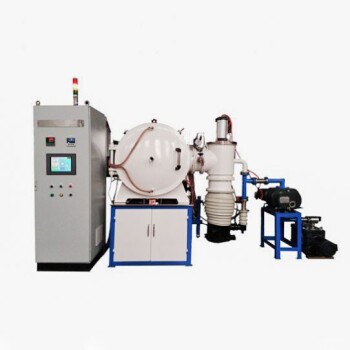
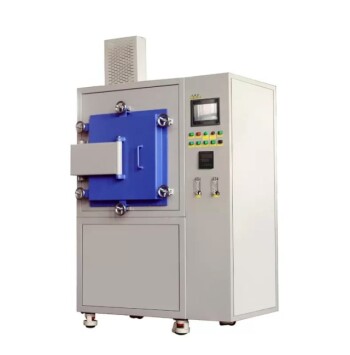
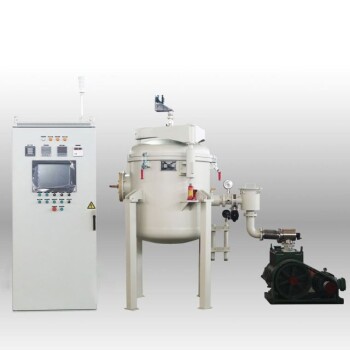
Related Products
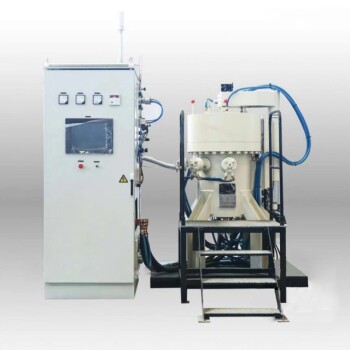
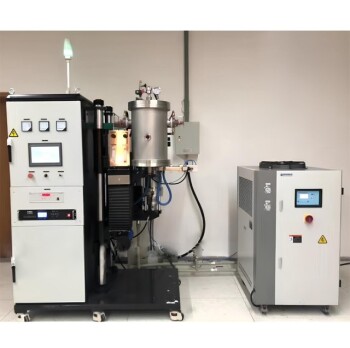
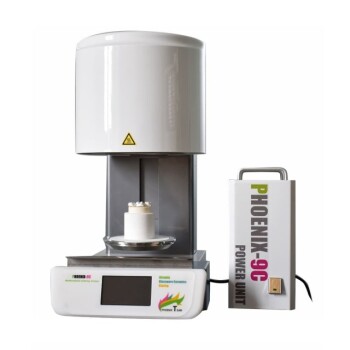
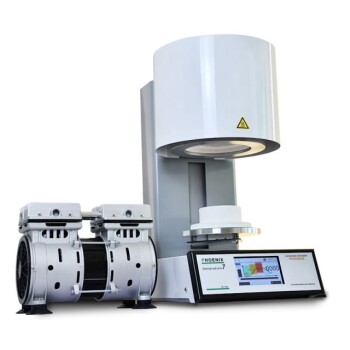
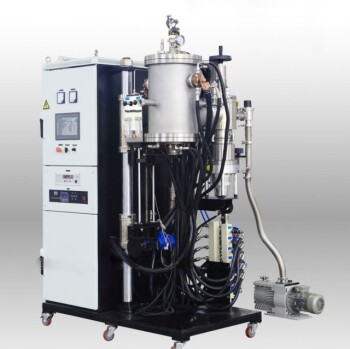
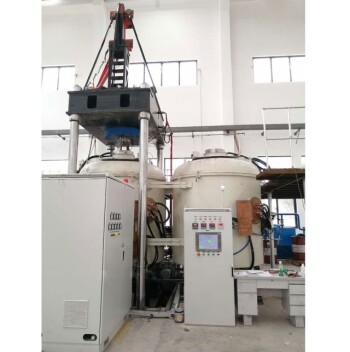
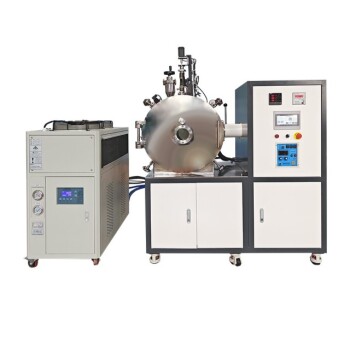
- Vacuum Heat Treat and Sintering Furnace with 9MPa Air Pressure
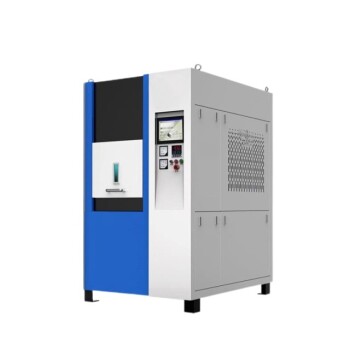
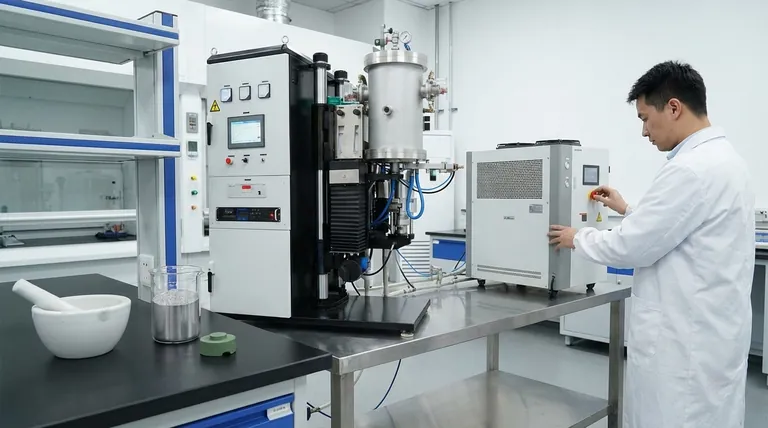
- High Temperature Muffle Oven Furnace for Laboratory Debinding and Pre Sintering
- Vacuum Heat Treat and Molybdenum Wire Sintering Furnace for Vacuum Sintering
- Vacuum Heat Treat and Pressure Sintering Furnace for High Temperature Applications
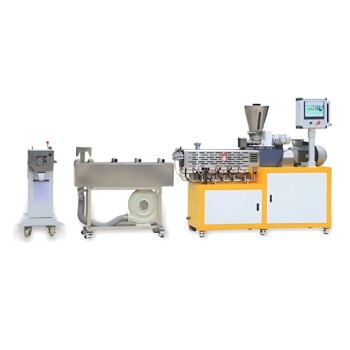
- Spark Plasma Sintering Furnace SPS Furnace
People Also Ask
- What is the point of sintering? Create Strong, Complex Parts Without Melting
- What are some alternative atmospheres to pure hydrogen for powder metallurgy sintering processes? Top Sintering Solutions
- How can we reduce porosity of sintering? Optimize Your Process for Maximum Density
- Why must green bodies produced via binder jetting undergo treatment in a vacuum sintering furnace?
- What is the effect of sintering temperature on grain size? A Guide to Microstructural Control