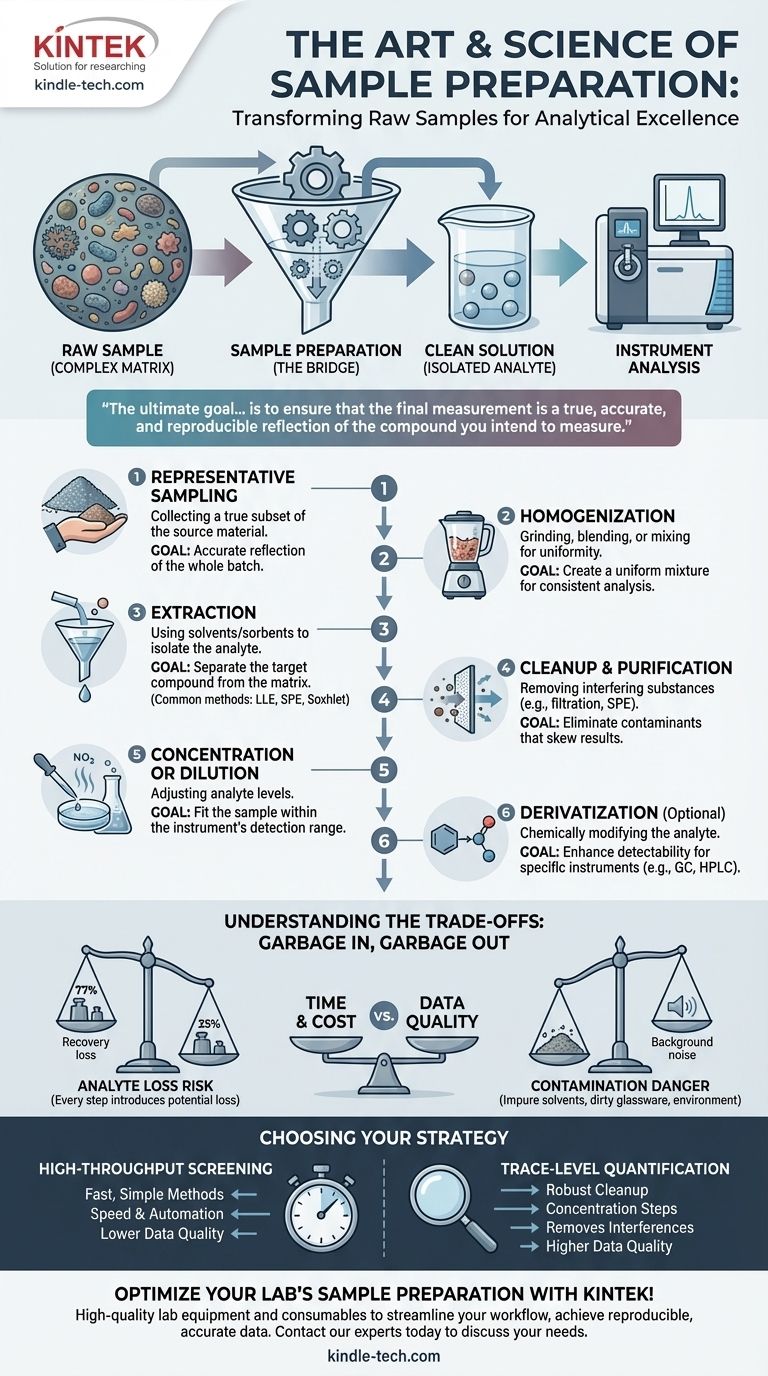
At its core, sample preparation is the series of steps you take to transform a raw, complex sample into a clean, simple solution that is suitable for analysis by an instrument. This process is arguably the most critical stage of any chemical analysis. The most common steps include representative sampling, homogenization, extraction of the target analyte from the sample matrix, cleanup to remove interferences, and finally, concentration or dilution to fit the instrument's detection range.
The ultimate goal of sample preparation is not merely to process a sample, but to ensure that the final measurement is a true, accurate, and reproducible reflection of the compound you intend to measure. Poor sample preparation is the primary source of error in analytical chemistry, invalidating even the most advanced instrumental analysis.
The Foundational Goal: From Raw Sample to Measurable Analyte
Raw samples—whether they are soil, blood, water, or a food product—are incredibly complex mixtures. These mixtures, known as the sample matrix, contain thousands of compounds that can interfere with an instrument's ability to detect the specific compound you are interested in, known as the analyte.
Sample preparation is the bridge between this complex raw sample and the clean solution the instrument requires. Its purpose is to isolate the analyte from the matrix, remove interfering substances, and adjust its concentration to an optimal level for measurement.
A Step-by-Step Breakdown of the Preparation Workflow
While the exact procedure varies dramatically depending on the sample and the analytical technique, the underlying principles follow a logical progression.
Step 1: Representative Sampling
This is the most crucial step. If the initial sample collected does not accurately represent the whole batch, field, or patient, then no amount of careful lab work can correct the error.
The goal is to obtain a small, manageable sample whose composition is identical to the much larger source material. This might involve collecting samples from multiple locations and combining them (compositing) or using specific statistical protocols.
Step 2: Homogenization
Most raw samples are not uniform. A soil sample has pebbles and organic matter; a tissue sample has different cell types.
Homogenization is the process of making the sample uniform, typically through grinding, blending, or mixing. This ensures that any small sub-sample (or aliquot) taken for analysis is truly representative of the whole sample you collected.
Step 3: Extraction (Liberating the Analyte)
Extraction is the process of pulling the analyte out of the solid or liquid sample matrix. The choice of technique depends on the physical and chemical properties of your analyte and the matrix.
Common methods include:
- Liquid-Liquid Extraction (LLE): Using a solvent that preferentially dissolves the analyte but not the matrix components.
- Solid-Phase Extraction (SPE): Passing a liquid sample through a solid sorbent that retains either the analyte or the interferences.
- Soxhlet Extraction: Continuously washing a solid sample with a heated solvent to extract analytes.
Step 4: Cleanup and Purification
Extraction is rarely perfect; it often pulls out other compounds from the matrix that can interfere with the analysis. The cleanup step is designed to remove these interferences.
This stage further purifies your sample extract. Techniques can be as simple as filtration to remove particles or as sophisticated as using a second, different SPE cartridge to selectively remove unwanted compounds.
Step 5: Concentration or Dilution
Analytical instruments have an optimal concentration range for detection.
If your analyte is present at very low levels (trace analysis), you will need to concentrate the sample. This is often done by evaporating the solvent, typically with a gentle stream of nitrogen.
If the analyte is at a very high concentration, you must perform a precise dilution with a pure solvent to bring it within the instrument's linear range and avoid saturating the detector.
Step 6: Derivatization (If Necessary)
Some analytes are difficult to detect in their natural form. They may not be volatile enough for gas chromatography (GC) or lack a feature that can be seen by a UV or fluorescence detector.
Derivatization is a chemical reaction that converts the analyte into a more "instrument-friendly" form, making it more volatile, thermally stable, or detectable.
Understanding the Trade-offs: The "Garbage In, Garbage Out" Principle
Every step added to a sample preparation workflow introduces potential sources of error. A successful protocol is often a compromise between purity and recovery.
The Risk of Analyte Loss
Each transfer, filtration, or extraction step carries the risk of losing some of your target analyte. A 10-step procedure where you lose just 5% of your analyte at each step results in a final recovery of only 60%. Simpler methods are often better if they meet the analytical requirements.
The Danger of Contamination
Conversely, every step is an opportunity to introduce contamination. This can come from impure solvents, dirty glassware, pipette tips, or even the lab environment. Contamination leads to falsely high results or the appearance of interfering peaks in your data.
Time and Cost vs. Data Quality
Sample preparation is frequently the most time-consuming and labor-intensive part of an analysis. There is a constant trade-off between using a fast, simple method (e.g., "dilute-and-shoot") and a more complex, multi-step protocol that yields cleaner data. The right choice depends entirely on your analytical goal.
Choosing the Right Preparation Strategy
Your sample preparation strategy should be directly aligned with the objective of your analysis.
- If your primary focus is high-throughput screening: Prioritize speed and automation, accepting potentially lower data quality. Techniques like "dilute-and-shoot" or simple protein precipitation are often sufficient.
- If your primary focus is trace-level quantification: Emphasize robust cleanup and concentration steps to remove matrix interferences and bring your analyte into the instrument's optimal detection range.
- If your primary focus is identifying unknown compounds: Use the gentlest methods possible to avoid altering the analytes and minimize steps to reduce the risk of introducing artifacts from the process itself.
Investing time to develop and validate a robust sample preparation protocol is the single most important step toward achieving reliable and defensible analytical results.
Summary Table:
| Step | Key Action | Primary Goal |
|---|---|---|
| 1. Representative Sampling | Collecting a true subset of the source material | Ensure the sample accurately reflects the entire batch or source |
| 2. Homogenization | Grinding, blending, or mixing the sample | Create a uniform mixture for consistent analysis |
| 3. Extraction | Using solvents or sorbents to isolate the analyte | Separate the target compound from the sample matrix |
| 4. Cleanup/Purification | Removing interfering substances (e.g., filtration, SPE) | Eliminate contaminants that could skew results |
| 5. Concentration/Dilution | Adjusting analyte levels (evaporation or dilution) | Fit the sample within the instrument’s detection range |
| 6. Derivatization (Optional) | Chemically modifying the analyte | Enhance detectability for specific instruments (e.g., GC, HPLC) |
Optimize your lab's sample preparation with KINTEK!
Poor sample prep is the leading cause of analytical error—don’t let unreliable results compromise your work. KINTEK specializes in high-quality lab equipment and consumables designed to streamline your workflow, from homogenization and extraction to purification and concentration. Whether you're focused on high-throughput screening or trace-level quantification, our products help you achieve reproducible, accurate data.
Contact our experts today to discuss how KINTEK can support your laboratory’s specific needs and enhance your analytical outcomes.
Visual Guide
Related Products
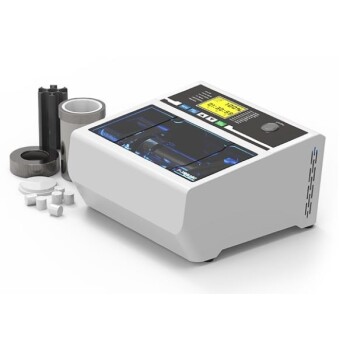
- Laboratory Micro Horizontal Jar Mill for Precision Sample Preparation in Research and Analysis
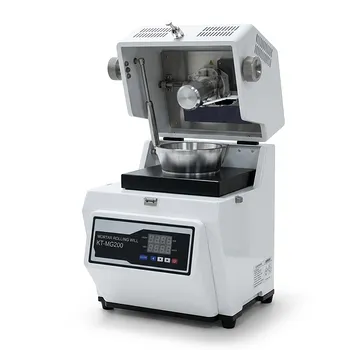
- Laboratory Grinding Mill Mortar Grinder for Sample Preparation
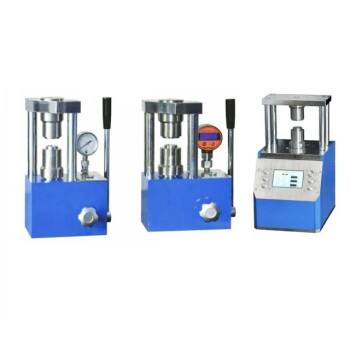
- Vacuum Cold Mounting Machine for Sample Preparation
- XRF & KBR steel ring lab Powder Pellet Pressing Mold for FTIR
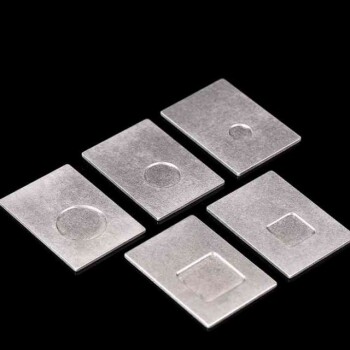
- Customizable XRD Sample Holders for Diverse Research Applications
People Also Ask
- What sample preparation methods are used in labs? Master the Critical First Step for Reliable Analysis
- What is the use of a laboratory mill? Achieve Accurate Sample Homogenization for Reliable Results
- What is the function of laboratory mills? Achieve Precise Particle Size Control for Accurate Analysis
- What is use for grinding in the laboratory? Select the Right Mill for Accurate Sample Prep
- Why are polyurethane milling jars and corundum balls used for boron carbide? Ensure Purity in Advanced Ceramic Mixing