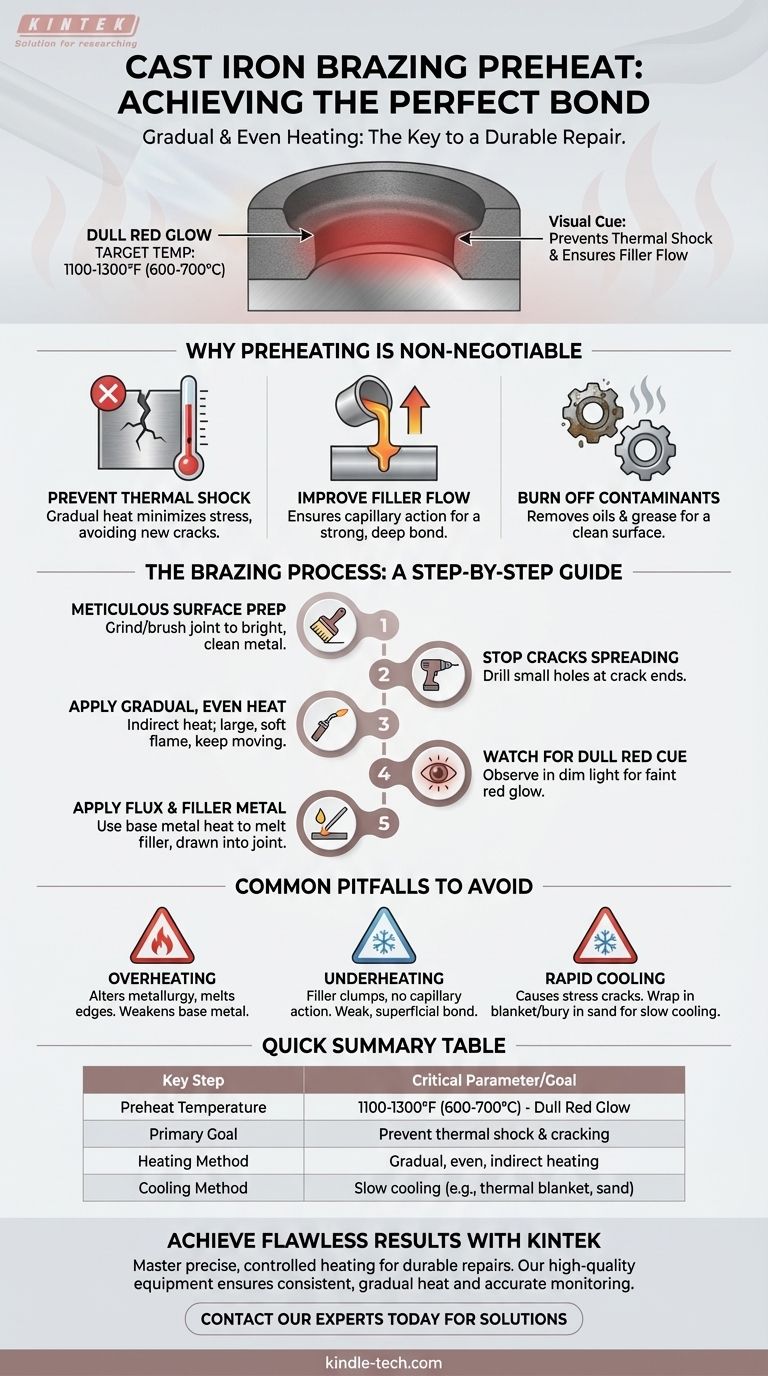
For brazing cast iron, you should preheat the metal gradually and evenly until it reaches a dull red color. This visual cue indicates the base metal is at the correct temperature range, typically around 1100-1300°F (600-700°C), which is necessary to prevent thermal shock and ensure the brazing filler flows correctly.
The specific preheat temperature is less important than the principles behind it. A successful cast iron braze depends on a holistic process: meticulous cleaning, gradual heating to reduce stress, and controlled cooling to prevent the brittle metal from cracking.
Why Preheating is Non-Negotiable for Cast Iron
Preheating isn't just about getting the metal hot; it's a critical step to manage the inherent properties of cast iron. Skipping or improperly performing this step is the most common reason for a failed repair.
Preventing Thermal Shock
Cast iron is brittle and has low ductility. Applying intense, localized heat from a torch to cold cast iron creates massive internal stress, which will almost certainly cause new cracks to form. Slow, even preheating minimizes this temperature difference.
Improving Filler Metal Flow
Brazing relies on capillary action, where the molten filler metal is drawn into the tight-fitting joint. Preheating the base metal ensures the filler stays molten and flows freely throughout the joint instead of solidifying on contact with a cold surface.
Burning Off Contaminants
Over its service life, cast iron absorbs contaminants like oil and grease into its porous structure. The preheating process helps burn out these impurities, which is essential for a clean surface that the filler metal can properly bond to.
The Brazing Process: A Step-by-Step Guide
Achieving the right temperature is only one part of a multi-stage process. Each step is essential for a strong, durable bond.
Step 1: Meticulous Surface Preparation
The base metal must be impeccably clean. Any rust, paint, oil, or grease will prevent the filler metal from wetting the surface and creating a strong bond. Grind or wire-brush the joint area until it is bright, clean metal.
Step 2: Stop Cracks From Spreading
If you are repairing a crack, you must prevent it from propagating further during the heating and cooling cycle. Drill a small hole at each visible end of the crack to distribute the stress and create a definitive stopping point.
Step 3: Apply Gradual and Even Heat
Begin heating the area around the joint, not the joint itself. Use a large, soft flame and keep the torch moving constantly to distribute the heat evenly. This gradual and indirect preheating is key to avoiding thermal shock.
Step 4: Watch for the "Dull Red" Cue
As you heat the casting, watch the color in a dimly lit area. You are looking for a faint, dull red glow. This indicates you have reached the appropriate temperature for brazing.
Step 5: Apply Flux and Filler Metal
Once preheated, apply brazing flux to the joint. The flux will clean the surface and protect it from oxidation. Then, bring the brazing rod into contact with the joint and use the heat of the base metal—not the direct flame—to melt the filler, allowing it to be drawn deep into the crack or seam.
Common Pitfalls to Avoid
Understanding the risks is just as important as knowing the steps. Mismanaging the thermal properties of cast iron will lead to failure.
The Danger of Overheating
Heating cast iron beyond a dull or cherry red can begin to alter its metallurgical properties or even melt the sharp edges of the joint. This can weaken the base metal and compromise the repair.
The Consequence of Underheating
If the cast iron is not hot enough, the filler metal will not flow properly. It will tend to clump on the surface, creating a weak, superficial bond that lacks the strength of a true brazed joint.
The Critical Mistake of Rapid Cooling
Just as cast iron must be heated slowly, it must be cooled slowly. Once the braze is complete, wrap the casting in a thermal blanket or bury it in dry sand. This allows it to cool over several hours, preventing the formation of stress cracks.
Applying This to Your Project
Your approach should be dictated by the nature of the repair.
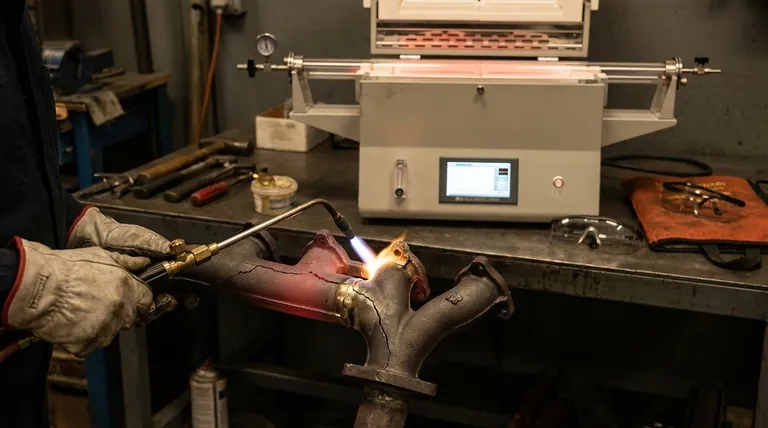
- If your primary focus is repairing a cracked part (e.g., an exhaust manifold): Your main concerns are preventing the crack from growing and managing thermal stress. Focus on crack-stopping holes and extremely slow, even heating and cooling.
- If your primary focus is joining two separate pieces: Success depends on capillary action. Ensure a tight, clean fit-up between the parts and preheat both pieces evenly so the filler metal is drawn uniformly into the joint.
Ultimately, mastering the process of controlled thermal management is the true key to a durable and reliable cast iron repair.
Summary Table:
| Key Step | Critical Parameter / Goal |
|---|---|
| Preheat Temperature | 1100-1300°F (600-700°C) - Dull Red Glow |
| Primary Goal | Prevent thermal shock and cracking |
| Heating Method | Gradual, even, and indirect heating |
| Cooling Method | Slow cooling (e.g., thermal blanket, sand) |
Achieve Flawless Brazing Results with the Right Equipment
Mastering the precise, controlled heating required for cast iron brazing is essential for a durable repair. KINTEK specializes in high-quality lab and workshop equipment, including reliable heating systems and temperature monitoring tools that can help you achieve the perfect preheat every time.
Let us support your precision work:
- Ensure Consistent Heat: Our equipment helps maintain the even, gradual heating critical for preventing cast iron cracks.
- Monitor Accurately: Achieve the correct 'dull red' temperature range with confidence.
- Improve Your Process: Get durable, professional-grade results on every project.
Ready to enhance your brazing process? Contact our experts today to find the ideal solution for your workshop needs.
Visual Guide
Related Products
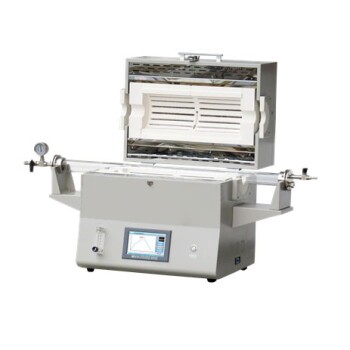
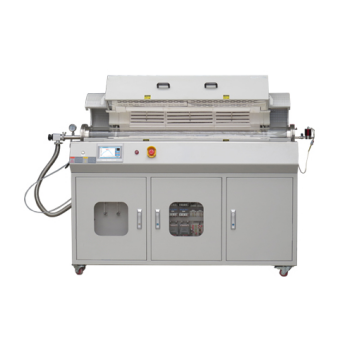
- 1400℃ Laboratory Quartz Tube Furnace with Alumina Tube Tubular Furnace
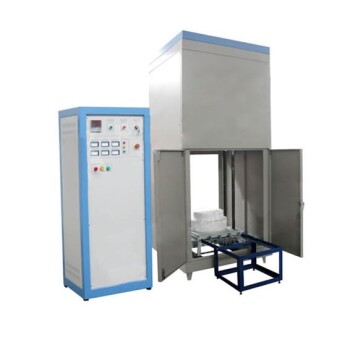
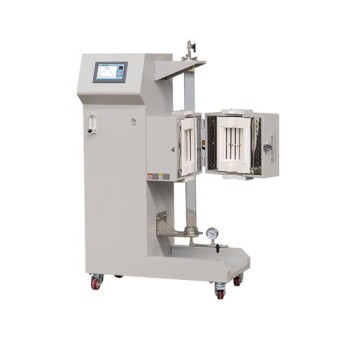
- Laboratory Muffle Oven Furnace Bottom Lifting Muffle Furnace
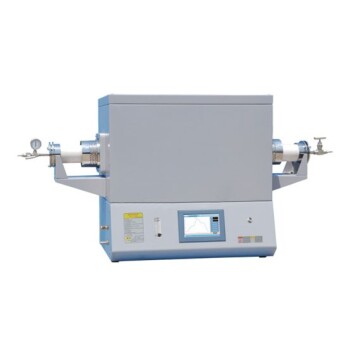
- 1700℃ Laboratory Quartz Tube Furnace with Alumina Tube Tubular Furnace
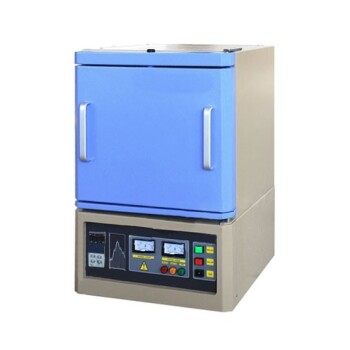
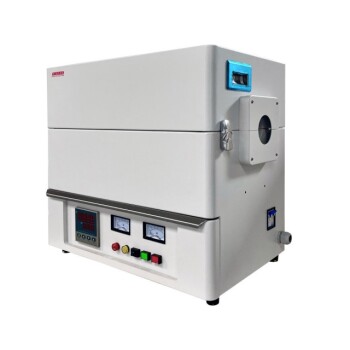
- 1800℃ Muffle Oven Furnace for Laboratory
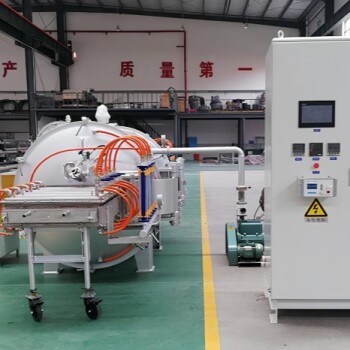
- High Temperature Muffle Oven Furnace for Laboratory Debinding and Pre Sintering
People Also Ask
- How does a tubular furnace work? A Guide to Controlled High-Temperature Processing
- What are the benefits of a tube furnace? Achieve Superior Temperature & Atmosphere Control
- What is the high temperature of a tube furnace? Unlock the Right Model for Your Application
- What precautions should be taken when using a tube furnace? Ensure Safe, Effective High-Temperature Processing
- What materials are used for the tubes in tube furnaces? A Guide to Selecting the Right Tube for Your Process