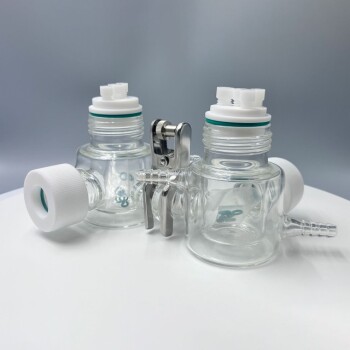
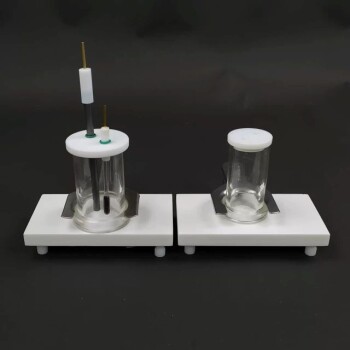
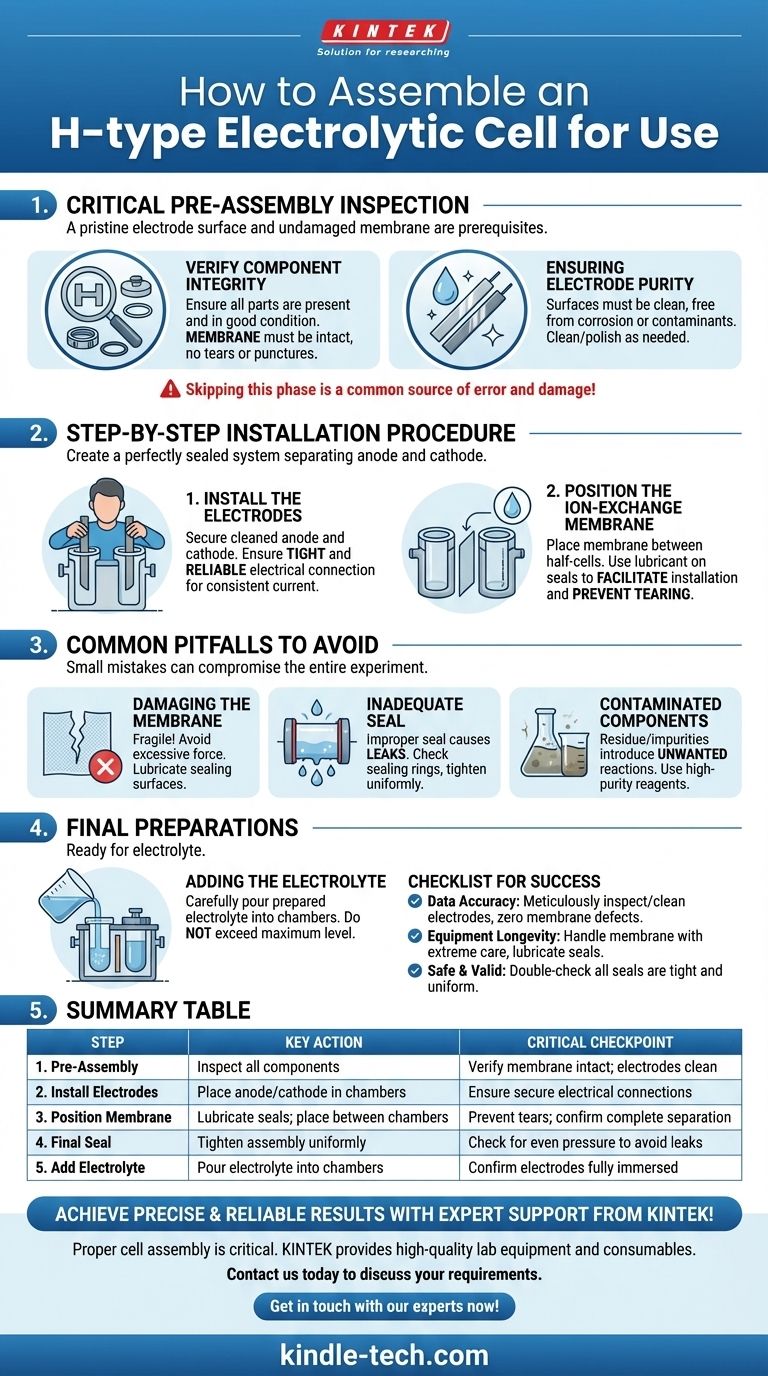
Properly assembling an H-type electrolytic cell involves a specific sequence to ensure both component integrity and experimental accuracy. First, you install the cleaned electrodes into their respective chambers, verifying a secure electrical connection. Then, you carefully position the ion-exchange membrane between the two chambers before sealing the entire apparatus.
The success of your experiment hinges not just on the installation steps, but on the meticulous pre-assembly inspection of each component. A pristine electrode surface and an undamaged membrane are prerequisites for reliable electrochemical data.

The Critical Pre-Assembly Inspection
Before any assembly begins, a thorough inspection is mandatory. Skipping this phase is a common source of experimental error and can lead to damaged equipment.
Verifying Component Integrity
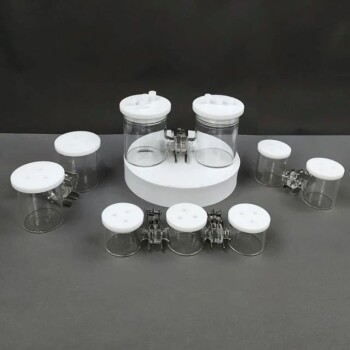
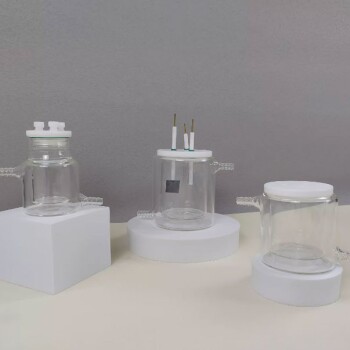
Ensure all parts of the H-type cell are present and in good condition. This includes the anode and cathode chambers, lids, and sealing rings.
Pay special attention to the ion-exchange membrane. It must be completely intact, with no visible tears, punctures, or signs of aging or degradation.
Ensuring Electrode Purity
The electrode surfaces must be clean and free from any corrosion, passivation layers, or contaminants from previous experiments.
If necessary, clean or polish the electrodes according to their material-specific procedures to guarantee an active and well-defined surface area.
Step-by-Step Installation Procedure
With all components verified, you can proceed with the assembly in a deliberate and careful manner. The goal is to create a perfectly sealed system that separates the anode and cathode compartments.
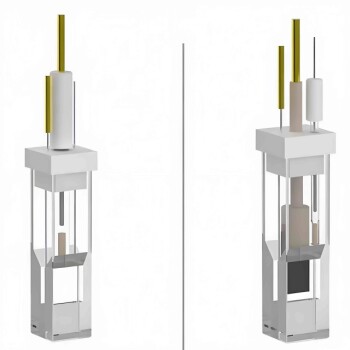
Step 1: Install the Electrodes
Begin by installing the cleaned anode and cathode into their respective chambers.
The electrical connection must be tight and reliable to ensure consistent current flow and minimize contact resistance.
Step 2: Position the Ion-Exchange Membrane
Next, place the ion-exchange membrane between the two half-cells. It must be positioned correctly to completely separate the anode and cathode chambers.
To facilitate installation and prevent tearing the delicate membrane, you can apply a small amount of electrolyte or a suitable lubricant to the sealing surfaces.
Common Pitfalls to Avoid
The physical assembly presents several challenges where small mistakes can compromise the entire experiment. Being aware of these potential issues is key to avoiding them.
Damaging the Membrane
The ion-exchange membrane is fragile. Applying excessive force or failing to lubricate the sealing surfaces during assembly can easily cause tears or punctures, leading to cross-contamination of electrolytes.
Achieving an Inadequate Seal
An improper seal between the two half-cells will cause the electrolyte to leak. This not only invalidates results but can also create safety hazards. Always ensure the sealing rings are in good condition and the assembly is tightened uniformly.
Using Contaminated Components
Residue on electrodes or impurities in the electrolyte can introduce unwanted side reactions. Always use high-purity reagents and deionized water, and ensure all glassware and components are scrupulously clean before starting.
Final Preparations Before Use
Once the cell is fully assembled and sealed, the final step is to introduce the electrolyte.
Adding the Electrolyte
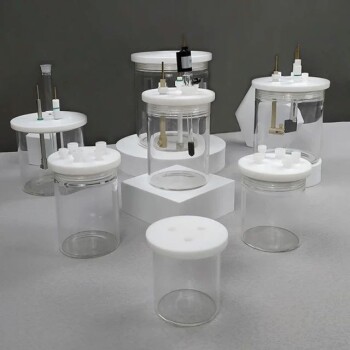
Carefully pour the prepared electrolyte into the anode and cathode chambers.
Be sure that the liquid level does not exceed the cell's maximum capacity and that the electrodes are sufficiently immersed.
A Checklist for Successful Assembly
To ensure a reliable and leak-free setup for your experiment, follow these guiding principles.
- If your priority is data accuracy: Begin by meticulously inspecting and cleaning the electrodes and verifying the membrane has zero defects.
- If your priority is equipment longevity: Handle the ion-exchange membrane with extreme care, using lubrication during installation to prevent tears.
- If your priority is a safe and valid experiment: Double-check that all seals are tight and uniform to prevent any electrolyte leakage between chambers or to the outside.
Ultimately, a successful electrochemical experiment begins with a perfectly prepared and assembled cell.
Summary Table:
| Step | Key Action | Critical Checkpoint |
|---|---|---|
| 1. Pre-Assembly | Inspect all components (electrodes, membrane, seals) | Verify membrane is intact; electrodes are clean |
| 2. Install Electrodes | Place anode/cathode in respective chambers | Ensure secure electrical connections |
| 3. Position Membrane | Lubricate seals; place membrane between chambers | Prevent tears; confirm complete separation of chambers |
| 4. Final Seal | Tighten assembly uniformly | Check for even pressure to avoid leaks |
| 5. Add Electrolyte | Pour electrolyte into each chamber | Confirm electrodes are fully immersed |
Achieve precise and reliable electrochemical results with expert support from KINTEK!
Proper cell assembly is critical for accurate data and equipment longevity. Whether you're setting up H-type cells for research, quality control, or material testing, KINTEK provides the high-quality lab equipment and consumables you need—including durable electrodes and reliable ion-exchange membranes.
Our specialists can help you select the right components and optimize your processes. Contact us today to discuss your specific laboratory requirements and ensure your experiments are built on a foundation of excellence.
Get in touch with our experts now!
Visual Guide
Related Products
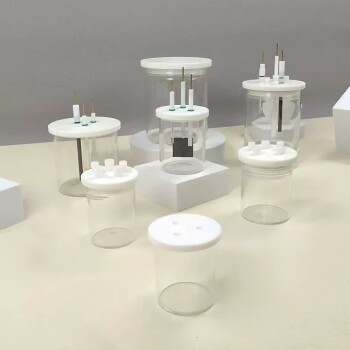
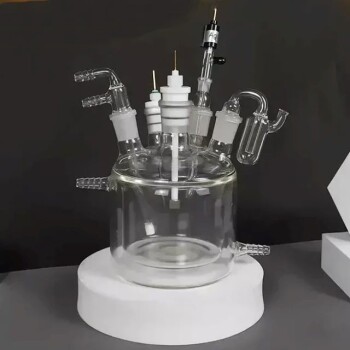
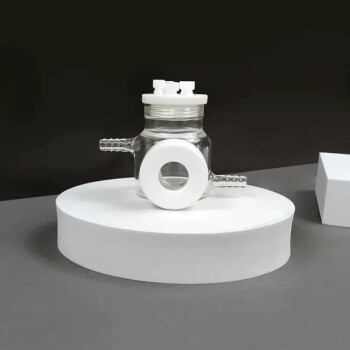
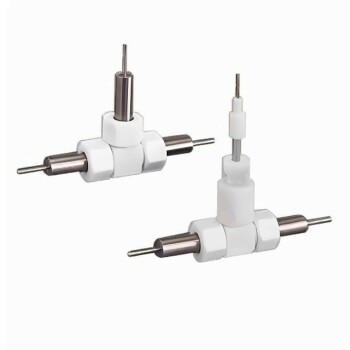
- H-Type Double-Layer Optical Electrolytic Electrochemical Cell with Water Bath
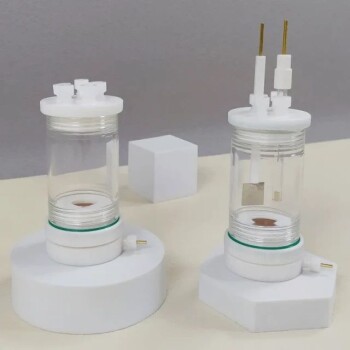
- H Type Electrolytic Cell Triple Electrochemical Cell
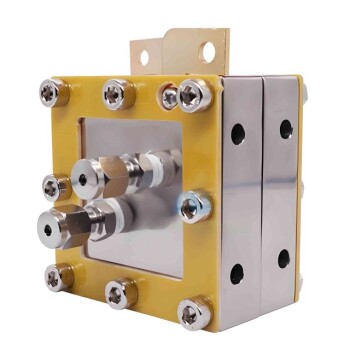
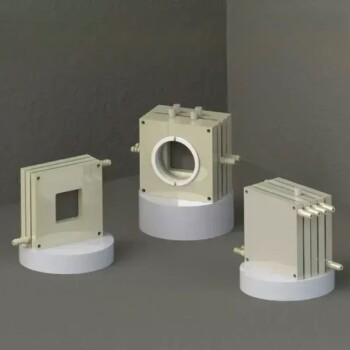
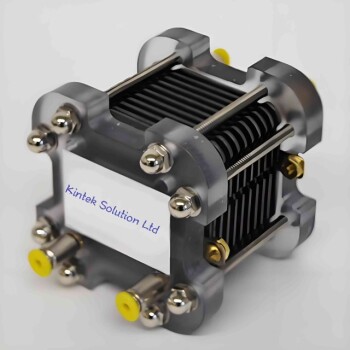
- Customizable PEM Electrolysis Cells for Diverse Research Applications
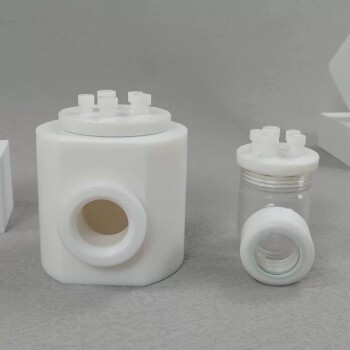
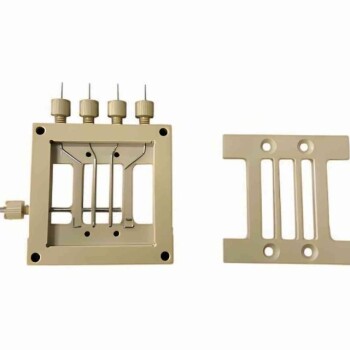
- Electrolytic Electrochemical Cell with Five-Port
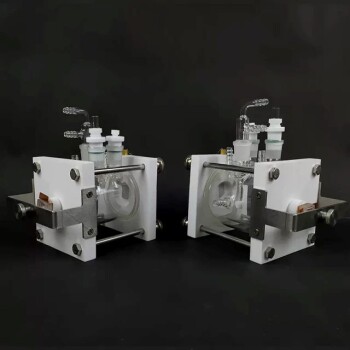
- Super Sealed Electrolytic Electrochemical Cell
People Also Ask
- What is the purpose of the double-layer structure in the H-type electrolytic cell? Achieve Precise Thermal Control
- What checks should be performed on the H-type electrolytic cell before use? Ensure Accurate Electrochemical Data
- What is the overall structure of the H-type double-layer optical water bath electrolytic cell? Precision Design for Controlled Experiments
- How should the H-type electrolytic cell be connected? Expert Setup Guide for Precise Electrochemical Experiments
- How should products and waste be handled after an experiment with an H-type electrolytic cell? Ensure Safety and Data Integrity