Making a high-quality pressed pellet is a systematic, four-step process critical for many types of material analysis. The procedure involves grinding the sample into a fine powder, mixing it with a binding agent, loading this mixture into a pressing die, and finally, compacting it under high pressure (typically 15 to 35 tons) to form a solid, stable tablet ready for analysis.
The core objective of pellet preparation is not simply to compact a powder, but to create a perfectly homogeneous and mechanically stable sample. This uniformity is the foundation for achieving accurate and repeatable analytical results, particularly in techniques like X-Ray Fluorescence (XRF).

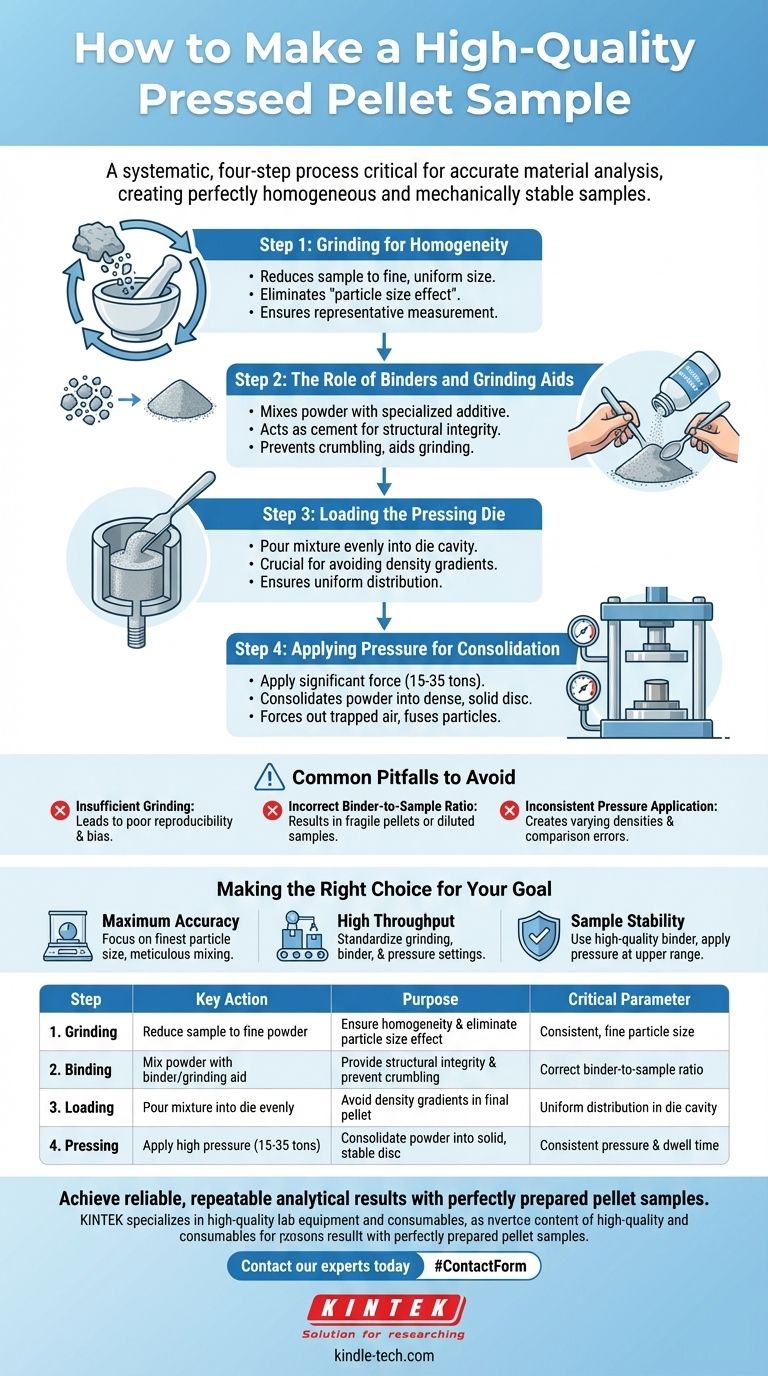
The Four Pillars of Pellet Preparation
Achieving a reliable pellet requires careful attention to each stage of the process. Each step serves a distinct purpose in eliminating variables that could compromise the quality of your analytical data.
Step 1: Grinding for Homogeneity
The first and most critical step is reducing your sample to a fine, uniform particle size.
This is not just about making the material smaller; it's about eliminating the "particle size effect," where larger or variably sized grains can cause inconsistent analytical signals. A consistent, fine powder ensures the measurement is representative of the entire sample.
Step 2: The Role of Binders and Grinding Aids
Once ground, the sample powder is thoroughly mixed with a specialized additive.
This additive, often called a binder, acts as a cement, lending structural integrity to the finished pellet and preventing it from crumbling. In many cases, it also serves as a grinding aid, helping to break down particles more effectively in the previous step.
Step 3: Loading the Pressing Die
The homogeneous mixture of sample and binder is then carefully poured into a cylindrical pressing die.
The key to this step is ensuring the powder is evenly distributed within the die cavity. An uneven distribution can lead to density gradients in the final pellet, which can skew analytical results.
Step 4: Applying Pressure for Consolidation
The final step is the application of significant force using a laboratory press.
Pressing the sample at a pressure between 15 and 35 tons consolidates the powder, forces out trapped air, and fuses the particles and binder into a dense, solid disc. The result is a pellet with a smooth, flat surface ideal for analysis.
Common Pitfalls to Avoid
The quality of your final data is directly linked to the quality of your sample preparation. Avoiding these common mistakes is essential for achieving trustworthy results.
Insufficient Grinding
Failing to achieve a sufficiently fine and uniform particle size is the most common source of error. This leads to poor reproducibility and can introduce significant bias into your measurements.
Incorrect Binder-to-Sample Ratio
Using too little binder will result in a fragile pellet that can break during handling. Using too much binder can dilute your sample, potentially pushing the concentration of your elements of interest below the instrument's detection limit.
Inconsistent Pressure Application
Applying different pressures to different samples creates pellets with varying densities. This lack of consistency is a major source of error when comparing results across a batch of samples. Standardizing your pressure and dwell time is critical.
Making the Right Choice for Your Goal
Your specific analytical needs should guide your approach to pellet preparation.
- If your primary focus is maximum accuracy: Prioritize achieving the finest, most uniform particle size possible and ensure meticulous mixing of the sample and binder.
- If your primary focus is high throughput: Standardize your grinding time, binder ratio, and pressure settings to ensure every pellet is made the exact same way for reliable reproducibility.
- If your primary focus is sample stability: Select a high-quality binder and apply pressure at the upper end of the recommended range to create a durable, non-friable pellet for archiving or re-analysis.
Mastering this preparation technique transforms a routine task into a cornerstone of reliable analytical data.
Summary Table:
| Step | Key Action | Purpose | Critical Parameter |
|---|---|---|---|
| 1. Grinding | Reduce sample to fine powder | Ensure homogeneity & eliminate particle size effect | Consistent, fine particle size |
| 2. Binding | Mix powder with binder/grinding aid | Provide structural integrity & prevent crumbling | Correct binder-to-sample ratio |
| 3. Loading | Pour mixture into die evenly | Avoid density gradients in final pellet | Uniform distribution in die cavity |
| 4. Pressing | Apply high pressure (15-35 tons) | Consolidate powder into solid, stable disc | Consistent pressure & dwell time |
Achieve reliable, repeatable analytical results with perfectly prepared pellet samples. The right equipment is crucial for every step—from consistent grinding to precise pressing. KINTEK specializes in high-quality lab equipment and consumables for all your pellet preparation needs, ensuring your laboratory operates with maximum accuracy and efficiency. Contact our experts today to discuss the ideal press, dies, and binders for your specific application.
Visual Guide
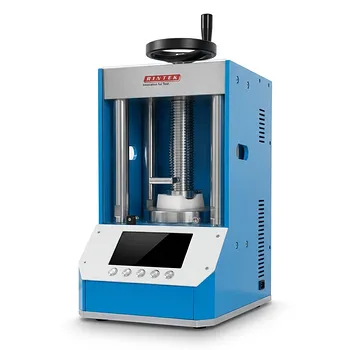
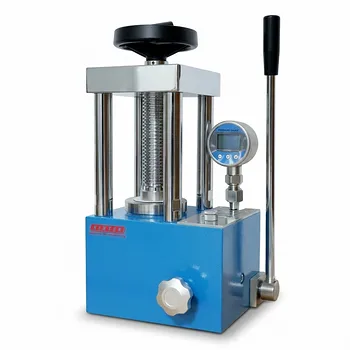
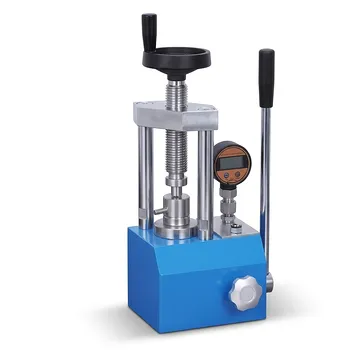
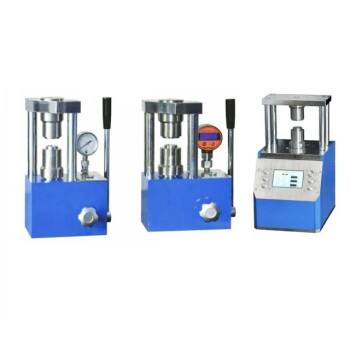
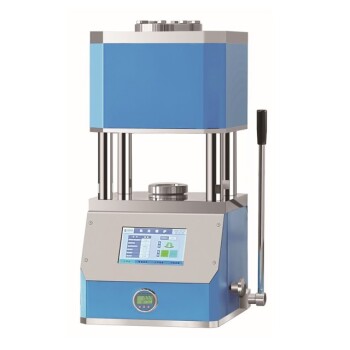
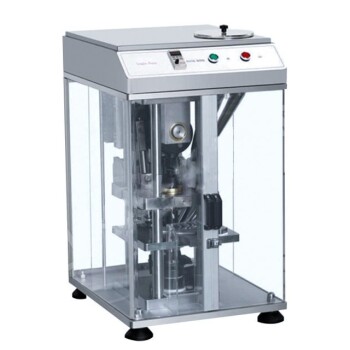
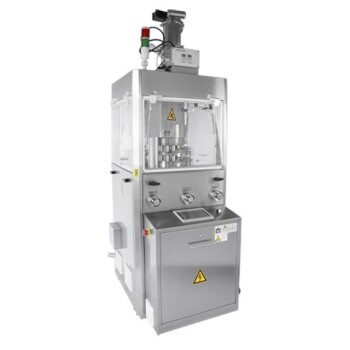
Related Products
- kbr pellet press 2t
- Laboratory Hydraulic Pellet Press for XRF KBR FTIR Lab Applications
- Automatic Laboratory Hydraulic Pellet Press Machine for Lab Use
- Laboratory Manual Hydraulic Pellet Press for Lab Use
- Automatic Laboratory Hydraulic Press for XRF & KBR Pellet Press
People Also Ask
- What measurement methods are commonly used for powder samples in infrared spectroscopy? Optimize Your FTIR Analysis
- Why KBr is used in IR spectrophotometry? A Key to Transparent Sample Analysis
- What is the use of KBr pellets? Achieve Clear FTIR Analysis of Solid Samples
- How do you prepare samples for IR spectroscopy? A Step-by-Step Guide for Solids, Liquids, and Gases
- How do you prepare KBr pellet for FTIR? Master the Art of Creating Transparent IR Windows