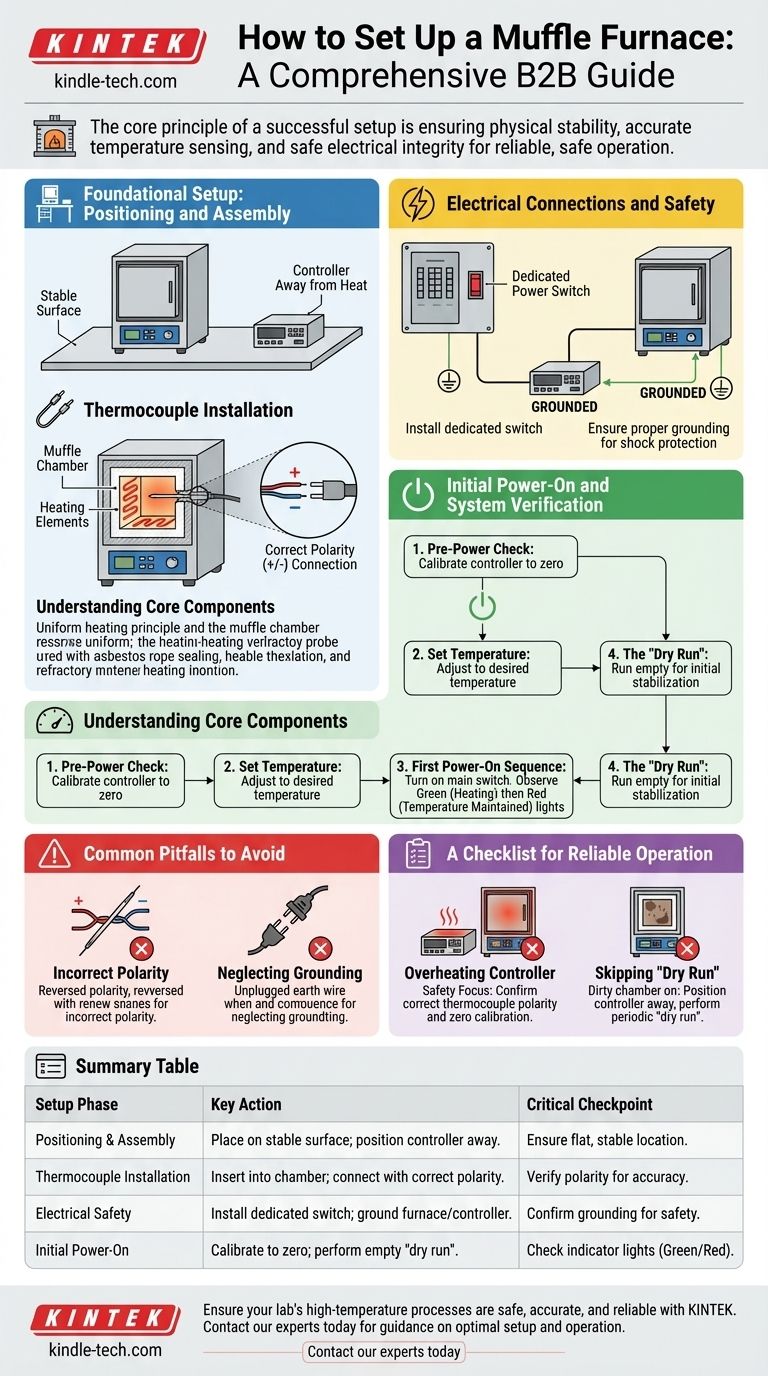
To properly set up a muffle furnace, you must first ensure it is on a stable surface, correctly install the thermocouple for temperature sensing, and then establish a safe, grounded electrical connection between the power supply, the furnace, and its controller. This foundational setup is critical before performing an initial power-on test to verify the system is working correctly.
The core principle of a successful muffle furnace setup is not just about connecting power, but about methodically ensuring physical stability, accurate temperature sensing, and safe electrical integrity. This disciplined approach guarantees both operator safety and the reliability of your results.
Foundational Setup: Positioning and Assembly
The initial physical setup of your furnace dictates its safety and performance. Rushing this stage can lead to inaccurate readings and potential hazards.
Choosing the Right Location
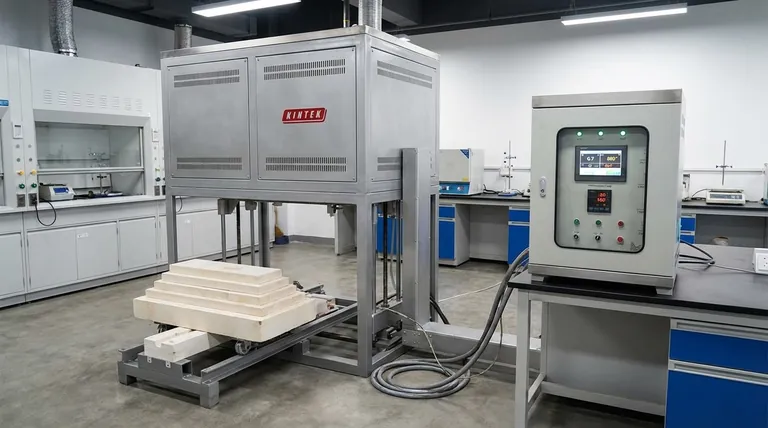
Place the furnace on a completely flat, stable surface. The external temperature controller must be positioned away from the furnace body to prevent its sensitive electronics from overheating.
Installing the Thermocouple
The thermocouple is the furnace's nerve center for temperature measurement. Insert it carefully into the furnace chamber, filling any surrounding gaps with asbestos rope to ensure a good seal.
Connect the thermocouple to the controller using the appropriate compensation wires. Pay close attention to the positive (+) and negative (-) polarity; incorrect wiring will result in faulty temperature readings.
Understanding the Core Components
A muffle furnace works by using heating elements to heat an inner chamber, or "muffle." This chamber is lined with refractory material that provides excellent insulation and prevents the sample from coming into direct contact with the heating elements, ensuring clean and uniform heating.
Electrical Connections and Safety
Proper electrical wiring is non-negotiable for safe operation. Always treat this step with the utmost seriousness.
Establishing a Safe Power Supply
For safety and control, install a dedicated power switch at the main power line inlet for the furnace. This allows you to quickly cut all power to the unit in an emergency.
Grounding the Equipment
You must ensure both the furnace body and the temperature controller are properly grounded. This is a critical safety measure to protect against electrical shock.
Initial Power-On and System Verification
Once the physical and electrical connections are secure, you can perform the first operational check. This confirms that all components are working in harmony.
Pre-Power Checks
Before turning on the power, check that the temperature controller's thermometer is adjusted to the zero point. This calibrates the instrument for an accurate reading.
Setting the Temperature
Adjust the temperature controller to your desired working temperature. Once set, you can turn on the main power switch.
The First Power-On Sequence
A correctly functioning system will show a reading on the ammeter and a gradual temperature rise on the controller's display. Typically, a green light indicates the furnace is actively heating, while a red light signifies it has reached and is maintaining the set temperature.
The Importance of a "Dry Run"
After the first setup or a long period of disuse, it is essential to run the furnace while it is empty. This "baking out" process stabilizes the chamber and burns off any residual moisture or impurities that could contaminate your samples.
Common Pitfalls to Avoid
Mistakes during setup can compromise safety and experimental accuracy. Being aware of these common errors is the first step to preventing them.
Incorrect Thermocouple Polarity
Connecting the thermocouple wires with reversed polarity is a frequent mistake. This will cause the controller to display incorrect temperature readings, rendering your heat treatment process unreliable.
Neglecting the Grounding Wire
Failing to properly ground the furnace and controller is a serious safety hazard. It removes the primary protection against electrical faults, creating a significant risk of shock.
Overheating the Controller
Placing the temperature controller too close to the hot furnace body can damage its electronic components. This leads to erratic behavior, inaccurate control, and potential equipment failure.
Skipping the Initial "Dry Run"
Ignoring the initial empty heating cycle can introduce contaminants from the furnace chamber itself onto your samples. This is especially problematic in applications where material purity is critical.
A Checklist for Reliable Operation
Follow these guidelines to ensure your setup aligns with your primary goal.
- If your primary focus is safety: Double-check that the furnace and controller are properly grounded and that a dedicated, easily accessible power switch is installed.
- If your primary focus is accuracy: Confirm the thermocouple is installed securely with the correct polarity and that the temperature controller is calibrated to zero before starting.
- If your primary focus is equipment longevity: Always position the controller away from the furnace body and perform a "dry run" to condition the chamber after long periods of inactivity.
A methodical and careful setup is the foundation for safe, accurate, and repeatable high-temperature processing.
Summary Table:
| Setup Phase | Key Action | Critical Checkpoint |
|---|---|---|
| Positioning & Assembly | Place on stable surface; position controller away from furnace body. | Ensure flat, stable location to prevent accidents. |
| Thermocouple Installation | Insert into chamber; connect to controller with correct polarity (+/-). | Verify polarity to avoid inaccurate temperature readings. |
| Electrical Safety | Install a dedicated power switch; ground furnace and controller. | Confirm proper grounding to prevent electrical shock. |
| Initial Power-On | Calibrate controller to zero; perform an empty "dry run" to condition chamber. | Check for green (heating) and red (temperature maintained) indicator lights. |
Ensure your lab's high-temperature processes are safe, accurate, and reliable.
A properly set up muffle furnace is the foundation of consistent results. KINTEK specializes in premium lab equipment and consumables, providing the reliable tools and expert support your laboratory needs.
Contact our experts today to find the perfect muffle furnace for your application and get guidance on optimal setup and operation.
Visual Guide
Related Products
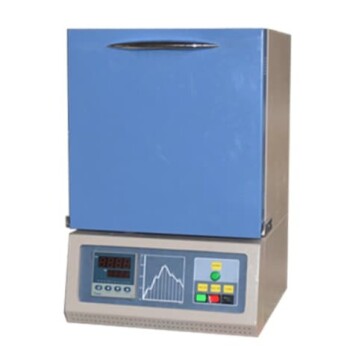
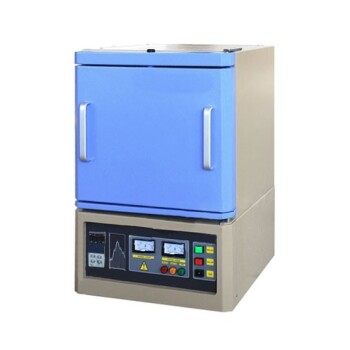
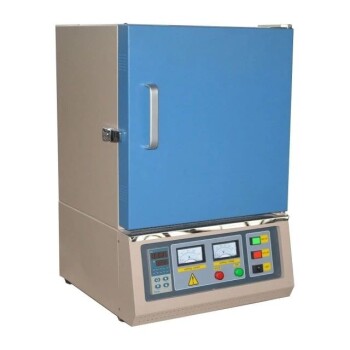
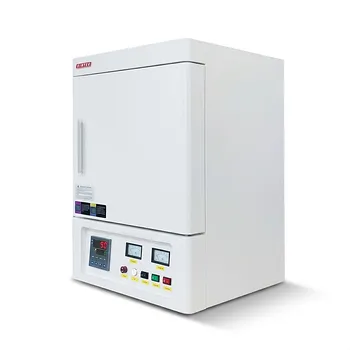
- 1200℃ Muffle Furnace Oven for Laboratory
- 1800℃ Muffle Oven Furnace for Laboratory
- 1400℃ Muffle Oven Furnace for Laboratory
- 1700℃ Muffle Oven Furnace for Laboratory
- High Temperature Muffle Oven Furnace for Laboratory Debinding and Pre Sintering
People Also Ask
- What is the role of a muffle furnace in bulk C3N4 synthesis? Optimizing Thermal Polycondensation
- How does a muffle furnace facilitate POM transformation? Achieve Precision Sub-Nanometer Cluster Synthesis
- How does a high-temperature muffle furnace work? Achieve Contaminant-Free, Uniform Heating
- Why is pre-calcination of CaO necessary for CCMS? Ensure High-Purity Calcium Oxide in Your Molten Salt Process
- How is a laboratory high-temperature muffle furnace utilized in sol-gel synthesis for perovskite catalysts?