In short, the greatest joint strength in brazing is achieved not by a single action, but through the systematic control of three critical factors: an optimized joint design that promotes capillary action, meticulously clean base metal surfaces that allow for proper wetting, and precise control over the heating and cooling cycle. When executed correctly, the resulting brazed joint is a metallurgical bond that is often stronger than the parent materials themselves.
The core principle is this: Brazing is not simply filling a gap with molten metal. It is an engineering process that creates a new, composite structure where strength is derived from the base metals and the extremely thin, strong layer of filler alloy that bonds them together.
The Foundation: Optimizing Joint Design
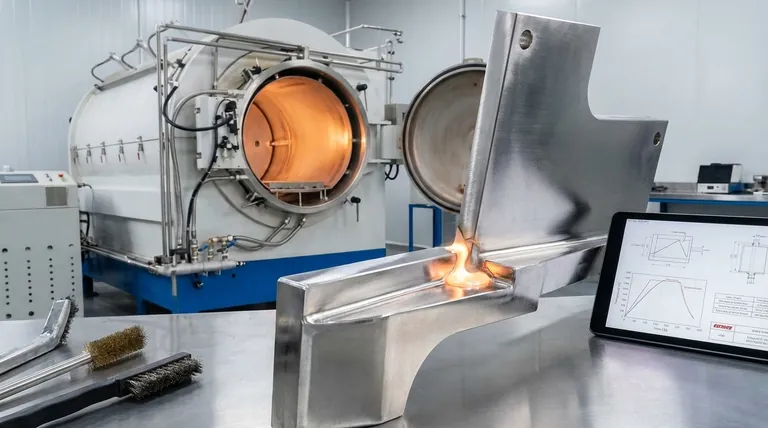
The design of the joint is the single most important factor determining its final strength. A poor design cannot be saved by perfect execution.
The Power of Capillary Action
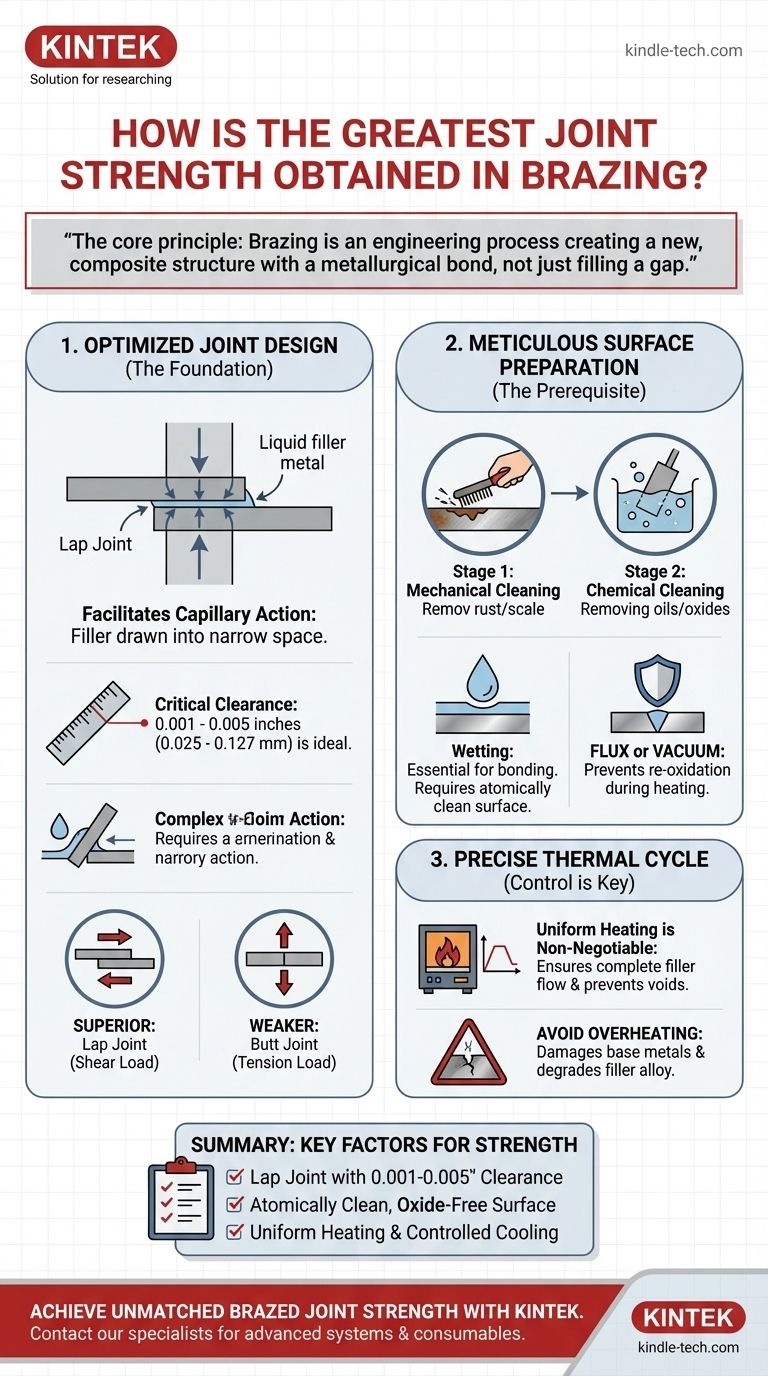
Brazing works by capillary action, the force that pulls a liquid into a very narrow space, even against gravity. The filler alloy is not poured into the joint; it is drawn in.
A successful design facilitates this natural force, ensuring the filler metal is distributed completely and evenly throughout the entire joint interface.
The Critical Role of Joint Clearance
Joint clearance—the gap between the two parts to be joined—is paramount. This gap must be precisely controlled.
- Too large a gap will weaken or prevent capillary action, resulting in an incomplete fill and leaving a thick layer of relatively soft filler metal, which dictates the joint's strength.
- Too small a gap can prevent the filler alloy from flowing into the joint at all, leading to voids and a weak, incomplete bond.
For most common filler metals, the ideal clearance is typically between 0.001 and 0.005 inches (0.025 to 0.127 mm).
Why Shear Joints are Superior
The strongest brazed joints are almost always designed to be loaded in shear. This is achieved with a lap joint, where the two surfaces overlap.
A butt joint, where the two pieces meet end-to-end, places the load in tension. This concentrates all the stress on the thin cross-section of the filler metal, making it the weakest link. In contrast, a lap joint distributes the load over a much larger surface area, transferring the stress through the stronger parent materials.
The Prerequisite: Meticulous Surface Preparation
The filler alloy can only bond with a perfectly clean surface. Contaminants create a barrier that prevents the metallurgical bond from forming.
Understanding "Wetting"
Wetting is the ability of the molten filler alloy to flow over and adhere to the base metal surface. Proper wetting is impossible without absolute cleanliness.
The primary enemies of wetting are oxides (rust or discoloration), oils, grease, and dirt. These must be completely removed immediately before the brazing process.
The Cleaning Process
Preparation involves a two-stage approach. First, use mechanical cleaning (like sanding, grinding, or wire brushing) to remove heavy oxides and scale.
Second, use chemical cleaning (such as degreasing with solvents or using an acid/alkali solution) to remove all traces of oil and finer oxides, creating an atomically clean surface ready for bonding.
The Role of Flux or a Vacuum
Even after cleaning, metals will rapidly re-oxidize when heated. To prevent this, a flux is applied to the joint area.
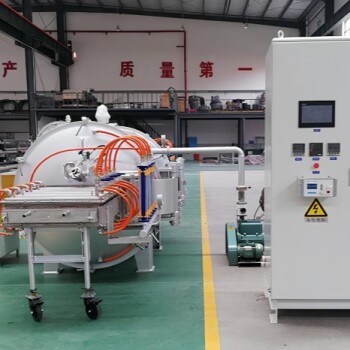
Flux is a chemical compound that melts before the filler alloy, shielding the surface from oxygen and dissolving any new oxides that form during heating. In vacuum brazing, the entire process occurs in a chamber with the air removed, which serves the same protective function as flux.
Understanding the Trade-offs and Common Pitfalls
Achieving a perfect joint requires balancing competing factors and avoiding common errors that undermine strength.
The Clearance vs. Filler Flow Dilemma
A very tight joint clearance (e.g., 0.001 inches) can produce the highest theoretical strength. However, it also makes it more difficult for the filler to flow completely, increasing the risk of voids. A slightly larger clearance may ensure a more reliable, complete fill, even if the ultimate strength is marginally lower.
The Danger of Overheating
Excessive heat can be highly destructive. It can damage the base metals by altering their temper, cause the filler metal to aggressively erode the parent material, or lead to a loss of key elements in the filler alloy itself, degrading its properties.
Uniform Heating is Non-Negotiable
The entire assembly must be heated uniformly to the brazing temperature. If one part is significantly hotter, the filler metal will be drawn preferentially to that area, starving other parts of the joint and creating voids. The filler flows toward heat.
Repairing Defective Joints
A defective joint can often be repaired by re-brazing. However, you should not simply re-melt the existing filler. Most brazing alloys have a higher re-melt temperature after the initial cycle. The correct procedure is to apply flux and a small amount of new filler alloy to the defective area and re-run the thermal cycle.
Making the Right Choice for Your Goal
Apply these principles based on your specific objective to ensure a reliable, high-strength joint.
- If your primary focus is maximum structural integrity: Design a lap joint with sufficient overlap and a tightly controlled clearance (0.001-0.003 in), then focus on meticulous cleaning and ensuring 100% joint fill.
- If your primary focus is repeatable production: Standardize the cleaning process, use fixtures to maintain consistent joint clearance, and automate the thermal cycle to eliminate process variability.
- If your primary focus is troubleshooting a failed joint: Examine the fracture. If it occurred in the base metal away from the joint, the braze was successful. If it failed at the bond line, it indicates a problem with wetting, most likely due to poor cleaning or improper fluxing.
By treating brazing as a precise engineering discipline, you can consistently create joints that meet and exceed the strength of the materials they unite.
Summary Table:
| Key Factor | Critical Action | Ideal Parameter/Goal |
|---|---|---|
| Joint Design | Facilitate capillary action with a lap joint | Clearance: 0.001-0.005 in (0.025-0.127 mm) |
| Surface Preparation | Achieve perfect wetting via cleaning | Atomically clean, oxide-free surfaces |
| Thermal Cycle | Ensure uniform heating and cooling | Prevent base metal damage & ensure complete filler flow |
Achieve Unmatched Brazed Joint Strength with KINTEK
Struggling with joint failures or inconsistent brazing results? The precision required for maximum strength demands the right equipment and expertise. KINTEK specializes in advanced brazing systems and consumables, providing laboratories and manufacturers with the reliable tools needed for perfect metallurgical bonds every time.
Our solutions ensure the precise temperature control and uniform heating critical for flawless filler metal flow and joint integrity. Let our experts help you optimize your process for superior, repeatable strength.
Contact our brazing specialists today to discuss how we can strengthen your production.
Visual Guide
Related Products
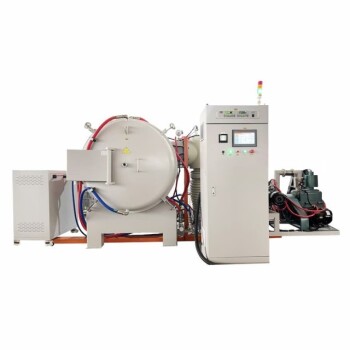
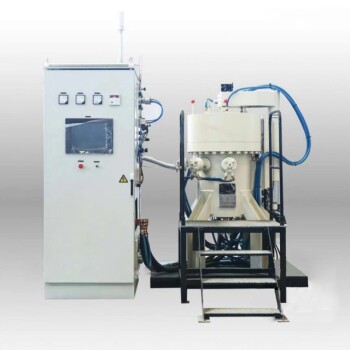
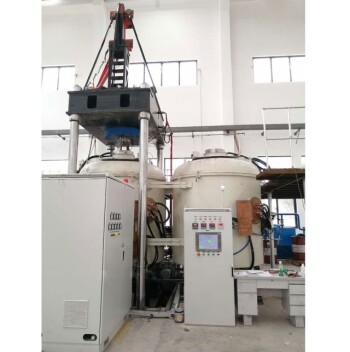
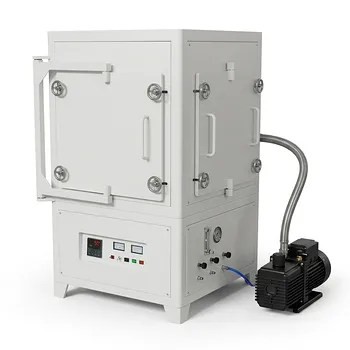
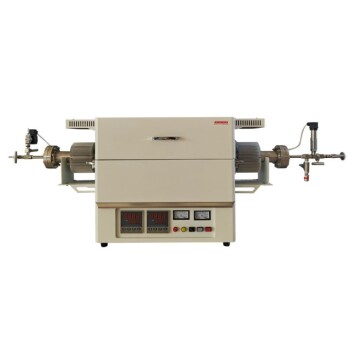
- Vacuum Heat Treat Sintering Brazing Furnace
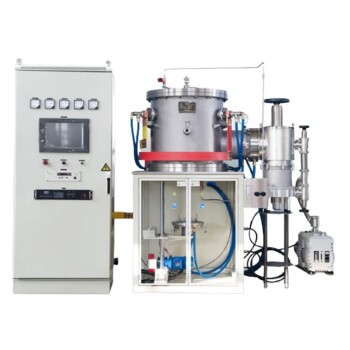
- Molybdenum Vacuum Heat Treat Furnace
- 2200 ℃ Tungsten Vacuum Heat Treat and Sintering Furnace
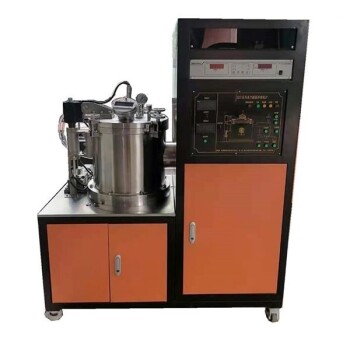
- Vacuum Heat Treat Furnace with Ceramic Fiber Liner
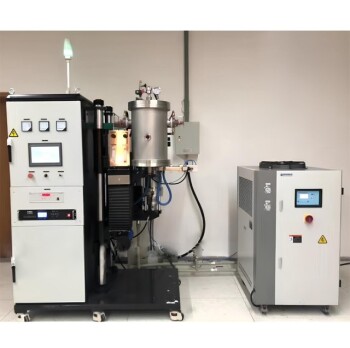
- Vacuum Heat Treat Furnace and Levitation Induction Melting Furnace
People Also Ask
- What are the advantages of brazing over braze welding? Achieve Stronger, Cleaner, and Repeatable Joints
- Why would you braze instead of solder? For Superior Joint Strength and High-Temperature Performance
- What are vacuum furnaces used for? Unlock Ultimate Material Purity and Performance
- Can you braze two different metals? Yes, and here’s how to do it successfully.
- What is the process of vacuum brazing? Achieve High-Purity, Strong Metal Joining
