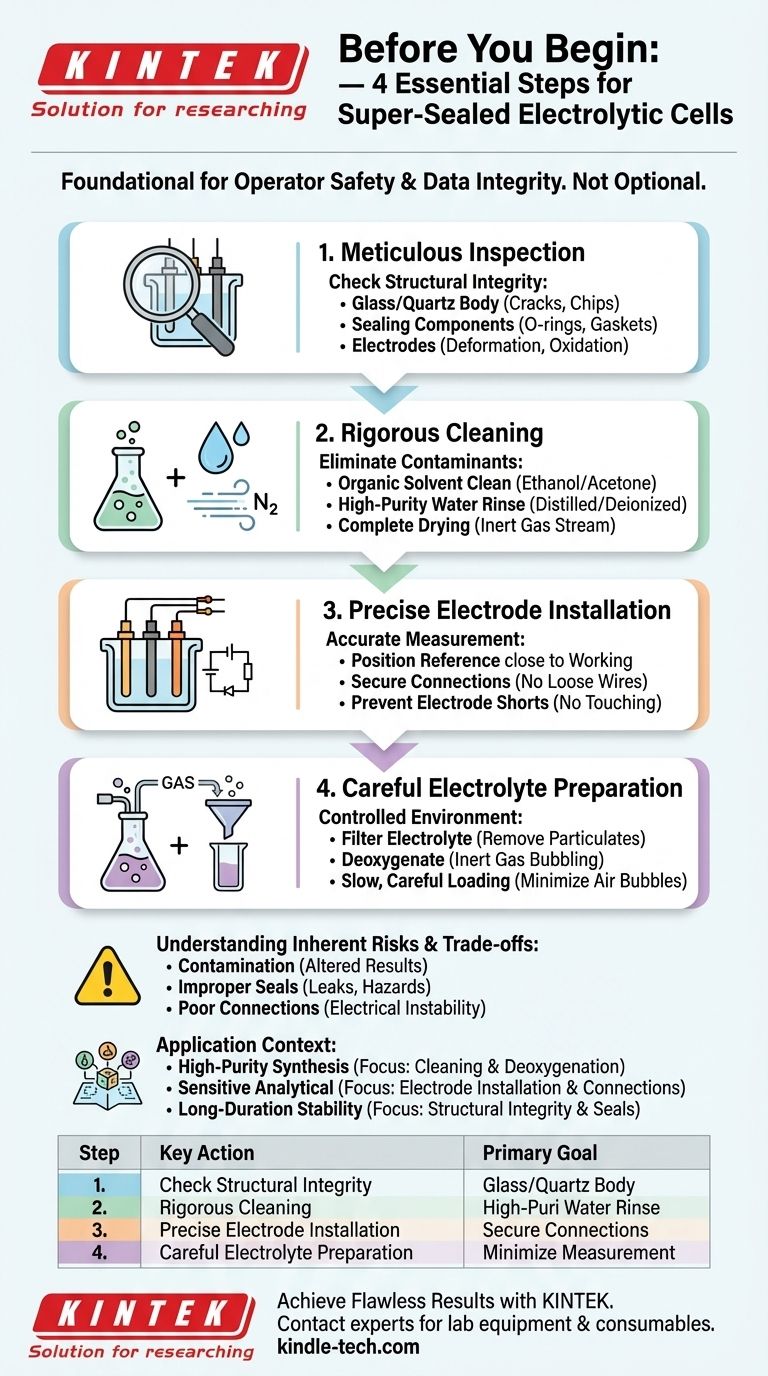
Before you begin, a super-sealed electrolytic cell must be prepared through a mandatory four-step process: Inspection, Cleaning, Installation, and Preparation. These steps are not optional formalities; they are foundational to the safety of the operator and the integrity of the electrochemical data you intend to collect. Overlooking any one of them can lead to contaminated results, damaged equipment, or hazardous leaks.
The meticulous preparation of an electrolytic cell is not a preliminary task—it is the first and most critical phase of the experiment itself. The goal is to create a perfectly controlled and isolated environment, ensuring that the only reactions occurring are the ones you intend to measure.
The Four Pillars of Pre-Experiment Preparation
To achieve reliable and repeatable results, each of the four preparation stages must be executed with precision. These steps systematically eliminate the most common sources of experimental error.
Step 1: Meticulous Inspection for Structural Integrity
Before introducing any chemicals, perform a thorough physical inspection of the entire assembly.
Your primary goal is to confirm the system can be properly sealed. Check the glass or quartz cell body for any cracks, chips, or fractures, as these can compromise the seal or become a failure point under pressure or temperature changes.
Inspect all sealing components, such as O-rings or gaskets. They should be pliable and free from signs of aging, brittleness, or damage. A faulty seal can allow atmospheric oxygen to leak in or hazardous gases to escape.
Finally, examine the electrodes. Ensure they are not bent, deformed, or showing signs of heavy oxidation or surface damage. An intact electrode surface is essential for predictable electrochemical behavior.
Step 2: Rigorous Cleaning to Eliminate Contaminants
The definition of "clean" in electrochemistry is stringent. Any unintended substance can act as a catalyst, inhibitor, or competing reactant, invalidating your results.
Start by cleaning the cell body with a suitable organic solvent, such as ethanol or acetone, to remove grease and organic residues.
Follow this with a thorough rinse using high-purity distilled or deionized water to remove the solvent and any inorganic salts.
Finally, allow the cell to dry completely. For sensitive experiments, this should be done with a stream of dry, inert gas like nitrogen to prevent re-contamination from the air.
Step 3: Precise Electrode Installation for Accurate Measurement
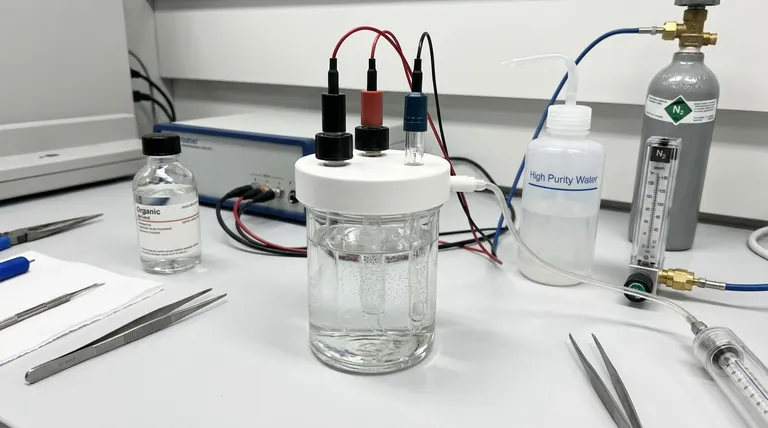
Proper installation of the three-electrode system—working, counter, and reference—is critical for collecting accurate data.
Position the electrodes according to your experimental requirements, ensuring the reference electrode tip is placed close to the working electrode to minimize uncompensated resistance (iR drop).
Confirm that all electrodes are securely connected to their respective wires. A loose connection introduces electrical noise and resistance, resulting in unstable signals and flawed measurements.
Crucially, ensure that no electrode is touching another electrode or the cell walls, as this would short-circuit the system and make measurement impossible.
Step 4: Careful Electrolyte Preparation and Loading
The electrolyte is the reactive medium, and its purity is paramount.
Prepare your electrolyte solution and, if required by your experiment, filter it to remove any particulate impurities.
For most electrochemical systems, you must deoxygenate the electrolyte by bubbling an inert gas (like nitrogen or argon) through it. Dissolved oxygen is electrochemically active and its reduction can easily obscure the reaction you wish to study.
When ready, pour the electrolyte into the cell slowly and carefully. Avoid splashing, and try to minimize the introduction of air bubbles, which can cling to electrode surfaces and block active sites.
Understanding the Inherent Risks and Trade-offs
Proper setup is about more than just good data; it is fundamentally about safety and control. Ignoring these steps introduces significant and unnecessary risks.
The Inevitable Impact of Contamination
Never underestimate the effect of a contaminant. A fingerprint contains enough organic material and salts to alter a sensitive measurement. Residual solvent can participate in side reactions. This is why a multi-step cleaning process is not optional.
The Hazard of an Improperly Sealed System
The "super-sealed" design is meant to isolate the experiment. A failed seal has two primary consequences: it compromises your data by allowing air in, and it creates a safety hazard by potentially allowing corrosive electrolytes or toxic gases to escape.
Electrical Instability from Poor Connections
Noisy, erratic, or drifting data is often traced back to a poor physical connection. Oxidized clips or loose wires create variable resistance, which makes it impossible for the potentiostat to accurately control the voltage and measure the current. This simple mechanical issue can render hours of data collection worthless.
How to Apply This to Your Experiment
Your specific experimental goal will determine which preparation steps demand the most attention.
- If your primary focus is high-purity synthesis: Your priority is eliminating side reactions, so pay extreme attention to the cleaning and electrolyte deoxygenation steps.
- If your primary focus is sensitive analytical measurement (e.g., CV): Focus on the precise installation of electrodes and ensuring perfect electrical connections to achieve low-noise, stable data.
- If your primary focus is long-duration or high-temperature stability: Double-check the structural integrity of the cell and its seals during inspection to prevent leaks or failures during the experiment.
By treating these preparation steps as an integral part of the experiment itself, you ensure the validity of your results and the safety of your work.
Summary Table:
| Step | Key Action | Primary Goal |
|---|---|---|
| 1. Inspection | Check cell body, seals, and electrodes for damage. | Confirm structural integrity and sealing capability. |
| 2. Cleaning | Use solvent, high-purity water, and dry with inert gas. | Eliminate all contaminants that could cause side reactions. |
| 3. Installation | Position electrodes correctly and ensure secure connections. | Prevent electrical shorts and minimize measurement errors. |
| 4. Preparation | Deoxygenate and carefully load the electrolyte. | Create a pure, controlled reactive environment. |
Achieve Flawless Electrochemical Results with KINTEK
Proper preparation is the foundation of any successful experiment. KINTCEL specializes in providing the high-quality lab equipment and consumables—from durable electrolytic cells and pure electrolytes to reliable electrodes and sealing components—that your laboratory needs to perform these critical steps with confidence.
Let us help you ensure safety and data integrity from the very start.
Contact our experts today to discuss your specific electrochemical requirements and discover how our products can enhance your research outcomes.
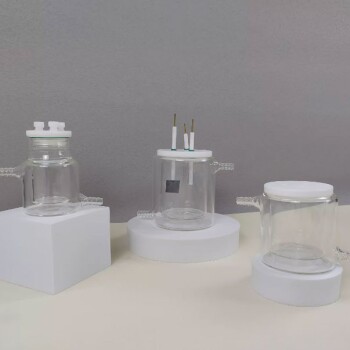
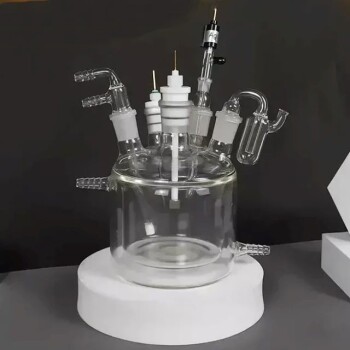
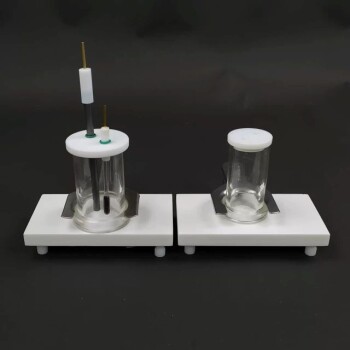
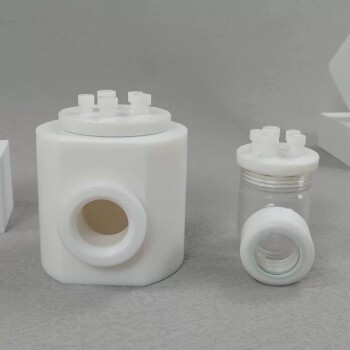
Visual Guide
Related Products
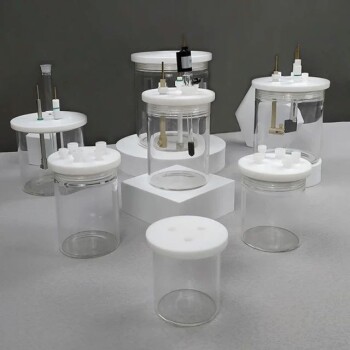
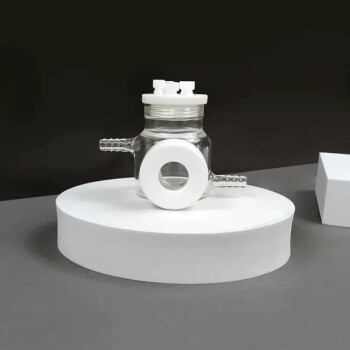
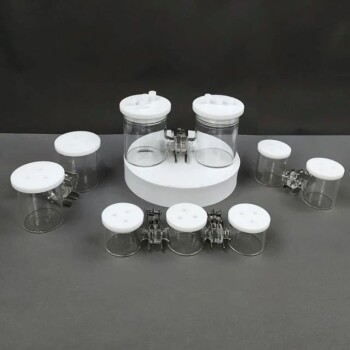
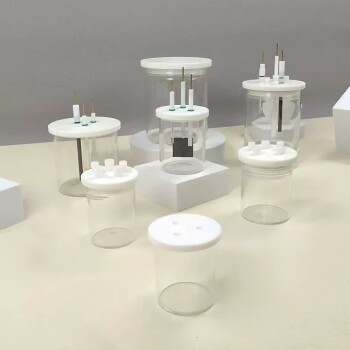
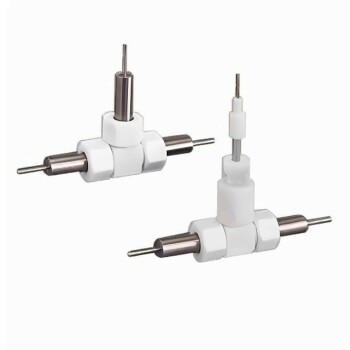
- Super Sealed Electrolytic Electrochemical Cell
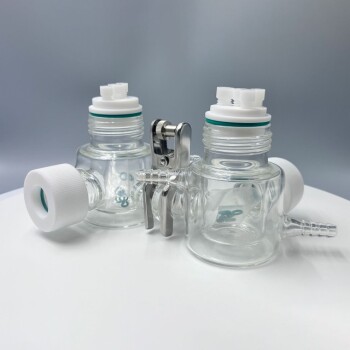
- PTFE Electrolytic Cell Electrochemical Cell Corrosion-Resistant Sealed and Non-Sealed
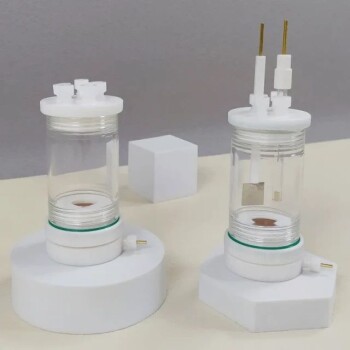
- Double-Layer Water Bath Electrolytic Electrochemical Cell
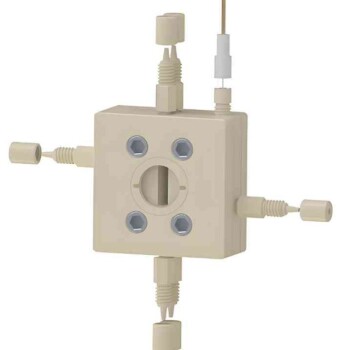
- Double Layer Five-Port Water Bath Electrolytic Electrochemical Cell
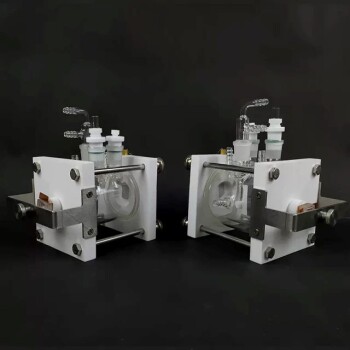
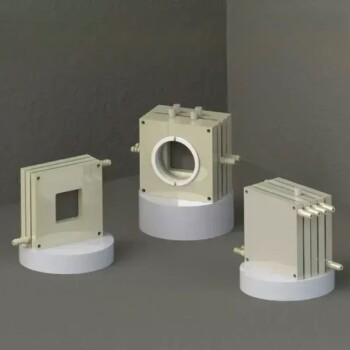
- Electrolytic Electrochemical Cell for Coating Evaluation
People Also Ask
- How does the design of an electrochemical electrolytic cell influence the coating uniformity? Optimize Your Catalysts
- What is the typical experimental setup for a super-sealed electrolytic cell? Achieve Superior Control in Electrochemical Analysis
- What procedures should be followed during an experiment with a super-sealed electrolytic cell? Ensure Precision and Safety
- What are the general maintenance and care procedures for a super-sealed electrolytic cell? Ensure Reliable Electrochemical Data
- What is the typical volume range and aperture configuration of a super-sealed electrolytic cell? Optimize Your Electrochemical Setup