For brazing cast iron, the goal is to achieve a preheat temperature between 900°F and 1200°F (480°C to 650°C). This temperature, often identified by a dull red glow in a dimly lit area, is not just a single step but a crucial part of a larger heat management strategy designed to prevent the brittle iron from cracking under thermal stress.
The core principle of brazing cast iron is not simply heating the metal, but carefully managing the entire thermal cycle. A successful repair depends equally on a slow, even preheat, controlled heat during the braze, and an exceptionally slow cooling process afterward.
Why Preheat Is Non-Negotiable for Cast Iron
Cast iron possesses high compressive strength but is notoriously brittle and has low ductility. Rapidly heating a small section creates a massive temperature difference (thermal gradient) across the part, which induces stress that easily cracks the material.
Preventing Thermal Shock
Preheating the entire casting, or at least a large area around the repair zone, raises the overall temperature. This dramatically reduces the thermal gradient when the brazing torch is applied, minimizing the risk of stress cracks forming during the heating and brazing phases.
Achieving the Correct Temperature
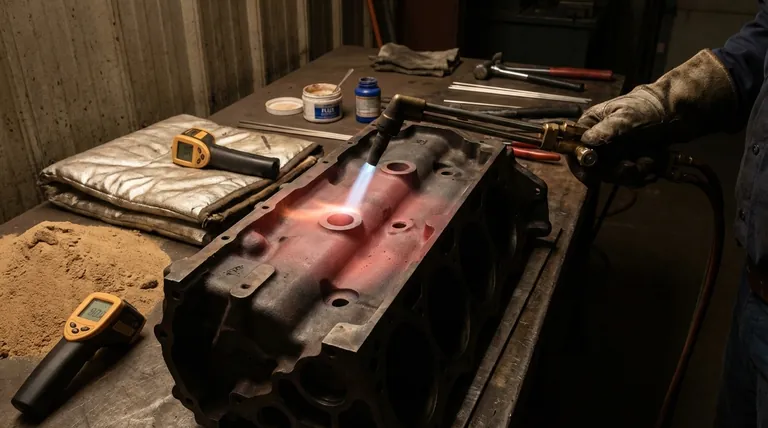
The target preheat range is 900°F to 1200°F (480°C to 650°C). A simple, effective way to gauge this is to heat the part until it glows a faint, dull red, which is best seen in a shaded or dark environment. For more precise work, temperature-indicating crayons (like Tempilstiks) are an excellent tool.
The Importance of Even Heating
The preheat must be applied slowly and evenly. Use a large, soft flame from a torch and keep it in constant motion. Do not concentrate the heat in one spot. For complex or critical parts, preheating the entire component in an oven provides the most uniform and reliable results.
A Framework for a Successful Repair
A proper brazing operation is a systematic process. Skipping a step, especially with cast iron, almost guarantees failure.
1. Meticulous Surface Preparation
Before any heating, the joint must be exceptionally clean. Remove all oil, grease, paint, and rust. For repairing cracks, it is a standard practice to drill a small hole at each end of the crack. This creates a rounded endpoint that effectively stops the crack from propagating further during the heating and cooling cycles.
2. Slow and Gradual Preheat
As discussed, slowly bring the area up to the target temperature. The larger the area you can heat, the lower the risk of thermal stress. Patience in this stage is critical.
3. The Brazing Operation
Once the preheat temperature is reached, apply brazing flux to the joint. Use a slightly carburizing flame (a flame with a slight excess of acetylene) to apply the filler metal. The preheated iron should be hot enough to melt the bronze filler rod on contact, allowing it to flow into the joint via capillary action without needing excessive direct heat from the torch.
4. The Critical Slow Cool
This step is as important as preheating. Never allow cast iron to cool in open air. A rapid cool-down will reintroduce stress and cause the casting or the repair itself to crack. Immediately after brazing, wrap the part in a thermal blanket or bury it completely in dry sand or vermiculite to insulate it, allowing it to cool as slowly as possible over several hours.
Common Pitfalls to Avoid
Understanding what can go wrong is key to making sure everything goes right.
Insufficient or Localized Preheat
Heating only a tiny area around the joint is a primary cause of failure. This creates a sharp thermal gradient, concentrating stress right where you don't want it and often causing new cracks to form adjacent to the repair.
Overheating the Cast Iron
Brazing is a low-temperature joining process. If you heat the cast iron to a bright cherry red or yellow, you risk burning out essential carbon from the iron's structure. This can weaken the base metal and make it difficult for the filler metal to bond correctly.
Cooling Too Quickly
Failing to ensure a slow, controlled cool-down will undo all your careful preparation. This is the most common reason for post-repair cracking and is entirely avoidable with proper insulation.
Making the Right Choice for Your Goal
Your approach to preheating should be guided by the nature of the component and the repair.
- If your primary focus is a small, non-structural crack: A thorough local preheat extending several inches around the repair may be sufficient, but a slow, insulated cool-down is still mandatory.
- If your primary focus is a large or complex component: Preheating the entire casting in an oven is the safest method to prevent distortion and ensure a uniform, stress-free repair.
- If you lack access to an oven: A methodical, patient preheat with a large torch, followed by immediate burial in an insulating medium like sand, is your most reliable alternative.
Ultimately, successfully brazing cast iron is a testament to your control over heat from beginning to end.
Summary Table:
| Key Parameter | Target Range | Purpose |
|---|---|---|
| Preheat Temperature | 900°F to 1200°F (480°C to 650°C) | Prevents thermal shock and cracking by reducing stress from temperature differences. |
| Visual Indicator | Dull Red Glow (in dim light) | A simple, effective way to gauge the correct preheat temperature. |
| Cooling Method | Insulate in Sand or Vermiculite | Allows for a slow, controlled cool-down to prevent post-repair cracking. |
Master the art of heat management for your most critical repairs.
Brazing cast iron requires precise temperature control from preheat to slow cooling to avoid costly failures. KINTEK specializes in the lab equipment and consumables that support reliable metal joining processes.
Let us help you achieve perfect results every time. Our expertise ensures you have the right tools and knowledge for durable, crack-free repairs on cast iron components.
Contact KINTEL today to discuss your specific laboratory and metal joining needs.
Visual Guide

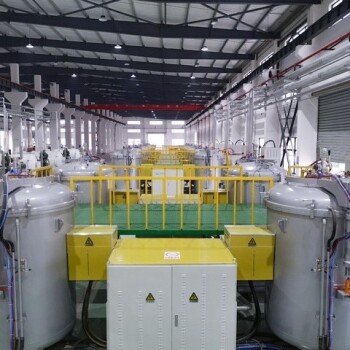
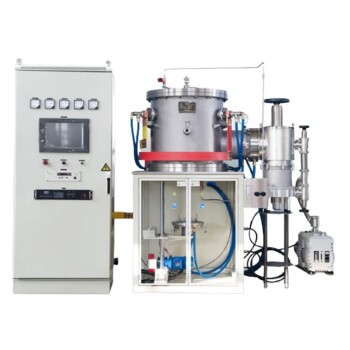
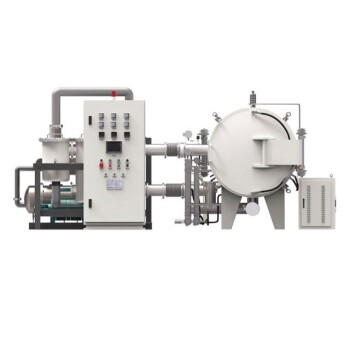
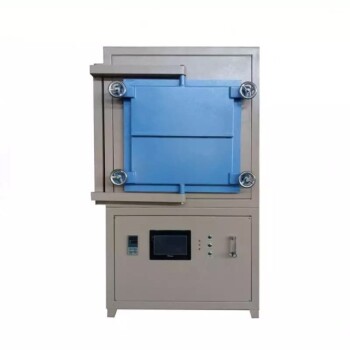
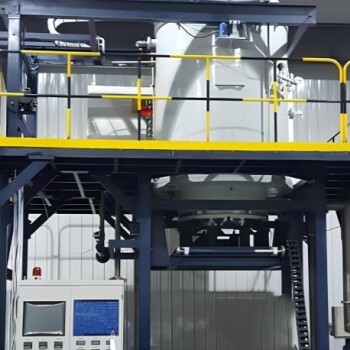
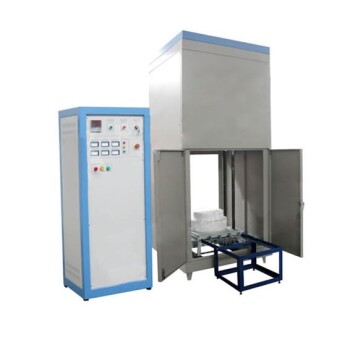
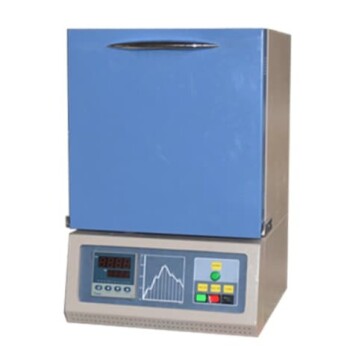
Related Products
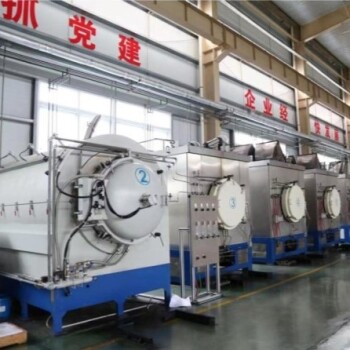
- Vacuum Heat Treat Sintering Brazing Furnace
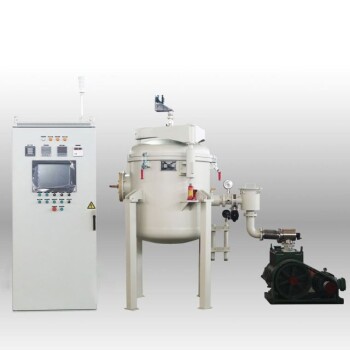
- High Temperature Muffle Oven Furnace for Laboratory Debinding and Pre Sintering
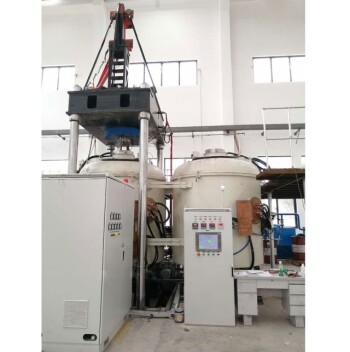
- 600T Vacuum Induction Hot Press Furnace for Heat Treat and Sintering
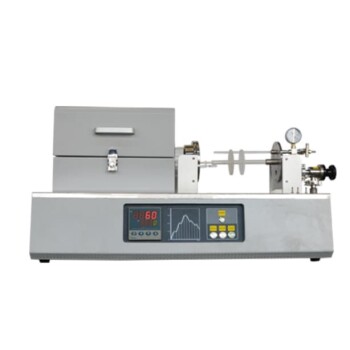
- Laboratory Rapid Thermal Processing (RTP) Quartz Tube Furnace
- Ultra-High Temperature Graphite Vacuum Graphitization Furnace
People Also Ask
- What is the temperature of vacuum heat treatment? Achieve Superior Material Properties & Pristine Finishes
- Can brazing be used for ferrous metals? Yes, and here's how to ensure a strong joint.
- How do you braze a furnace? A Guide to High-Volume, Precision Metal Joining
- How does a vacuum brazing furnace work? Achieve Superior, Flux-Free Metal Joining
- What is a vacuum heat treatment furnace? Achieve Unmatched Purity and Control