To set a muffle furnace, you first power on the unit, use the temperature controller's "setting" button or digital panel to input your desired temperature, and then switch the controller to the "measuring" or "run" position. This action engages the power supply, sends current to the heating elements, and begins the heating cycle, which is monitored by a thermocouple.
Setting a muffle furnace is a straightforward digital process. However, true operational confidence comes from understanding how the controller, thermocouple, and heating elements work in concert within a heavily insulated chamber to safely and accurately achieve extreme temperatures.
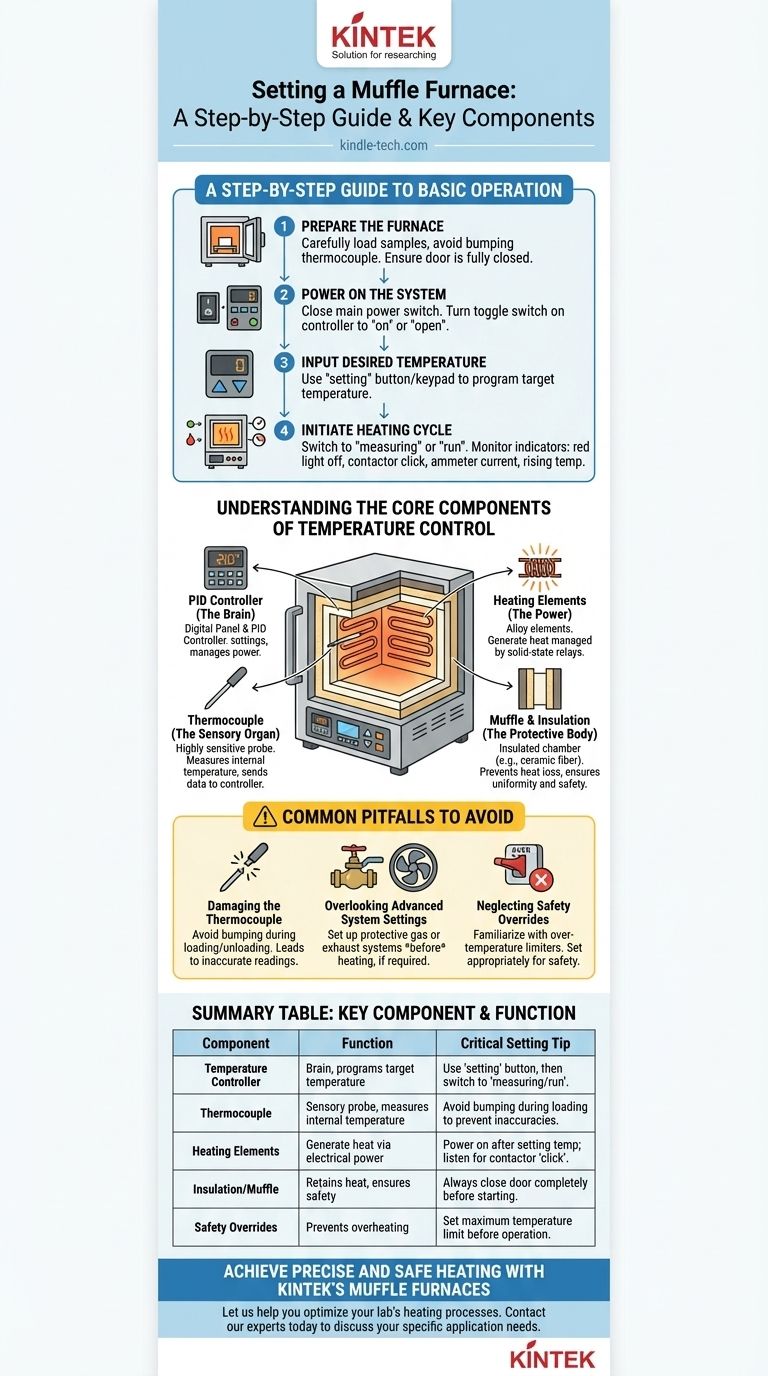
Understanding the Core Components of Temperature Control
To operate a muffle furnace effectively, it's essential to understand the key systems you are controlling. These components work together to ensure precise, stable, and safe heating.
The Temperature Controller: The Brain
Modern muffle furnaces use digital panels and PID (Proportional-Integral-Derivative) controllers. This is your primary interface. It allows you to program the exact temperature your process requires. The controller is what interprets your "setting" and translates it into instructions for the rest of the furnace.
The Thermocouple: The Sensory Organ
Located inside the chamber, typically at the back, the thermocouple is a highly sensitive probe that measures the internal temperature. It constantly sends this data back to the temperature controller, which then adjusts the power to the heating elements to maintain the setpoint.
The Heating Elements: The Power
The actual heat is generated by heating elements, often made from alloys like iron-chromium-aluminum. These elements receive electrical power, which is managed by solid-state relays based on the precise commands from the controller. They are the "muscle" doing the physical work of heating the chamber.
The Muffle & Insulation: The Protective Body
The entire system is housed within an insulated chamber called the muffle. This chamber is protected by multiple layers of high-capacity insulation, such as low-density ceramic fiber. This insulation is critical for preventing heat loss, ensuring uniform temperature, and keeping the outer casing cool for user safety.
A Step-by-Step Guide to Basic Operation
While specific models vary, the fundamental process for setting a muffle furnace follows a consistent logic.
Step 1: Prepare the Furnace
Before turning anything on, carefully place your items inside the chamber. Be extremely cautious not to bump or disturb the thermocouple. Once loaded, ensure the furnace door is closed completely to create a proper seal.
Step 2: Power On the System
After a final check of the wiring, close the main power switch. On the controller panel, you will typically find a toggle switch that needs to be moved to the "on" or "open" position.
Step 3: Input Your Desired Temperature
Using the controller's "setting" button or digital keypad, adjust the value to the temperature your process requires. This programs the target temperature into the controller's memory.
Step 4: Initiate the Heating Cycle
Pull the setting switch to the "measuring" or "run" position. You should notice several indicators of normal operation: the red "heating" light may turn off, you might hear a "click" from the contactor, and the ammeter will show a current value. The temperature displayed on the controller will begin to rise steadily.
Common Pitfalls to Avoid
Proper setup goes beyond just programming a temperature. Avoiding common mistakes is crucial for accurate results and the longevity of the equipment.
Damaging the Thermocouple
The most common operational error is bumping the thermocouple while loading or unloading samples. A damaged or displaced sensor will provide inaccurate readings to the controller, leading to incorrect chamber temperatures and failed processes. Always be mindful of its location.
Overlooking Advanced System Settings
Many furnaces have optional features that are part of the overall "setting." This can include a protective gas connection for purging with non-flammable gases or an exhaust system with a fan or catalytic converter. If your process requires a controlled atmosphere, these systems must be set up and activated before you initiate the heating cycle.
Neglecting Safety Overrides
Familiarize yourself with the furnace's safety features, such as an over-temperature limiter. This is a critical protection device that shuts down the furnace if it exceeds a preset maximum temperature. Ensure it is set appropriately for both your sample's and the furnace's safety limits.
Making the Right Choice for Your Goal
Your specific goal determines which aspects of the setup process demand the most attention.
- If your primary focus is simple ashing or heat treatment: Master the basic power-on and temperature-setting procedure, paying close attention to protecting the thermocouple.
- If your primary focus is a process in a controlled atmosphere: Your setup must include the correct configuration and activation of the protective gas supply system before you begin heating.
- If your primary focus is process validation and safety: Prioritize understanding the over-temperature protection settings and any process documentation software connected to the furnace.
Ultimately, viewing the furnace as an integrated system—not just a hot box—is the key to achieving safe, repeatable, and accurate results.
Summary Table:
| Key Component | Function | Critical Setting Tip |
|---|---|---|
| Temperature Controller | Brain of the system; programs target temperature | Use 'setting' button to input desired temperature, then switch to 'measuring/run' |
| Thermocouple | Sensory probe measuring internal temperature | Avoid bumping during loading/unloading to prevent inaccurate readings |
| Heating Elements | Generate heat via electrical power | Power on after setting temperature; listen for contactor 'click' |
| Insulation/Muffle | Retains heat and ensures safety | Always close door completely before starting the cycle |
| Safety Overrides (e.g., over-temperature limiter) | Prevents overheating | Set appropriate maximum temperature limit before operation |
Achieve Precise and Safe Heating with KINTEK's Muffle Furnaces
Setting up your muffle furnace correctly is the first step to reliable results. KINTEK specializes in high-performance lab equipment, including muffle furnaces with intuitive PID controllers, robust heating elements, and advanced safety features. Whether you're performing ashing, heat treatment, or controlled atmosphere processes, our equipment ensures accuracy and repeatability.
Let us help you optimize your lab's heating processes. Contact our experts today to discuss your specific application needs and discover how KINTEK's solutions can enhance your laboratory's efficiency and safety.
Visual Guide
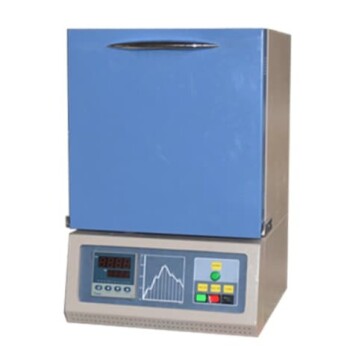
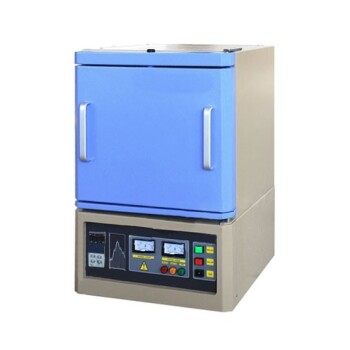
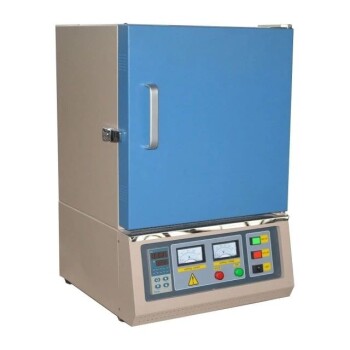
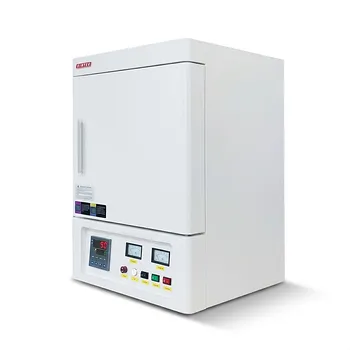
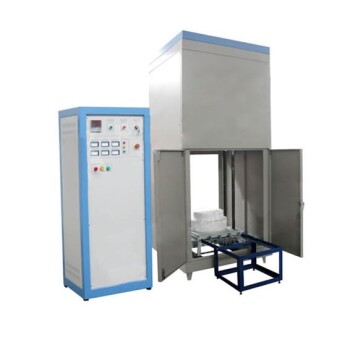
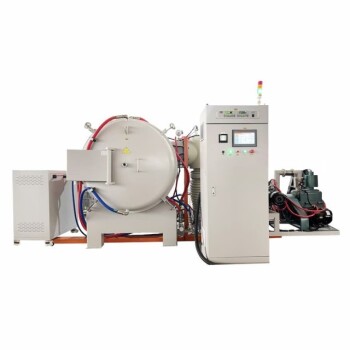
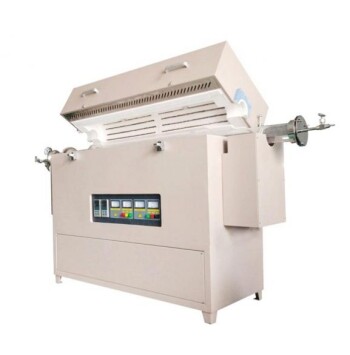
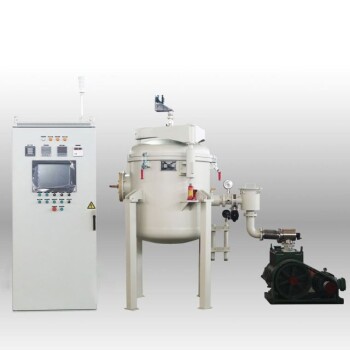
Related Products
- 1200℃ Muffle Furnace Oven for Laboratory
- 1800℃ Muffle Oven Furnace for Laboratory
- 1400℃ Muffle Oven Furnace for Laboratory
- 1700℃ Muffle Oven Furnace for Laboratory
- High Temperature Muffle Oven Furnace for Laboratory Debinding and Pre Sintering
People Also Ask
- How does a muffle furnace ensure reliability in calcification roasting? Achieve Precision in Pellets Conversion
- How does a high-temperature muffle furnace work? Achieve Contaminant-Free, Uniform Heating
- What role does a laboratory high-temperature muffle furnace play in studying the thermal stability of solidification matrices?
- Why is a laboratory high-temperature muffle furnace required for the post-annealing treatment of copper oxide?
- Why is pre-calcination of CaO necessary for CCMS? Ensure High-Purity Calcium Oxide in Your Molten Salt Process