Instruments and Reagents
Instruments
In the process of conducting an IR (Infrared) tablet pressing method, a variety of specialized instruments are employed to ensure precise and accurate results. These tools include:
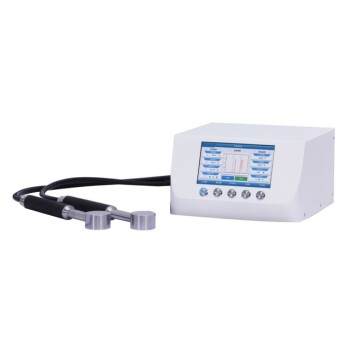
- Infrared Spectrometer: This device is crucial for analyzing the molecular structure of the sample by measuring the absorption of infrared radiation.
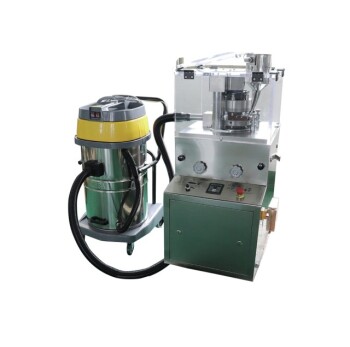
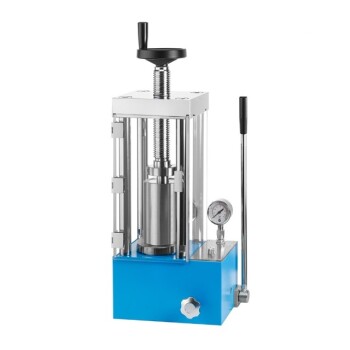
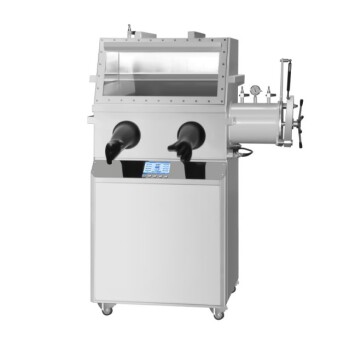
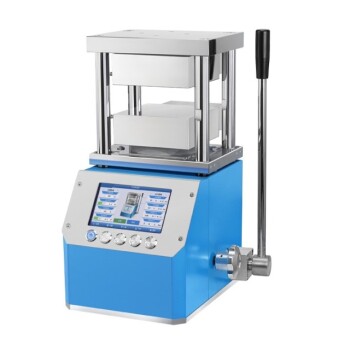
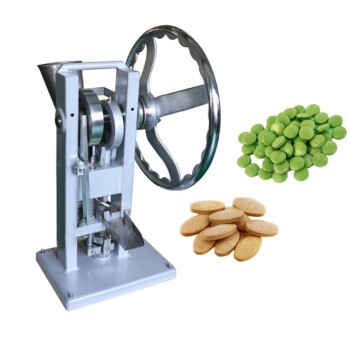
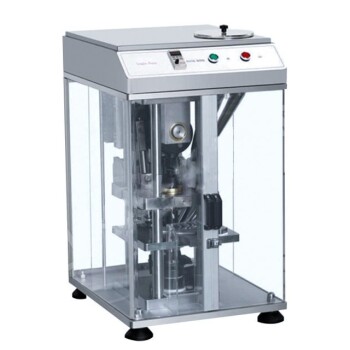
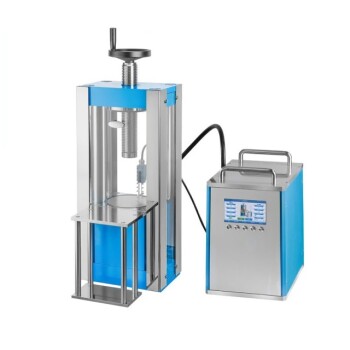
- Tablet Press: Used to compress the sample into a tablet form, ensuring uniformity and consistency for testing.
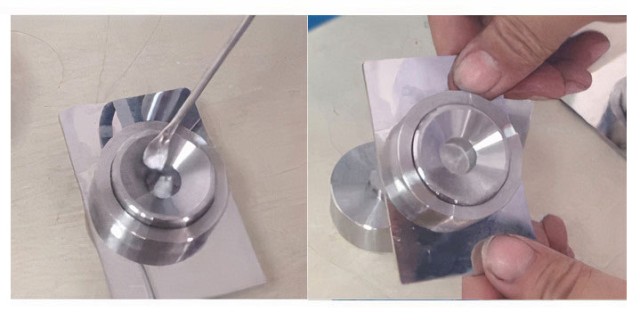
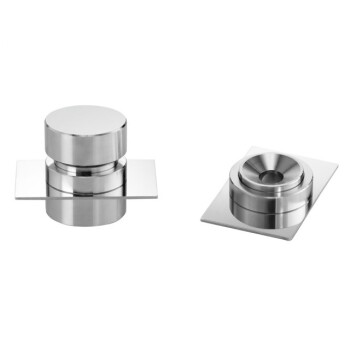
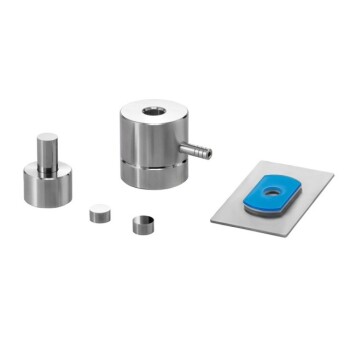
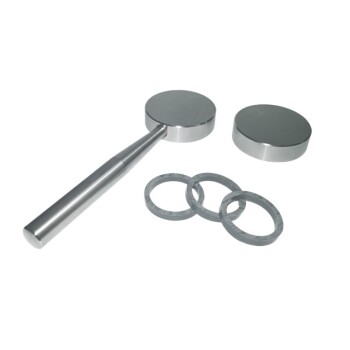
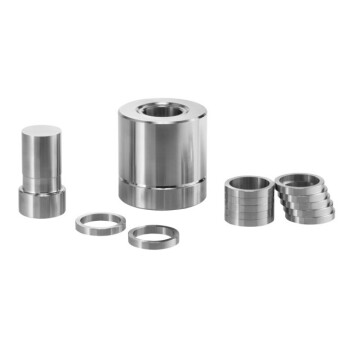
- Infrared Mold: Specifically designed for creating tablets with uniform thickness and surface area, which is essential for accurate IR analysis.
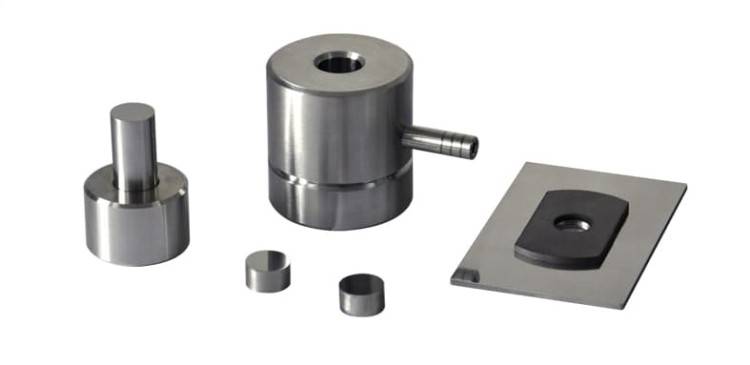
- Agate Mortar: An instrument for grinding the sample into a fine powder, facilitating even distribution within the tablet.
- Stainless Steel Tweezers and Medicine Spoon: These tools are used for handling delicate materials safely and precisely.
- Infrared Lamp: Provides the necessary heat for drying and preparing the samples.
- Analytical Balance: Ensures accurate weighing of the samples and reagents, a critical step in maintaining experimental integrity.
- Gloves: Protective wear to prevent contamination of the samples and ensure the safety of the operator.
Each of these instruments plays a vital role in the meticulous process of sample preparation and testing, contributing to the overall accuracy and reliability of the IR analysis.
Reagents
In the IR (Tablet Pressing Method) operation, the reagents used are crucial for the accuracy and reliability of the results. The primary reagents include:
- Experimental Sample: The substance under analysis, which is essential for obtaining the infrared spectrum.
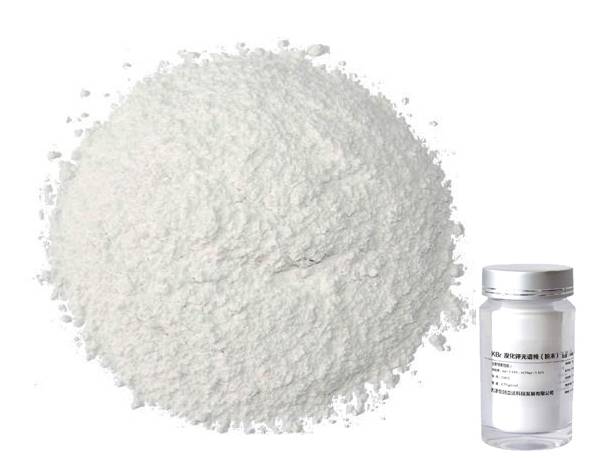
- Alkali Halide Window (KBr): A critical component used to create a transparent window for the infrared light to pass through, ensuring clear spectral data.
- Anhydrous Ethanol: Employed for cleaning the experimental equipment, ensuring no residual moisture interferes with the analysis.
- Degreased Cotton: Used to clean and maintain the cleanliness of the instruments, preventing any contamination that could affect the results.
These reagents are selected not only for their chemical properties but also for their compatibility with the IR spectrometer and the tablet pressing process. Proper handling and preparation of these reagents are vital to the success of the experiment.
Sample Preparation
Disassembly and Cleaning
To ensure the accuracy and reliability of the IR (Tablet Pressing Method) operation, proper disassembly and cleaning of the experimental equipment are essential steps. Begin by carefully removing the mold from the tablet press. Once the mold is out, proceed to disassemble it, separating any components that can be taken apart for thorough cleaning.
For cleaning, use degreased cotton that has been soaked in anhydrous ethanol. This solvent is particularly effective in removing any residual substances without leaving behind any moisture that could interfere with subsequent experiments. Gently wipe down all parts of the disassembled equipment, ensuring that no residue is left behind.
After cleaning, the equipment must be thoroughly dried. This is best achieved by placing the cleaned components under an infrared lamp. The infrared lamp provides a quick and efficient way to evaporate any remaining ethanol, ensuring that the equipment is completely dry and ready for the next phase of the experiment. Proper drying is crucial as residual moisture can affect the integrity of the samples and the accuracy of the IR readings.
By following these steps, you ensure that your experimental setup is clean, dry, and ready for precise sample preparation and testing.
Weighing and Grinding
Before proceeding with the sample preparation for IR analysis, it is crucial to accurately weigh both the potassium bromide (KBr) and the experimental sample. This step ensures that the subsequent grinding process is conducted with precise quantities, which is essential for achieving a homogeneous mixture suitable for tablet pressing.
To begin, place the analytical balance on a stable surface and calibrate it according to the manufacturer's instructions. Weigh the required amount of potassium bromide, which typically constitutes the majority of the mixture, and then weigh the experimental sample, ensuring that the total mass is within the recommended range for the IR mold.
Once the weighing is complete, transfer the sample into an agate mortar. The agate mortar, known for its hardness and resistance to wear, is ideal for grinding the sample to a fine powder. Pour the weighed potassium bromide into the mortar, ensuring that it covers the sample completely.
Using a consistent motion, grind the mixture thoroughly in the same direction. This methodical grinding process helps to achieve a uniform distribution of the sample within the potassium bromide matrix. It is important to avoid grinding in different directions, as this can lead to inconsistencies in the final tablet.
As the grinding progresses, periodically check the consistency of the mixture. The goal is to achieve a fine, homogenous powder that can be easily pressed into a tablet without any visible aggregates. Once the desired consistency is reached, the mixture is ready for the next step in the sample preparation process.
Loading and Pressing
To proceed with the tablet pressing method, the first step involves assembling the mold. This mold is specifically designed for the infrared spectrometer and ensures that the sample is contained in a uniform and consistent shape. Once the mold is assembled, the next critical step is to evenly distribute the sample within the mold. This ensures that the resulting tablet has a consistent composition, which is crucial for accurate infrared analysis.
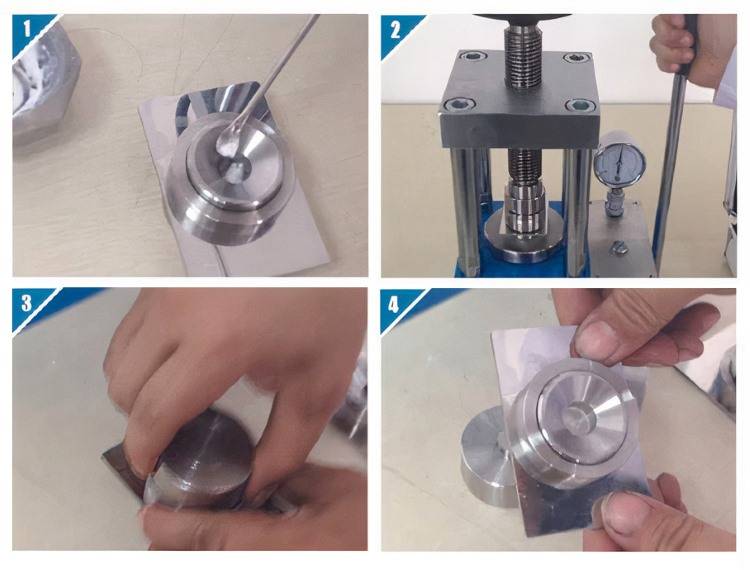
After the sample is evenly distributed, the mold is subjected to vibration. This vibration helps to level the sample surface, eliminating any air pockets or unevenness that could affect the quality of the tablet. The vibration process is typically short but effective, ensuring that the sample is compacted uniformly.
Finally, the pressing of the tablet is carried out. This step requires the application of controlled pressure to the mold, which compresses the sample into a solid, uniform tablet. The pressure applied is calibrated to ensure that the tablet meets the necessary specifications for subsequent infrared analysis. The pressing process is typically automated, ensuring consistency and precision in each tablet produced.
In summary, the loading and pressing steps are meticulously executed to ensure that the sample is transformed into a uniform, compacted tablet, ready for accurate infrared spectroscopic analysis.
Demolding
After ensuring that the oil valve is released and the pressure within the system has dropped to '0', the next step involves carefully removing the mold from the tablet press. This process requires precision to avoid any damage to the freshly pressed tablet. Once the mold is safely out of the press, the demolding process can commence.
Demolding involves gently extracting the tablet from the mold cavity. This step is crucial as it directly impacts the integrity and appearance of the final product. Using appropriate tools such as stainless steel tweezers, the tablet is carefully lifted out of the mold. The tweezers should be handled with care to prevent any scratches or marks on the tablet surface.
To ensure a smooth demolding process, it is advisable to use a tablet press that is equipped with features designed to facilitate easy removal of the tablet. These features can include a slight taper on the mold edges or a release agent applied to the mold surface prior to pressing.
After the tablet is successfully demolded, it should be placed on a clean surface for further inspection and testing. Proper demolding techniques not only enhance the quality of the tablet but also ensure that the process is efficient and repeatable for future batches.
Testing
Background/Base Scanning
Before initiating the actual sample testing, it is crucial to perform a background or base scan to calibrate the infrared spectrometer. This step ensures that any inherent noise or baseline drift is accounted for, providing a clean slate for accurate data collection.
-
System Startup: Begin by powering on the computer and launching the infrared spectrometer software. Ensure that all necessary drivers and interfaces are functioning correctly.
-
Parameter Configuration: Navigate through the software interface to set up the test parameters. This includes specifying the type of scan (e.g., absorbance, transmittance), the resolution, and the wavelength range of interest.
-
Base Scan Execution: With the parameters configured, initiate the base scan. The spectrometer will sweep through the specified wavelength range, capturing any background signals. This data will be used to correct for any baseline anomalies during the subsequent sample scans.
-
Data Verification: After the scan is complete, review the base scan data to ensure there are no unexpected artifacts or anomalies. If any issues are detected, troubleshoot and repeat the base scan before proceeding with sample testing.
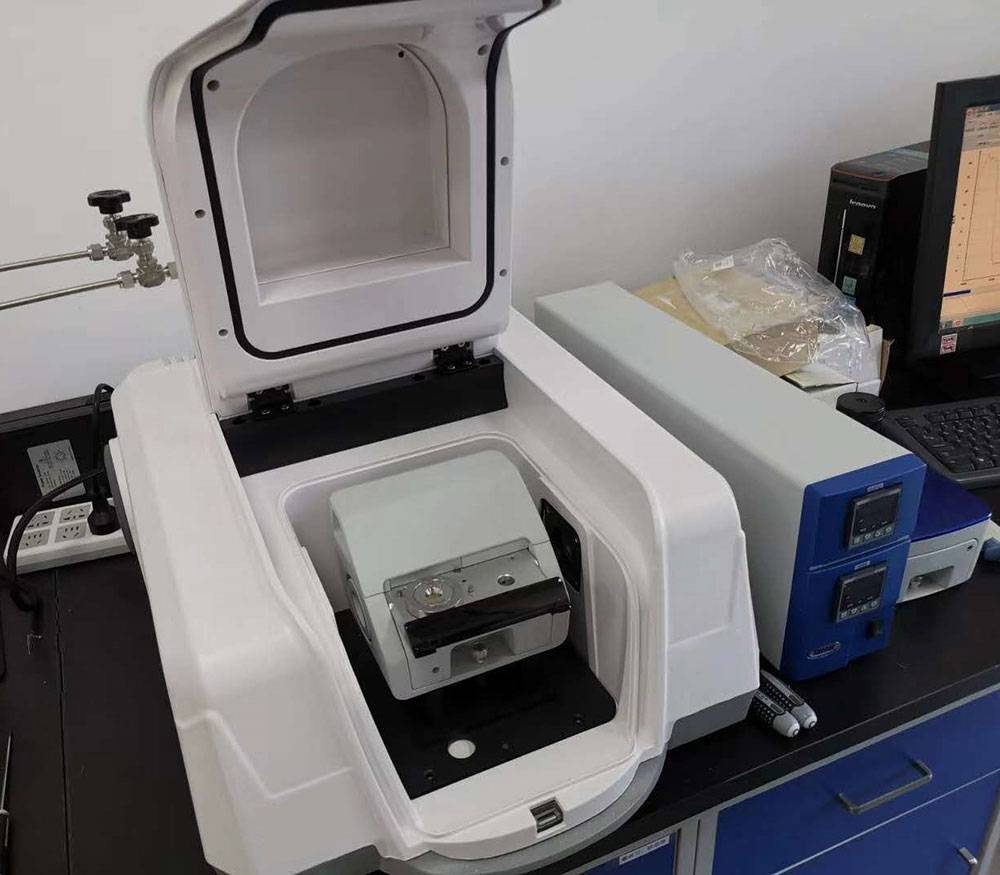
This preliminary step is essential for maintaining the integrity and reliability of the infrared spectroscopy results, ensuring that the subsequent sample data is both accurate and meaningful.
Sample Loading and Testing
Once the sample has been prepared and pressed into a tablet, the next step is to load it into the infrared spectrometer for analysis. Begin by carefully removing the sample from the tablet press using stainless steel tweezers. Ensure that the sample is handled with care to avoid any contamination or damage.
Next, position the sample on a dedicated sample rack. This rack is designed to hold the sample securely and ensure it is correctly aligned with the infrared instrument's optical path. Once the sample is properly seated on the rack, insert the rack into the infrared spectrometer.
With the sample in place, proceed to the software interface of the infrared spectrometer. Here, you will need to input the sample name and any other relevant details to ensure accurate identification and tracking of the results. This step is crucial for maintaining a clear and organized record of the testing process.
Finally, click on the "Scan Sample" button to initiate the infrared analysis. The instrument will then begin to measure the sample's infrared spectrum, providing valuable data on its composition and properties. Ensure that the scan settings are appropriate for the type of sample being tested to obtain the most accurate results.
Shutdown
Once all the data has been meticulously saved, the final steps in the IR tablet pressing method operation involve closing the software and shutting down the system. This process is crucial to ensure that all data integrity is maintained and no critical information is lost.
To begin with, ensure that the software interface indicates that all tasks have been completed and all relevant data have been securely stored. This step is non-negotiable as it forms the basis for future analysis and reporting.
Next, proceed to close the software. This action typically involves navigating to the appropriate menu or using a designated button to initiate the shutdown process. It's important to follow the specific instructions provided by the software's user manual to avoid any unintended disruptions.
Finally, after the software has been successfully closed, the system itself should be shut down. This may involve powering off the computer or, in some cases, performing a system restart. Always ensure that this step is carried out in accordance with the manufacturer's guidelines to prevent any potential damage to the hardware or loss of data.
By following these steps, you ensure a smooth and orderly conclusion to the IR tablet pressing method operation, readying the system for its next use.
Related Products
- Lab Scale Rotary Single Punch Tablet Press Machine TDP Tablet Punching Machine
- Automatic Laboratory Hydraulic Pellet Press Machine for Lab Use
- Heated Hydraulic Press Machine with Heated Plates for Vacuum Box Laboratory Hot Press
- Manual Cold Isostatic Pressing Machine CIP Pellet Press
- Laboratory Hydraulic Press Lab Pellet Press Machine for Glove Box
Related Articles
- Lab Scale Mini Tablet Press: Applications, Processes, and Features
- Detailed Analysis of Tablet Presses: Their Types, Components, and Applications
- Classification of tablet press molds and precautions for use
- Understanding the Tablet Press Machine R&D Lab Model and its Features(2)
- Fully automatic tablet press operating steps and replacement accessories
