The Psychology of Preparation
Chemistry is often viewed as the study of transformation. But before transformation can occur, there must be a state of perfect control.
In the laboratory, we often suffer from a specific cognitive bias: we overvalue the complexity of our theory and undervalue the simplicity of our tools. We assume the error lies in the equation, not the glassware.
However, data from high-precision electrochemical experiments suggests the opposite. The validity of a cyclic voltammetry scan is often determined before the potentiostat is ever turned on. It is determined during the quiet, mundane ritual of cell preparation.
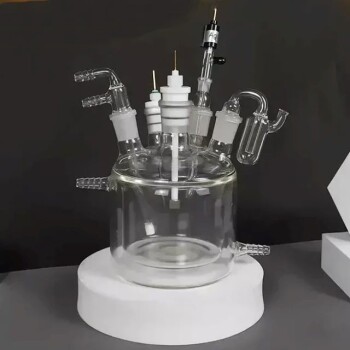
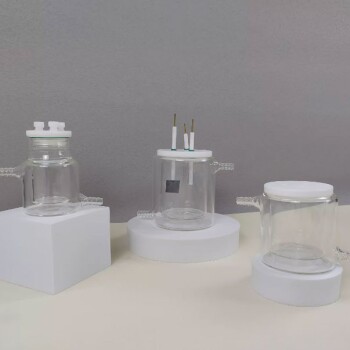
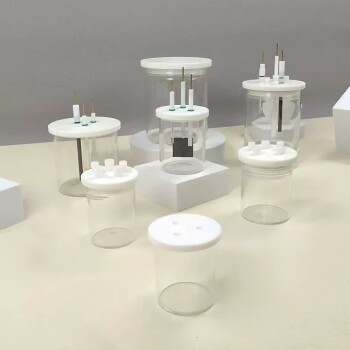
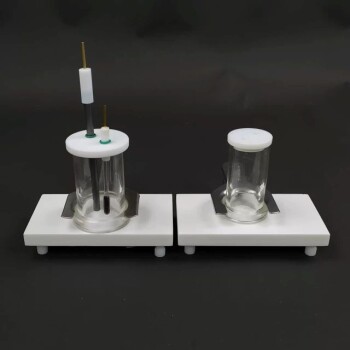
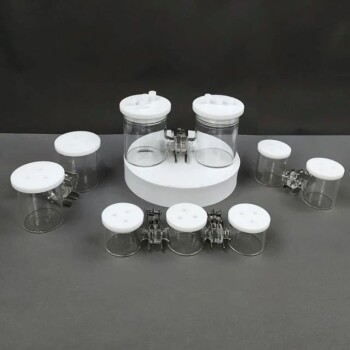
The five-port water bath electrolytic cell is not just a container; it is a controlled environment. Treating it with the rigor of a surgical theater is the only way to ensure the fidelity of your results.
The Four Pillars of the Protocol
To eliminate noise, we must systematize the setup. The procedure is linear, and skipping steps acts like compound interest on your error rate—small omissions lead to massive deviations.
Stage 1: The Visual Autopsy
Entropy is the constant enemy of laboratory equipment. Before you begin, you must act as a coroner for your equipment’s integrity.
Inspect the glass body under good light. You are looking for fine cracks. These are not just cosmetic issues; they are structural weaknesses that compromise the thermal stability of the water bath jacket.
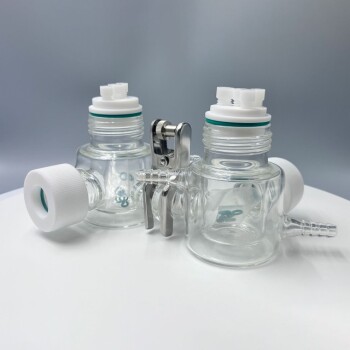
Simultaneously, examine the PTFE stoppers and seals. Rubber and plastic degrade over time, becoming brittle. A degraded seal is not a seal at all—it is a breach waiting to admit oxygen or leak electrolyte.
Stage 2: Tabula Rasa (Cleaning)
The goal here is absolute chemical silence. You cannot measure a specific reaction if the background noise of previous experiments is screaming.
Cleaning is a binary state: the cell is either clean, or it is contaminated. There is no middle ground.
- Step A: Flush with an organic solvent (ethanol or acetone) to dissolve organic residues.
- Step B: Rinse aggressively with distilled or deionized water to remove the solvent.
- Step C: Dry completely.
Any remaining moisture or solvent is not just "dirt"; it is an unauthorized reactant in your next experiment.
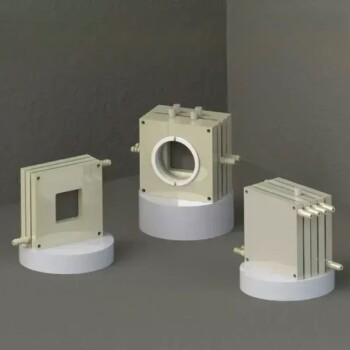
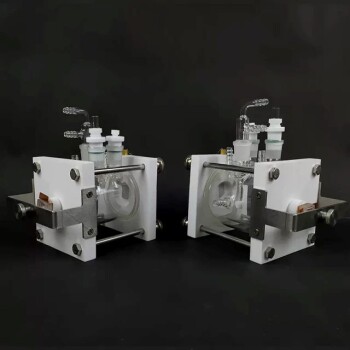
Stage 3: Spatial Discipline
In electrochemistry, geometry is destiny. The physical distance between electrodes dictates the electrical reality of the cell.
When assembling the working, auxiliary, and reference electrodes, precision is paramount. They must be secure, yet they must never touch the glass walls or each other.
If you are using a Luggin capillary with your reference electrode, the "Romance of the Engineer" comes into play here. The tip must be positioned intimately close to the working electrode to minimize iR drop (voltage loss due to resistance), but it must never touch. It is a game of millimeters.
Stage 4: The Atmosphere Control
The final variable is the medium itself.
If your experiment requires it, filter the electrolyte to remove particulate matter. More importantly, consider the invisible variable: Oxygen.
For many reactions, dissolved oxygen is a contaminant. Using an F-type aeration tube to bubble nitrogen or argon through the solution isn't optional—it's foundational.
When pouring the electrolyte, do so with the patience of a watchmaker. Pour slowly. Splashing creates bubbles on the electrode surface. A bubble is a blockade; it blinds the active sites of your electrode, rendering your data incomplete.
The Thermal Paradox: A Warning on Material Science
One of the most common catastrophic failures in lab settings comes from misunderstanding materials.
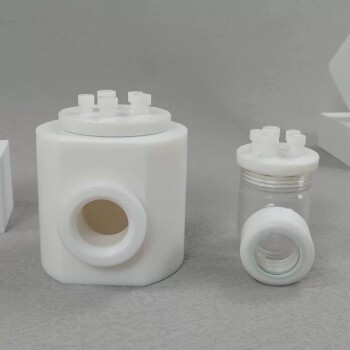
Glass and PTFE (Polytetrafluoroethylene) react to heat differently.
- The Glass Body: Can be sterilized in an autoclave at 121°C.
- The PTFE Components: Must never be heated to high temperatures.
PTFE expands significantly when heated. If you autoclave the lids or stoppers, they will deform. They will not return to their original shape. You will be left with a cell that no longer seals, rendering it useless.
Summary of Operations
Below is the condensed protocol for ensuring experimental fidelity:
| Stage | Key Action | The "Why" (Engineering Logic) |
|---|---|---|
| 1. Inspection | Check for micro-cracks and brittle seals | Prevent leaks and thermal instability. |
| 2. Cleaning | Organic solvent rinse $\rightarrow$ Water rinse $\rightarrow$ Dry | Eliminate "chemical noise" from past usage. |
| 3. Assembly | Secure electrodes; ensure no contact | Maintain correct current distribution and geometry. |
| 4. Electrolyte | Deoxygenate and pour slowly | Prevent bubble formation and oxide interference. |
The KINTEK Solution
Atul Gawande once noted that "better is possible." In the lab, "better" starts with the equipment you trust.
A meticulously prepared electrolytic cell is only as good as its manufacturing quality. At KINTEK, we understand that your research stands on the shoulders of our hardware.
We provide:
- Precision-Engineered Glassware: Five-port cells designed for optimal thermal exchange and structural integrity.
- High-Grade Consumables: PTFE components and electrodes manufactured to exacting tolerances.
- Technical Support: Guidance on maintaining the invisible architecture of your experiments.
Don't let equipment failure be the variable that ruins your dataset.
Visual Guide

Related Products
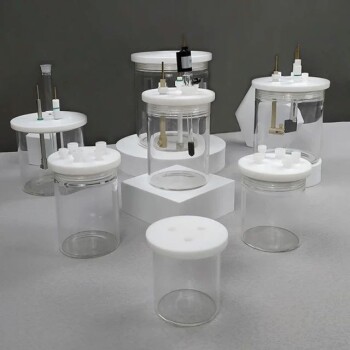
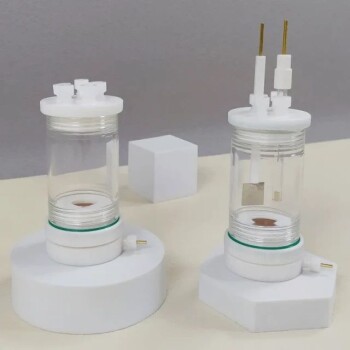
- Double Layer Five-Port Water Bath Electrolytic Electrochemical Cell
- Electrolytic Electrochemical Cell with Five-Port
- Optical Water Bath Electrolytic Electrochemical Cell
- Multifunctional Electrolytic Electrochemical Cell Water Bath Single Layer Double Layer
- Customizable PEM Electrolysis Cells for Diverse Research Applications
Related Articles
- The Architecture of Control: Decoding the Five-Port Electrolytic Cell
- The Symphony of Coefficients: Why Your Electrolytic Cell Cannot Be a Monolith
- The Silent Deformation: Why Good Intentions Break Precision Glassware
- The Architecture of Control: Why the Five-Port Cell is More Than Glassware
- The Thermodynamic Paradox: Balancing Precision and Safety in Electrolytic Cells