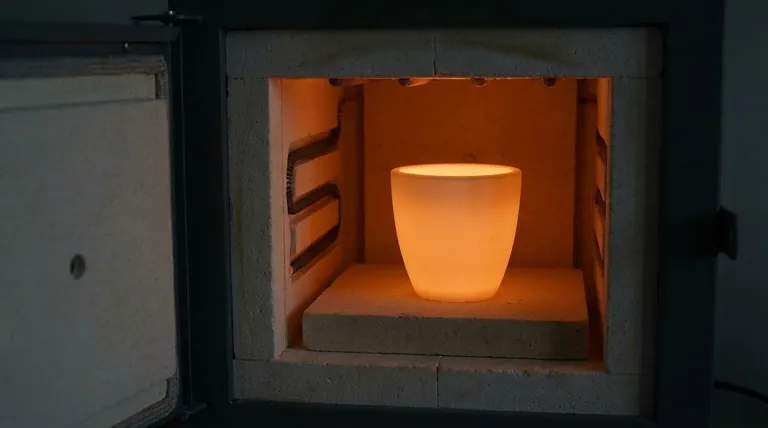
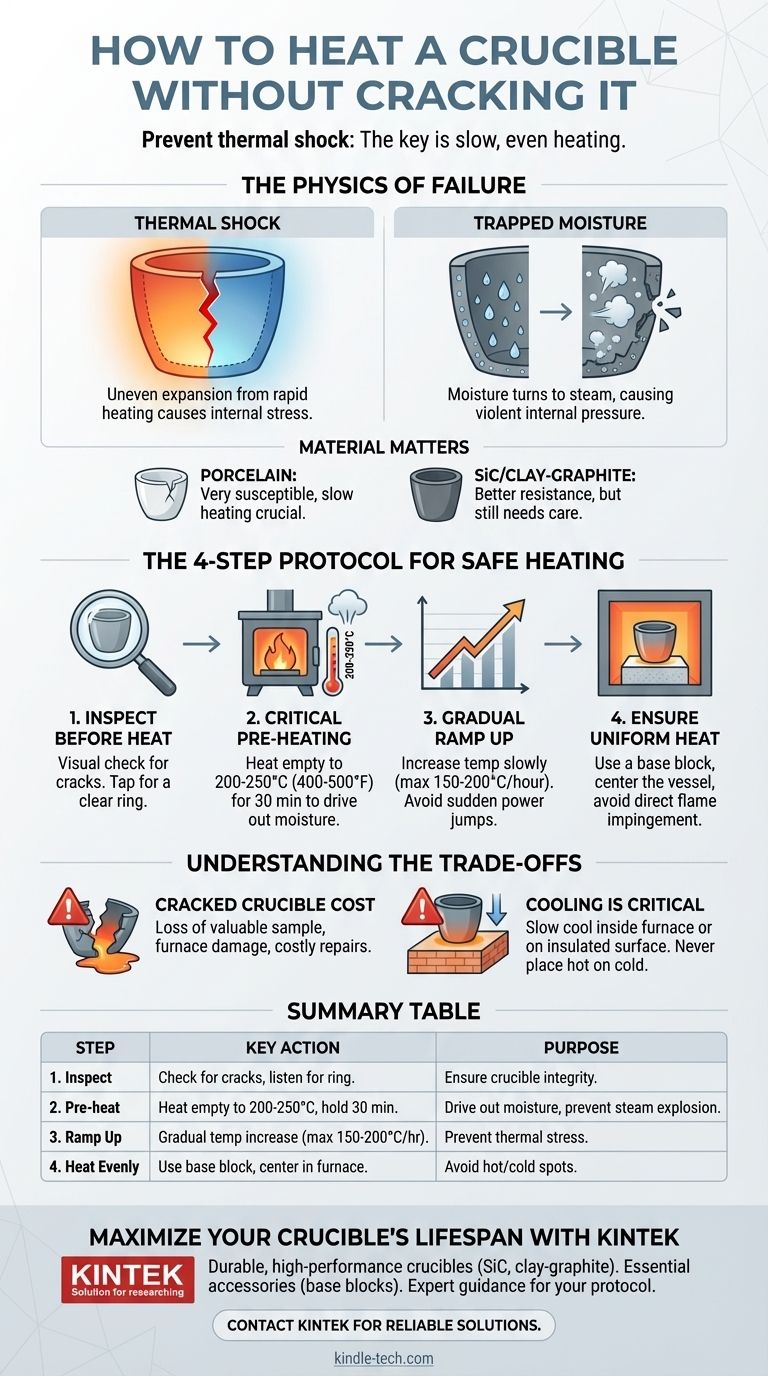
To heat a crucible without cracking it, the cardinal rule is to avoid thermal shock by heating it slowly and evenly. This process begins by gently pre-heating the empty crucible to drive out any absorbed moisture, which is a primary cause of failure. Only after this initial drying phase should you begin the gradual ramp to your final working temperature, ensuring the entire vessel heats up as a single unit.
The single biggest cause of crucible failure is thermal shock, which creates immense internal stress when different parts of the crucible expand at different rates. A patient, multi-stage heating process—first to remove moisture, then to gradually raise the temperature—is the only reliable method to prevent catastrophic cracking.
The Physics of Failure: Why Crucibles Crack
To master the technique, you must first understand the forces at play. A crucible is a rigid object, but at a microscopic level, it expands when heated. Cracking occurs when this expansion is uncontrolled.
Understanding Thermal Shock
Thermal shock happens when one part of the crucible heats up much faster than another. The hot section expands while the cooler section does not, creating immense internal tension. When this stress exceeds the material's structural integrity, a crack forms.
A fast heating rate is the most common cause of this differential.
The Hidden Danger: Trapped Moisture
Most crucible materials, especially clay-graphite and other ceramics, are porous. They naturally absorb microscopic amounts of moisture from the air.
When heated rapidly, this trapped water turns to steam and expands violently inside the crucible's porous structure. This expansion acts like a tiny explosion, causing pieces of the material to flake off (spalling) or leading to a complete fracture.
The Role of Material Composition
Different materials handle thermal stress differently. A dense, low-porosity material like porcelain is very susceptible to thermal shock and requires an extremely slow heating rate.
Materials like silicon carbide and clay-graphite are engineered with superior thermal conductivity and shock resistance, allowing for faster heating rates—but they are not immune. The principles of slow, even heating still apply.
The 4-Step Protocol for Safe Heating
Follow this procedure every time, especially with a new crucible or one that has been in storage. This discipline is the difference between consistent success and repeated failure.
Step 1: Inspect Before You Heat
Before placing it in the furnace, perform a quick visual and auditory check. Look for any fine, hairline cracks. Gently tap the crucible with your knuckle; a sound vessel will produce a clear ring, whereas a cracked one may emit a dull thud.
Step 2: The Critical Pre-heating Phase
This step is designed to drive out all absorbed moisture. Place the empty crucible in your furnace or kiln.
Slowly heat it to a temperature just above the boiling point of water, typically 200-250°C (400-500°F). Hold it at this temperature for at least 30 minutes to ensure all moisture has evaporated.
Step 3: The Gradual Ramp to Target Temperature
Once the pre-heat is complete, you can begin ramping up to your working temperature. Do not go directly to maximum power.
The key is a controlled, linear heating rate. A conservative and safe starting point for most clay-graphite or ceramic crucibles is a ramp rate of no more than 150-200°C (300-400°F) per hour. For sensitive porcelain crucibles, this rate should be even slower.
Step 4: Ensure Uniform Heat Exposure
Uneven heating is a direct cause of thermal shock. Place the crucible in the center of the furnace, not touching the walls.
Crucially, use a base block or "plinth" made of a similar refractory material to lift the crucible off the cold furnace floor. This prevents the bottom from lagging in temperature and ensures heat can circulate around the entire vessel. In a gas furnace, ensure the flame does not impinge directly on one spot.
Understanding the Trade-offs
It can be tempting to speed up the process, but this is a false economy. Understanding the consequences reinforces the importance of a patient approach.
The True Cost of a Cracked Crucible
A cracked crucible means more than just the replacement cost of the vessel itself. It often results in the complete loss of your molten material or sample, which can be far more valuable.
Furthermore, a failure can spill molten contents inside your furnace, leading to significant damage and costly, time-consuming repairs.
When Cooling Down Is Just as Important
Thermal shock also occurs during cooling. Never remove a glowing hot crucible and place it on a cold metal or concrete surface.
The best practice is to allow the crucible to cool as slowly as possible inside the furnace. If it must be removed, place it on a dedicated refractory brick or insulated surface to manage the rate of cooling.
Making the Right Choice for Your Process
Your heating strategy should be deliberate and adapted to your specific situation.
- If your primary focus is safety and reliability: Always perform the full pre-heating and slow ramp-up protocol, especially with new or infrequently used crucibles.
- If you are working with delicate materials like porcelain: Your ramp and cooling rates must be exceptionally slow and meticulously controlled.
- If you are using robust silicon carbide in a production environment: You may establish a faster ramp rate after initial testing, but the principles of pre-heating and avoiding direct flame impingement remain critical.
- If your crucible cracks despite these steps: Re-evaluate the maximum ramp rate for your specific crucible material or inspect for unseen manufacturing defects before use.
By treating the heating process with patience and deliberation, you transform your crucible from a fragile consumable into a reliable and long-lasting tool.
Summary Table:
| Step | Key Action | Purpose |
|---|---|---|
| 1. Inspect | Check for cracks; listen for a clear ring. | Ensure crucible integrity before heating. |
| 2. Pre-heat | Heat empty to 200-250°C (400-500°F); hold for 30 min. | Drive out all absorbed moisture to prevent steam explosion. |
| 3. Ramp Up | Increase temperature gradually (max 150-200°C/hour). | Prevent thermal stress from uneven expansion. |
| 4. Heat Evenly | Use a refractory base block; center in furnace. | Ensure uniform heat exposure to avoid hot/cold spots. |
Maximize Your Crucible's Lifespan and Protect Your Valuable Samples
Cracked crucibles lead to lost samples, contaminated furnaces, and costly downtime. By partnering with KINTEK, you gain more than just premium lab equipment; you gain a commitment to your laboratory's efficiency and success.
We provide the reliable tools and expert support you need to prevent failure:
- Durable, High-Performance Crucibles: Choose from materials like robust silicon carbide and clay-graphite, engineered for superior thermal shock resistance.
- Essential Accessories: Ensure uniform heating with our refractory base blocks and plinths.
- Expert Guidance: Our specialists can help you establish the perfect heating protocol for your specific application and crucible material.
Ready to achieve consistent, reliable results? Don't let thermal shock compromise your work. Contact KINTEK today to find the right crucible solution for your laboratory's needs.
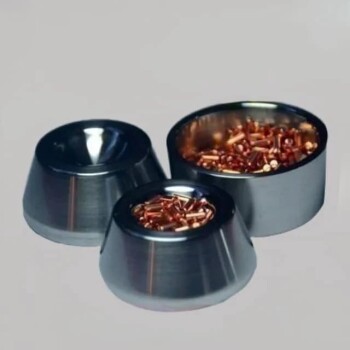
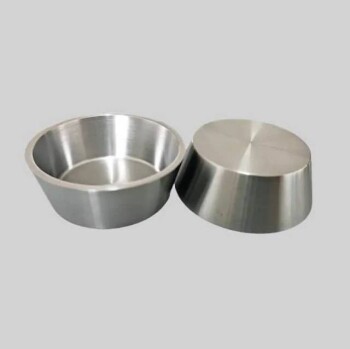
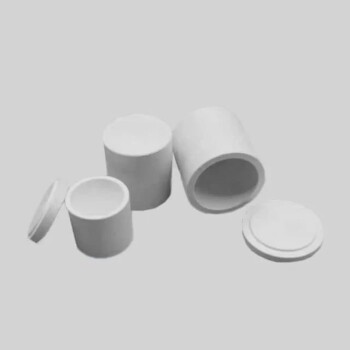
Visual Guide
Related Products
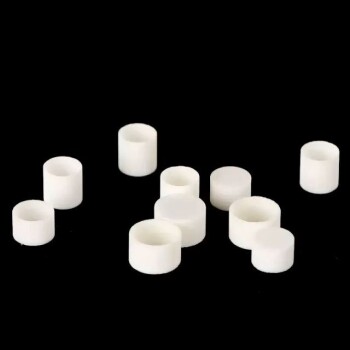
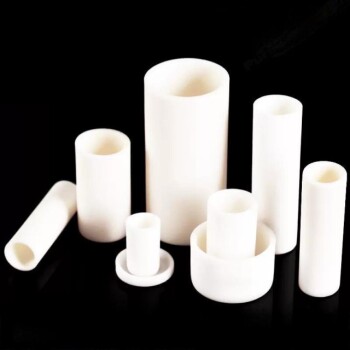
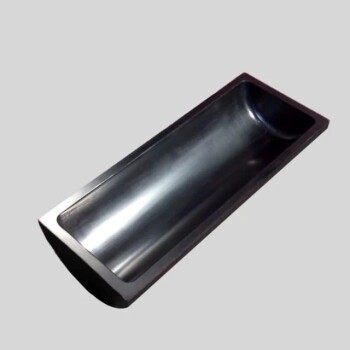
- Engineering Advanced Fine Ceramics Alumina Crucibles (Al2O3) for Thermal Analysis TGA DTA
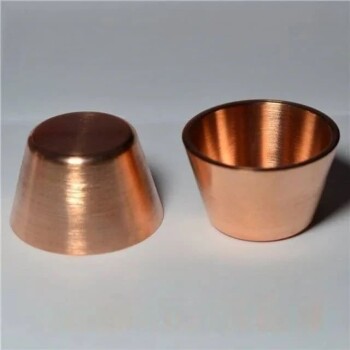
- Electron Beam Evaporation Coating Oxygen-Free Copper Crucible and Evaporation Boat
- Engineering Advanced Fine Ceramics Alumina Al2O3 Crucible With Lid Cylindrical Laboratory Crucible
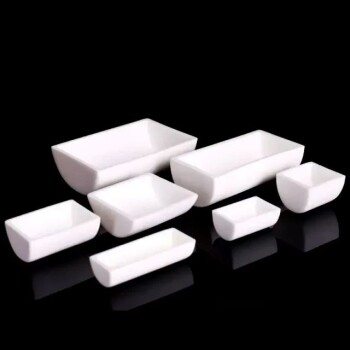
- Alumina Al2O3 Ceramic Crucible Semicircle Boat with Lid for Engineering Advanced Fine Ceramics
- Electron Beam Evaporation Coating Gold Plating Tungsten Molybdenum Crucible for Evaporation
People Also Ask
- Why are high-purity alumina crucibles used for liquid lead corrosion experiments? Ensure Data Accuracy at 550°C
- Primary considerations for choosing alumina crucibles and quartz tubes in indium intercalation: Ensure Material Purity
- What role does an alumina crucible play during the calcination of LLZTBO? Ensure High Purity at 800°C
- Why is an alumina crucible selected for the CaCl2-NaCl molten salt system? Ensure High Purity and Thermal Stability
- Why Use Alumina Crucibles & Powder Burial for NaSICON? Ensure Phase Purity and Prevent Elemental Volatilization