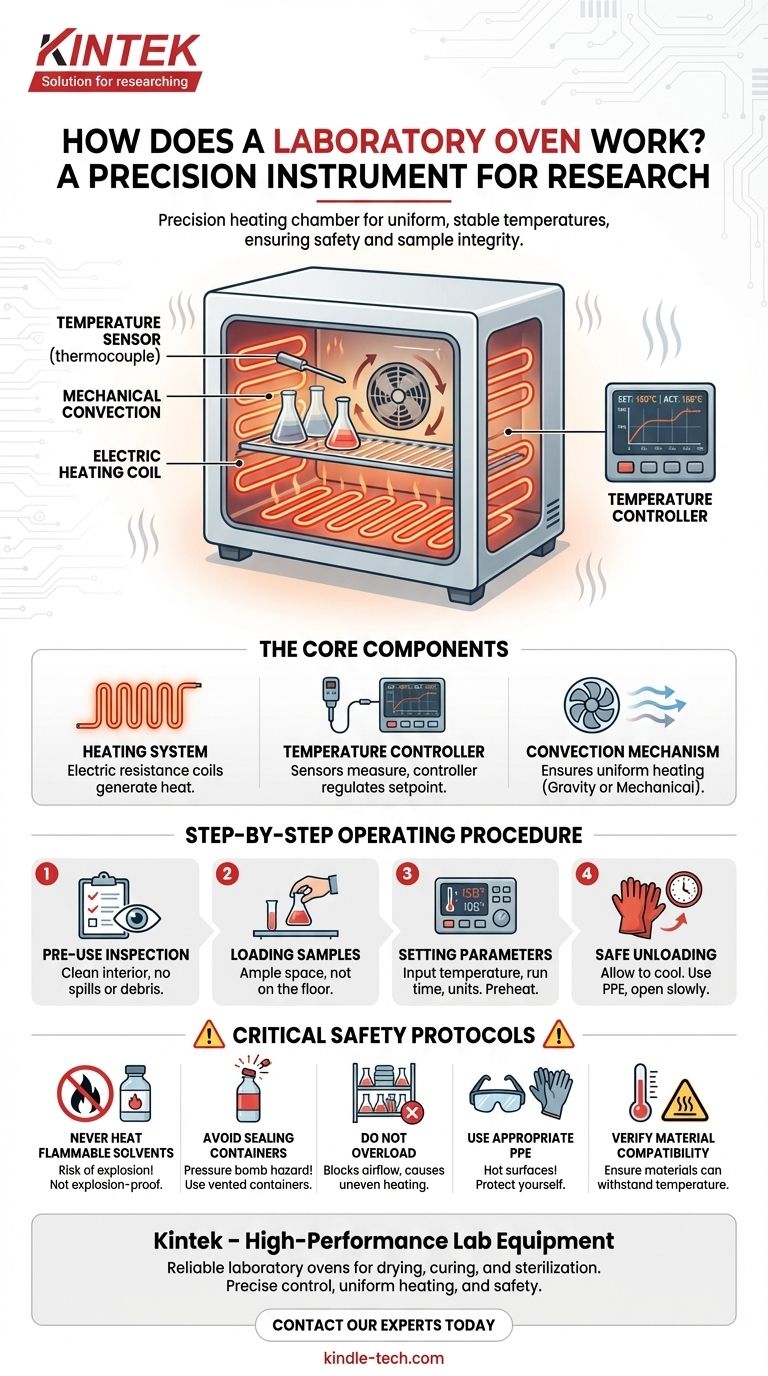
At its core, a laboratory oven is a precision heating chamber designed for providing uniform, stable temperatures. It functions by using a heating element, typically an electric coil, to warm the internal chamber, while a temperature controller, such as a thermostat or a more advanced PID controller, measures and regulates the heat to maintain a specific setpoint. A fan is often included to circulate the air, ensuring that every part of the chamber remains at a consistent temperature.
While it may resemble a simple kitchen appliance, a laboratory oven is a precision instrument. Understanding its operation is not just about getting the right temperature; it's about ensuring safety, sample integrity, and repeatable scientific results.
The Core Components of a Laboratory Oven
To use the oven effectively, you must first understand its fundamental parts. Each component plays a critical role in achieving a stable and uniform thermal environment.
The Heating System
The heat itself is generated by electric resistance coils, often made of nichrome wire, located in the walls or base of the oven's chamber. When electricity passes through these coils, they heat up, radiating thermal energy into the chamber.
The Temperature Controller
This is the brain of the oven. A sensor, typically a thermocouple, constantly measures the internal temperature. This reading is sent to a controller which compares the actual temperature to your desired setpoint and turns the heating elements on or off to maintain that temperature precisely.
The Convection Mechanism (Gravity vs. Mechanical)
Uniform temperature is essential. Ovens achieve this in one of two ways:
- Gravity Convection: These simpler ovens rely on the natural principle that hot air rises. As air is heated at the bottom, it rises, cools, and falls, creating a slow circulation. This is suitable for drying powders that might be disturbed by a fan.
- Mechanical Convection: These ovens use a fan to actively force air circulation throughout the chamber. This provides much greater temperature uniformity and faster heating, making it the standard for most applications.
A Step-by-Step Operating Procedure
Following a consistent procedure ensures both safety and the quality of your results. Always consult your lab's specific SOP, but these steps are universally applicable.
Step 1: Pre-Use Inspection
Before powering on the oven, quickly inspect the interior. Ensure it is clean and free of forgotten samples, chemical spills, or foil scraps that could burn or contaminate your experiment.
Step 2: Loading Your Samples
Place your items on the shelves, ensuring there is ample space around them for air to circulate. Never place items directly on the oven floor, as this can cause localized overheating and damage both your sample and the oven.
Step 3: Setting Parameters
Turn on the main power. Use the control panel to input your desired temperature and, if applicable, the run time. Double-check that you have set the correct units (°C or °F). Once set, allow the oven to preheat fully to the setpoint before your timer begins.
Step 4: Safe Unloading
Once the cycle is complete, turn off the oven. Allow the oven to cool for a significant period before opening the door. Open the door slowly to avoid a blast of hot air. Always use heat-resistant gloves to remove your items, as they will remain dangerously hot long after the oven is off.
Critical Safety Protocols and Common Pitfalls
Misuse of a lab oven is a significant safety hazard. Understanding what not to do is as important as knowing what to do.
Never Heat Flammable Solvents
This is the single most critical safety rule. Lab ovens are not explosion-proof. Heating flammable or volatile organic compounds (e.g., ethanol, acetone, hexane) will create vapors that can be ignited by the electric heating elements, causing a violent explosion. Use a vacuum oven for these tasks.
Avoid Sealing Containers
Placing a completely sealed container in an oven creates a pressure bomb. As the air and any contents inside are heated, they expand, which can cause the container to shatter or explode. Always ensure containers are vented or covered loosely with foil.
Do Not Overload the Chamber
Overcrowding the oven blocks airflow. This leads to uneven heating, where some samples do not reach the target temperature while others may overheat. This invalidates your results and can ruin sensitive materials.
Use Appropriate Personal Protective Equipment (PPE)
The exterior surfaces of the oven can become extremely hot. Always assume any part of the oven is hot. Wear heat-resistant gloves when loading or unloading and safety glasses to protect from potential splashes or shattering materials.
Verify Material Compatibility
Ensure the materials you are placing in the oven can withstand the set temperature. Some plastics may melt, off-gas toxic fumes, or catch fire. Always check the temperature rating of your glassware and containers.
How to Apply This to Your Goal
Your specific use case will determine your key operational focus.
- If your primary focus is drying glassware: Your main concern is airflow and complete moisture removal, so ensure items are not nested and that mechanical convection (if available) is active.
- If your primary focus is curing polymers or materials: Temperature uniformity and stability are paramount, so allow the oven to fully stabilize at its setpoint before introducing your sample for a timed run.
- If your primary focus is basic sterilization: Confirm your items are heat-stable (e.g., metal tools, certain glassware) and that you are using a validated time and temperature (e.g., 160°C for 2 hours), but remember this is not a substitute for an autoclave for critical applications.
By treating the oven as the precision tool it is, you ensure the safety and integrity of every experiment.
Summary Table:
| Component | Function | Key Detail |
|---|---|---|
| Heating System | Generates heat | Electric resistance coils (e.g., nichrome) |
| Temperature Controller | Regulates temperature | Uses a thermocouple sensor and PID controller |
| Convection Mechanism | Ensures uniform heating | Gravity (natural) or Mechanical (fan-forced) |
Need a reliable laboratory oven for your application? KINTEK specializes in high-performance lab equipment, including a wide range of ovens for drying, curing, and sterilization. Our products ensure precise temperature control, uniform heating, and operational safety for your laboratory. Contact our experts today to find the perfect solution for your lab's needs!
Visual Guide
Related Products
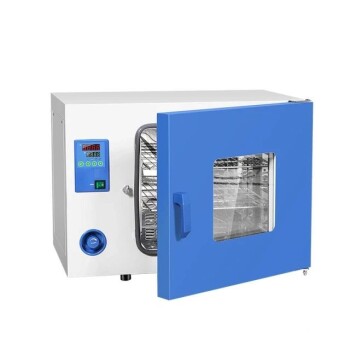
- Laboratory Scientific Electric Heating Blast Drying Oven
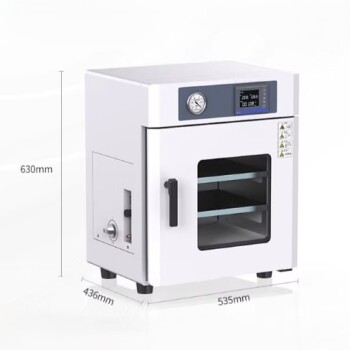
- 23L Laboratory Vacuum Drying Oven
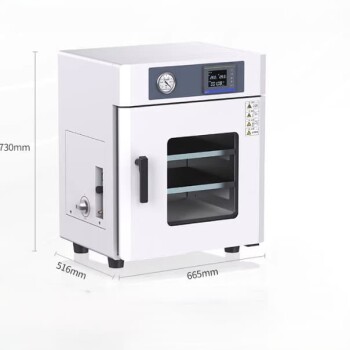
- 56L Vertical Laboratory Vacuum Drying Oven
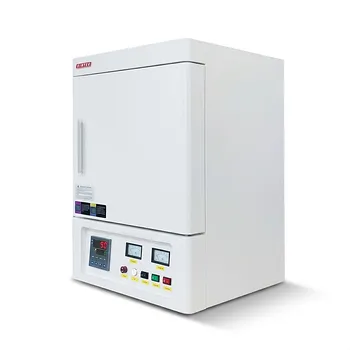
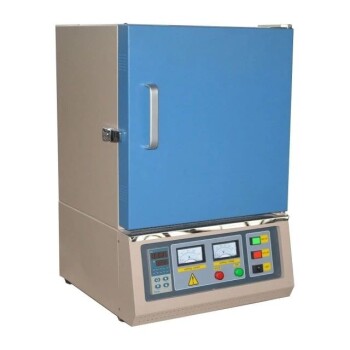
- High Temperature Muffle Oven Furnace for Laboratory Debinding and Pre Sintering
- 1700℃ Muffle Oven Furnace for Laboratory
People Also Ask
- How does a laboratory electric drying oven contribute to the formation of the initial coating? Expert Insights
- What is the function of a laboratory drying oven in biomass pretreatment? Ensure High-Quality Bio-oil Production
- What is the function of using a laboratory electric drying oven for Fe-Cr-Mn-Mo-N alloy? Ensure Safety and Precision
- What is the role of a laboratory drying oven in cellulose citrate production? Ensure Material Stability & Purity
- Why is a laboratory drying oven essential for biomass liquefaction? Ensure Accurate Conversion Rate Calculations