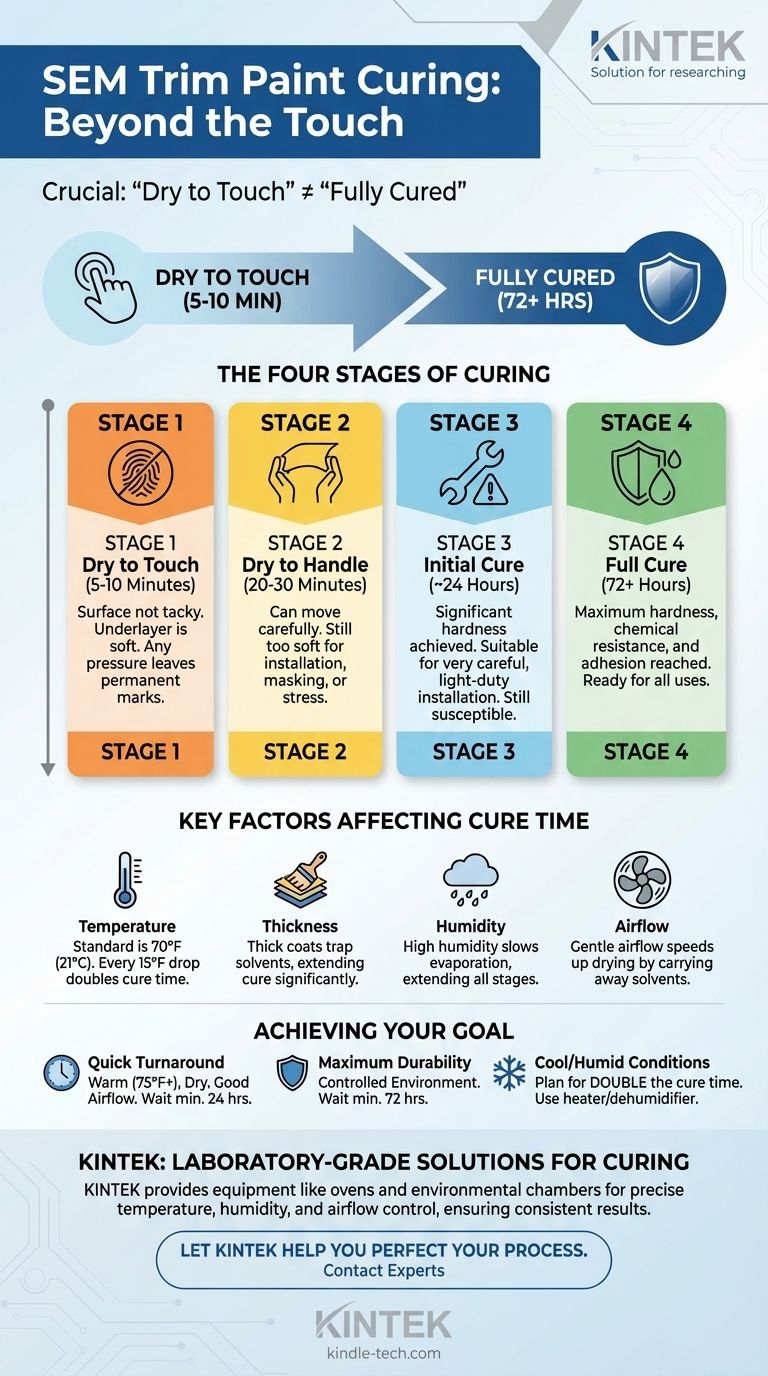
While SEM trim paint feels dry to handle in as little as 20-30 minutes, it is not fully cured. The complete chemical hardening process, which gives the paint its final durability and resistance to scratches, takes significantly longer—typically between 24 and 72 hours under ideal conditions.
The most critical concept to understand is the difference between "dry to touch" and "fully cured." A quick surface drying time allows for handling, but the underlying paint film remains soft and vulnerable. True durability is only achieved after the chemical curing process is complete.
The Stages of Drying and Curing
Understanding the distinct phases of paint curing is essential for avoiding damage to your freshly painted parts. Each stage has different implications for how you should treat the finished piece.
Stage 1: Dry to Touch (5-10 Minutes)
At this stage, the solvents at the very surface of the paint have evaporated. The paint will not feel tacky or transfer to a lightly touched glove.
However, the paint layer underneath is still very wet and soft. Applying any pressure will leave permanent marks or fingerprints in the finish.
Stage 2: Dry to Handle (20-30 Minutes)
After about half an hour, enough solvent has evaporated to allow you to carefully move the painted part. You can pick it up by its edges and move it to a safe location to continue curing.
The paint is still far too soft for installation, masking, or exposure to any stress. Bolting it down or applying torque at this stage will ruin the finish.
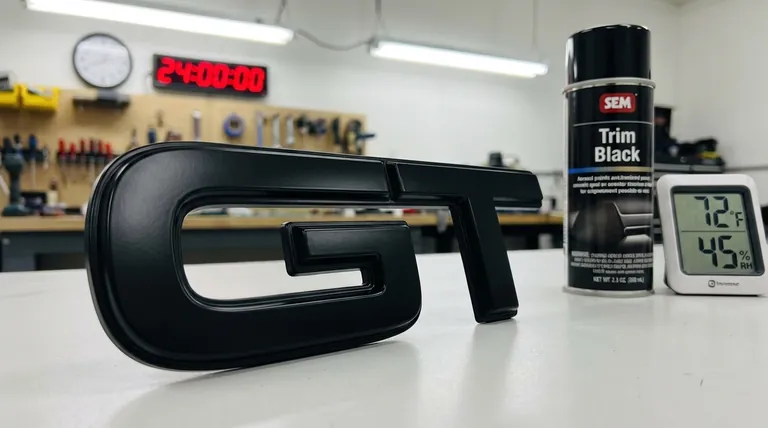
Stage 3: Initial Cure (24 Hours)
After 24 hours in ideal conditions, the paint has achieved a significant degree of hardness. The chemical cross-linking process is well underway.
For many light-duty applications, the part may be ready for careful installation. It is still susceptible to scratches and chemical damage.
Stage 4: Full Cure (72+ Hours)
Full cure is the point at which the paint reaches its maximum hardness, chemical resistance, and adhesion. The vast majority of the solvent has left the film, and the polymer chains are fully cross-linked.
For parts exposed to frequent contact, cleaning chemicals, or harsh weather, waiting for a full cure before installation is highly recommended. The curing process can even continue at a microscopic level for up to 30 days.
Key Factors That Influence Cure Time
The times listed on the can are based on ideal laboratory conditions. Your real-world results will vary based on these four factors.
Temperature
This is the most significant factor. The standard dry times are rated at approximately 70°F (21°C). For every 15°F (8°C) drop in temperature, you can expect the cure time to double. Curing effectively stops below 60°F (15°C).
Application Thickness
Applying one or two heavy coats instead of several light coats is a common mistake. A thick paint film traps solvents, dramatically extending the time it takes for the lower layers to harden. This can extend a 72-hour cure to a week or more.
Humidity
High humidity slows down the rate of solvent evaporation from the paint's surface. This extends all stages of the drying and curing process. A dry environment is always preferable.
Airflow
Good, gentle air circulation helps carry evaporated solvents away from the part's surface, speeding up the drying process. A fan placed across the room (not aimed directly at the part) can make a significant difference.
Understanding the Trade-offs and Pitfalls
Patience is a virtue in paintwork, and rushing the curing process often leads to rework.
The Risk of Rushing Reassembly
Installing a part that is only "dry to handle" is the most common cause of failure. The pressure from a socket, a wrench, or even the torque from a fastener can imprint on the soft paint, creating permanent shiny or distorted spots.
The Danger of Trapped Solvents
If you apply subsequent coats of paint too quickly or lay down a single coat that is too thick, the surface can "skin over." This traps solvents underneath, preventing the paint from ever curing properly. The result is a finish that remains soft and is easily damaged, sometimes for months.
Chemical and Abrasion Vulnerability
An uncured paint finish is highly susceptible to damage from chemicals. Avoid exposing the part to waxes, detail sprays, or harsh cleaners for at least a week. Similarly, the finish will scratch and scuff much more easily until it has reached its full hardness.
Making the Right Choice for Your Project
Your project's goal will dictate how you approach the curing process. Wait as long as your situation allows for the best possible outcome.
- If your primary focus is a quick turnaround: Apply 2-3 very light coats in a warm (75°F+), dry environment with good airflow, and wait a minimum of 24 hours before any careful reassembly.
- If your primary focus is maximum durability and a flawless finish: Apply 3-4 light coats and allow the part to cure for at least 72 hours in a controlled environment before installing it.
- If you are working in a cool or humid garage: You must extend your timeline. Plan for at least double the recommended cure time and take steps to improve conditions, such as using a space heater or dehumidifier.
Patience during the curing phase is the final, critical step to ensuring your trim paint looks and performs like new for years to come.
Summary Table:
| Stage | Timeframe | Key Characteristics |
|---|---|---|
| Dry to Touch | 5-10 minutes | Surface not tacky; underlying paint is still soft and vulnerable. |
| Dry to Handle | 20-30 minutes | Can be moved carefully; not ready for installation or stress. |
| Initial Cure | ~24 hours | Significant hardness achieved; suitable for light-duty, careful installation. |
| Full Cure | 72+ hours | Maximum hardness, chemical resistance, and adhesion are achieved. |
Achieve a Flawless, Durable Finish with KINTEK
Understanding the precise curing process is key to a professional result, but having the right equipment makes it easier. KINTEK specializes in providing laboratory-grade solutions, including controlled environment equipment like ovens and environmental chambers, to ensure ideal curing conditions for paints, coatings, and materials testing.
Whether you are in R&D, quality control, or manufacturing, our products help you achieve consistent, reliable results by precisely managing temperature, humidity, and airflow.
Let KINTEK help you perfect your process. Contact our experts today to find the ideal equipment for your specific application needs.
Visual Guide