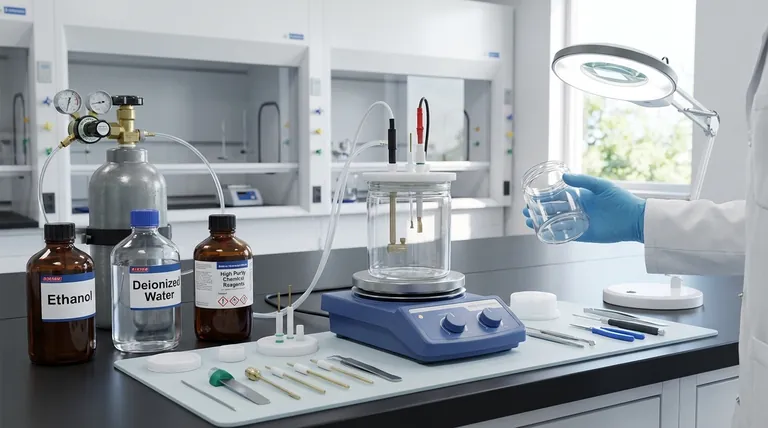
To properly prepare a side-window optical electrolytic cell, you must follow a systematic, four-stage process. This involves a thorough inspection for physical integrity, a rigorous multi-step cleaning protocol to remove contaminants, precise installation of electrodes to ensure data quality, and careful preparation of the electrolyte solution according to your experiment's specific requirements.
The quality of your experimental results is determined before the experiment even begins. Methodical preparation is not a preliminary chore; it is the foundational step that ensures the accuracy, safety, and reproducibility of your electrochemical and optical measurements.
Step 1: Meticulous Inspection
Before any chemicals are involved, a detailed physical inspection is your first line of defense against experimental failure. This protects your equipment and prevents inaccurate data from the start.
Inspecting the Cell Body and Seals
The main body, often made of glass or quartz, must be checked for any cracks, chips, or defects. Pay close attention to the seals and joints, ensuring they are not aged, brittle, or damaged, as this can lead to dangerous leaks.
Verifying the Optical Window
The side window is critical for spectroelectrochemical analysis. Confirm that it is perfectly clean, transparent, and free from scratches or smudges. Any obstruction will interfere with the light path and invalidate your optical data.
Checking Electrodes and Interfaces
Examine the working, counter, and reference electrodes for any signs of bending, deformation, or surface damage. Ensure the electrode interfaces on the cell are clean and intact to guarantee a secure electrical connection and prevent unstable signals.
Step 2: Rigorous Cleaning Protocol
Contamination is a primary source of error in electrochemistry. A strict cleaning protocol is non-negotiable for obtaining reliable data.
The Rinsing Sequence
Begin by rinsing the cell thoroughly with distilled or deionized water to remove loose particles. Follow this with a cleaning soak in a suitable organic solvent, then rinse again with distilled water to remove the solvent.
Choosing the Right Solvent
Ethanol or acetone are common choices for removing organic residues and grease. The choice of solvent should be based on the potential contaminants from previous experiments and its compatibility with the cell materials.
Proper Drying Techniques
For most applications, drying with a stream of clean, dry nitrogen gas is the preferred method. This is fast and prevents the introduction of new airborne contaminants. In less sensitive cases, air-drying in a clean environment may be sufficient.
Step 3: Precise Installation and Assembly
Correctly assembling the cell ensures that all components function as a single, coherent system. Improper installation can introduce resistance, instability, or leaks.
Correct Electrode Placement
Install the working, reference, and auxiliary electrodes in their designated positions. Ensure they are positioned correctly relative to each other and the optical window, and that they do not touch the cell walls or each other.
Ensuring Secure Connections
Confirm that each electrode makes a solid, secure connection with its interface. A poor connection can lead to increased resistance or noisy, unstable signals, compromising your electrochemical measurements.
Confirming a Leak-Proof Seal
After assembly, double-check that all seals, especially around the electrodes and window, are tight. A leak-proof system is essential for safety, containing the electrolyte, and preventing atmospheric contamination (like oxygen) from affecting the reaction.
Step 4: Electrolyte Preparation
The electrolyte is the heart of the experiment. Its purity and handling directly influence the chemical reaction you intend to study.
Using High-Purity Reagents
Always prepare your electrolyte solution using high-purity chemical reagents and deionized or distilled water. Impurities can act as catalysts, inhibitors, or interfering reactants, skewing your results.
Deoxygenation and Filtering
Depending on your experiment, you may need to deoxygenate the electrolyte by bubbling an inert gas (like nitrogen or argon) through it. Filtering the solution can also remove any particulate matter.
Careful Filling Technique
Pour the prepared electrolyte into the cell slowly and carefully. Avoid splashing, and try to minimize the introduction of air bubbles, which can cling to electrode surfaces or interfere with the optical path.
Understanding the Common Pitfalls
Objectivity requires acknowledging potential points of failure. Being aware of these common mistakes is critical for troubleshooting and ensuring data integrity.
The Risk of Contamination
Even trace amounts of impurities from improper cleaning can dramatically alter electrochemical behavior. A consistent, documented cleaning protocol is essential for reproducibility.
The Impact of a Poor Seal
A compromised seal can cause electrolyte leakage, which is a safety hazard and affects concentration. It can also allow air to enter the cell, which is fatal for experiments requiring anaerobic conditions.
Neglecting the Optical Path
Forgetting to clean the outside of the optical window is a common oversight. Fingerprints or smudges on the exterior surface will absorb or scatter light just as effectively as contaminants on the interior.
Improper Storage
When not in use, the cell should be stored in a dry, cool, and ventilated place away from direct sunlight. Storing it clean and dry prevents residue from hardening and protects materials from long-term degradation.
How to Apply This to Your Project
Your preparation can be tailored to the sensitivity of your work.
- If your primary focus is high-sensitivity trace analysis: You must use high-purity reagents, deoxygenate your electrolyte, and use nitrogen gas for drying to eliminate all potential interferences.
- If your primary focus is routine qualitative measurement: A standard cleaning with ethanol and distilled water is often sufficient, but a thorough physical inspection for cracks and leaks remains critical.
- If your primary focus is long-term reproducibility: Document every step of your cleaning, storage, and assembly process to ensure you and others can repeat the experiment under identical conditions.
This disciplined approach transforms preparation from a simple checklist into the foundation of reliable and insightful scientific discovery.
Summary Table:
| Preparation Step | Key Action | Critical Checkpoint |
|---|---|---|
| 1. Inspection | Check cell body, seals, and optical window | No cracks, scratches, or damaged seals |
| 2. Cleaning | Rinse with water, soak in solvent (e.g., ethanol), dry with N₂ | Remove all organic residues and contaminants |
| 3. Assembly | Install electrodes correctly and ensure secure connections | Leak-proof seal and no contact between electrodes |
| 4. Electrolyte Prep | Use high-purity reagents, deoxygenate if needed | Solution is free of impurities and particulates |
Achieve Flawless Electrochemical Measurements with KINTEK
Proper cell preparation is the foundation of reliable data. KINTEK specializes in high-quality lab equipment and consumables, including durable optical electrolytic cells and high-purity reagents, to support your most demanding spectroelectrochemical studies. Our products are designed to help you avoid common pitfalls like contamination and leaks, ensuring the accuracy and reproducibility of your research.
Let us help you build a solid foundation for your discovery. Contact our experts today to discuss your specific laboratory needs and how our solutions can enhance your experimental outcomes.
Visual Guide

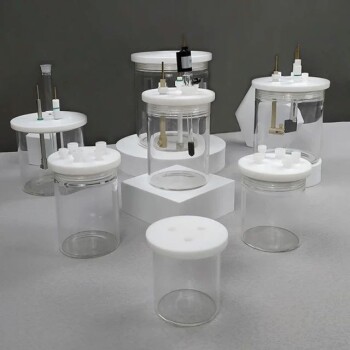
Related Products
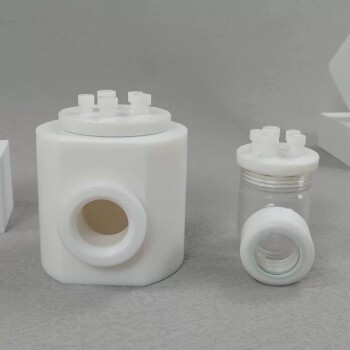
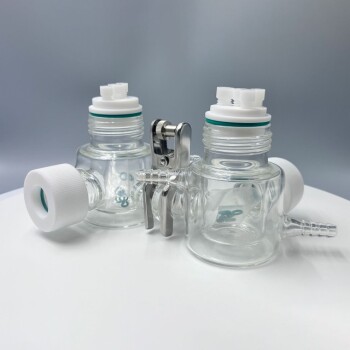
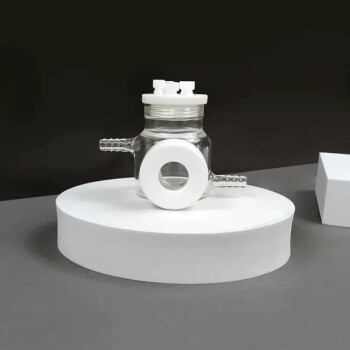
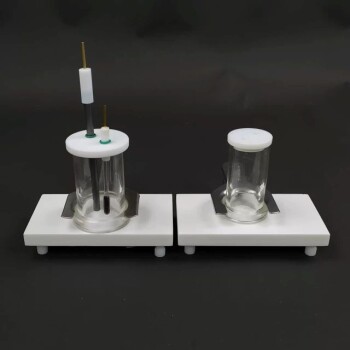
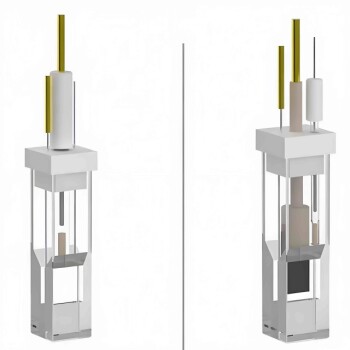
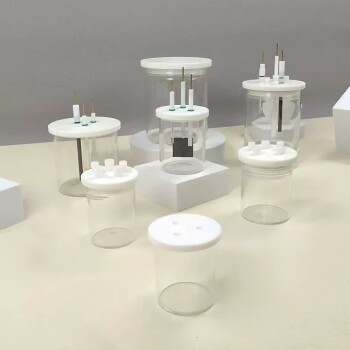
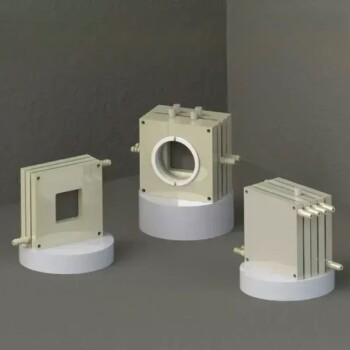
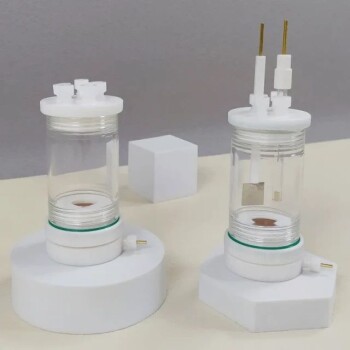
- Side Window Optical Electrolytic Electrochemical Cell
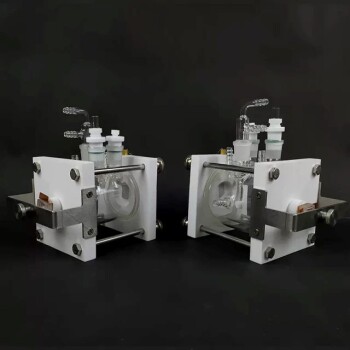
- H-Type Double-Layer Optical Electrolytic Electrochemical Cell with Water Bath
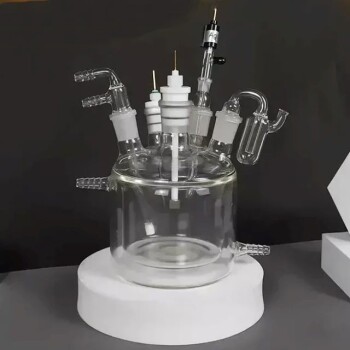
- Optical Water Bath Electrolytic Electrochemical Cell
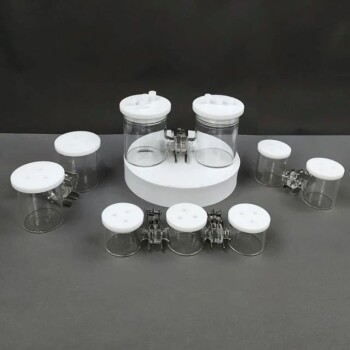
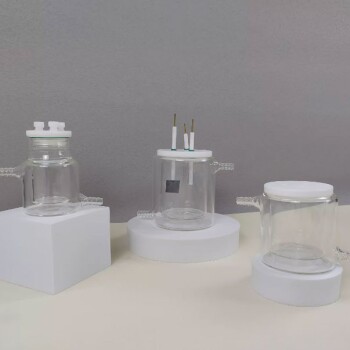
- PTFE Electrolytic Cell Electrochemical Cell Corrosion-Resistant Sealed and Non-Sealed
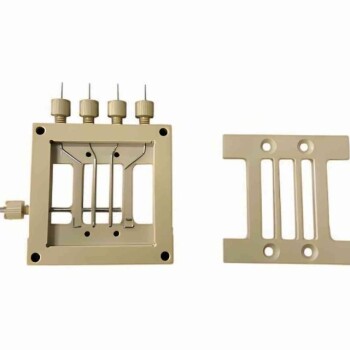
- Electrolytic Electrochemical Cell with Five-Port
People Also Ask
- What are the key operational procedures during an experiment with a side-window optical electrolytic cell? Ensure Accurate, Bubble-Free Measurements
- What maintenance procedures are recommended for a side-window optical electrolytic cell? Ensure Data Accuracy & Extend Cell Lifespan
- What are the critical safety and operational precautions when using a side-window optical electrolytic cell? Ensure Safe and Accurate Experiments
- What is the correct procedure for post-experiment shutdown and cleaning of a side-window optical electrolytic cell? Ensure Safety and Data Accuracy
- What is a side-window optical electrolytic cell? See Your Electrochemical Reactions in Action