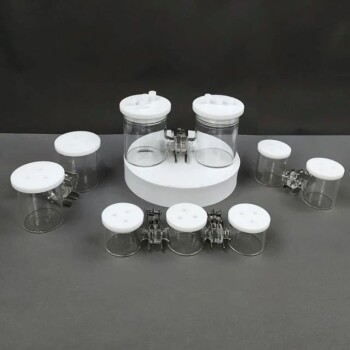
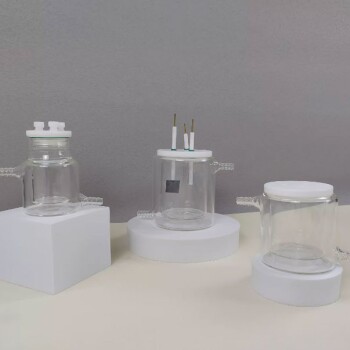
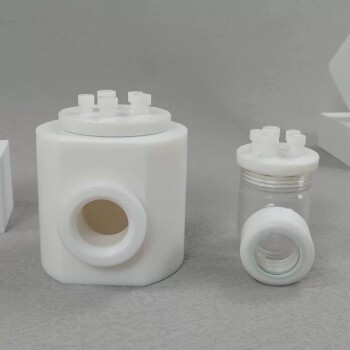
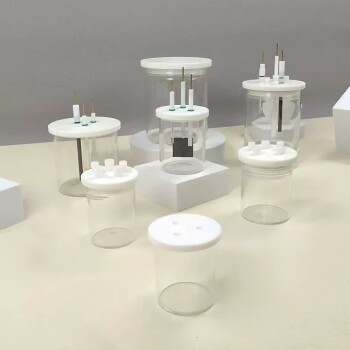
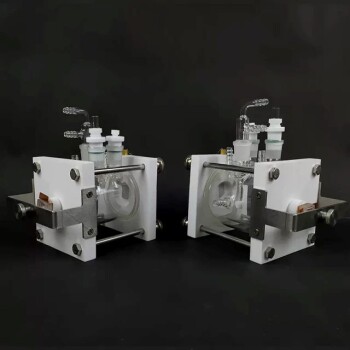
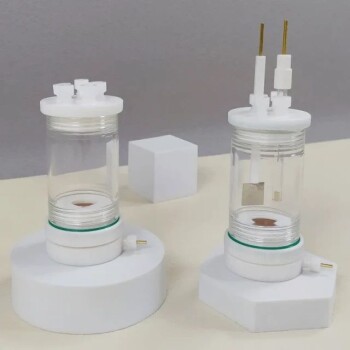
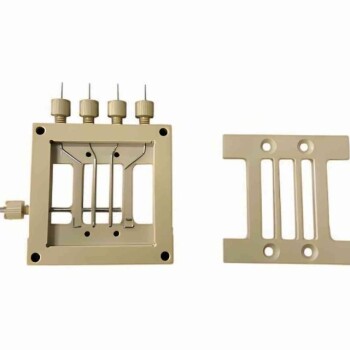
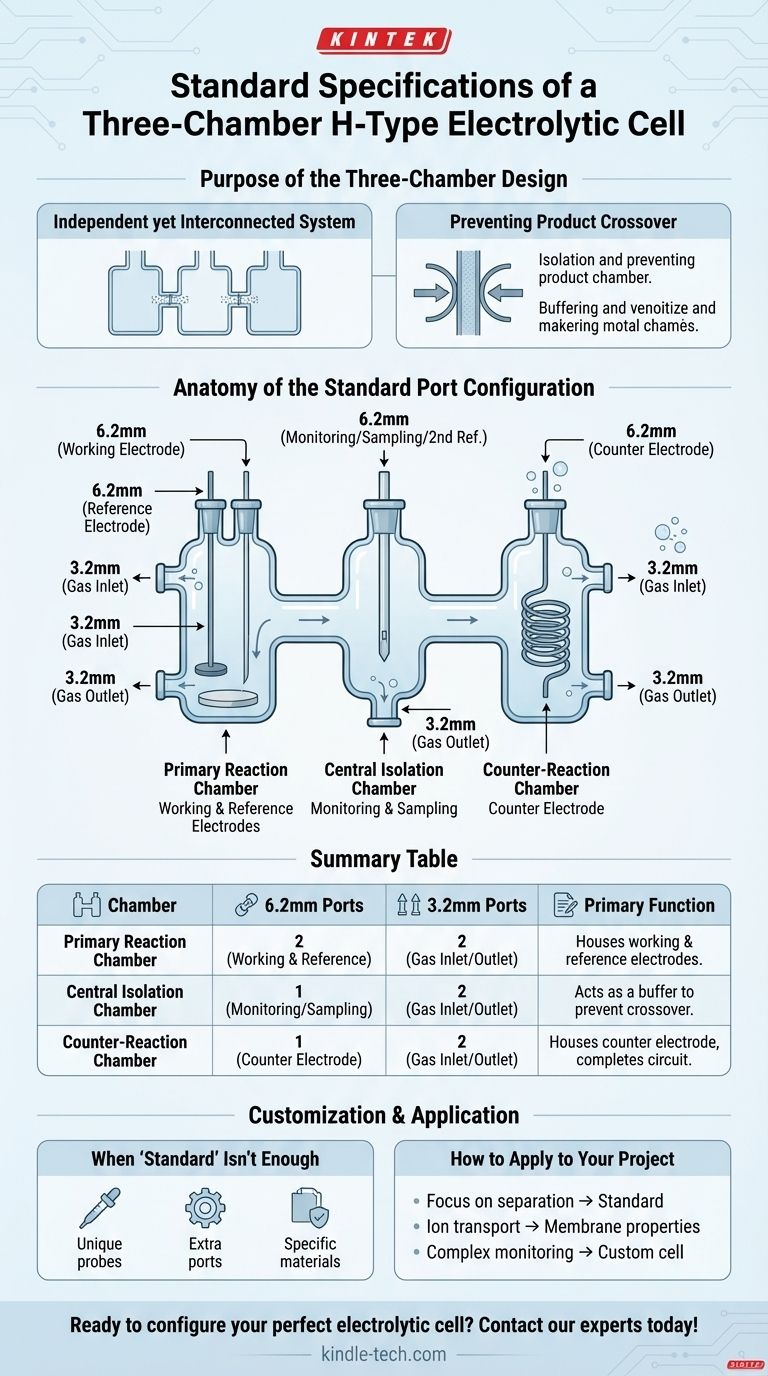
The standard configuration for a three-chamber H-type electrolytic cell typically involves a specific arrangement of ports designed for electrodes and gas lines. One side chamber is equipped with two 6.2mm electrode ports and two 3.2mm gas ports. The central chamber and the other side chamber each feature one 6.2mm electrode port and two 3.2mm gas ports.
While a common "standard" port layout exists, its true purpose is to provide a versatile baseline for separating electrochemical reactions. Understanding the function of each chamber and port is critical, as most advanced experiments will require verifying these specifications or requesting customization.
The Purpose of the Three-Chamber Design
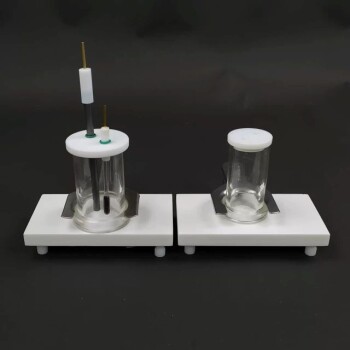
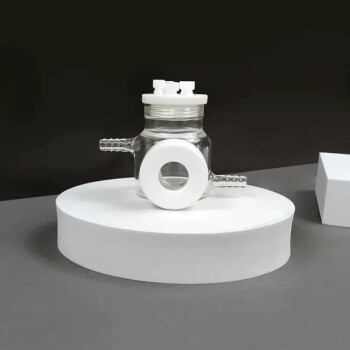
A standard two-chamber H-cell separates the anode and cathode reactions. A three-chamber cell introduces a central compartment to further isolate these two primary chambers.
### An Independent yet Interconnected System
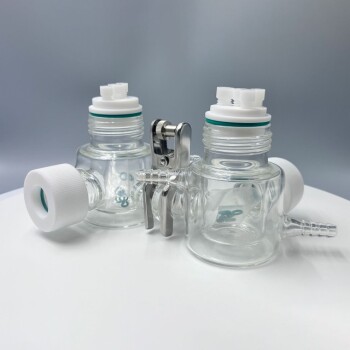
The three chambers are physically separate but are connected by ion-exchange membranes. This design allows for a more controlled experimental environment.
### Preventing Product Crossover
The primary function of the middle chamber is to act as a buffer, preventing the products generated at one electrode from migrating to and interfering with the reaction at the other electrode.
Anatomy of the Standard Port Configuration
Each port's size and placement is deliberate, designed to accommodate the standard tools of electrochemistry. The asymmetrical layout is based on the needs of a typical three-electrode experiment.
### The Primary Reaction Chamber
This side, typically housing the working electrode, is the most equipped.
- Two 6.2mm Ports: One is for the working electrode. The second is crucial for a reference electrode (or a Luggin capillary to house it), which must be placed close to the working electrode to ensure accurate potential measurements.
- Two 3.2mm Ports: These are used for gas management—one as an inlet for purging the solution (e.g., with nitrogen or argon) and the other as an outlet for venting.
### The Counter-Reaction Chamber
This side houses the counter electrode. Its needs are simpler.
- One 6.2mm Port: This holds the counter electrode, which completes the electrical circuit.
- Two 3.2mm Ports: These serve the same gas inlet/outlet functions as in the other chamber.
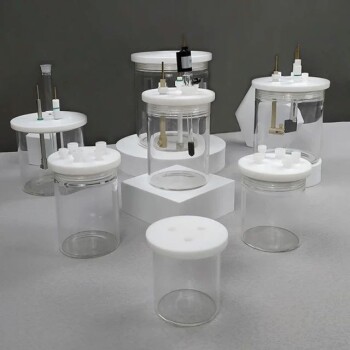
### The Central Isolation Chamber
This middle chamber serves to isolate the two electrode compartments.
- One 6.2mm Port: This port is versatile. It can be used for monitoring (e.g., inserting a pH probe), sampling the electrolyte, or placing a second reference electrode.
- Two 3.2mm Ports: Allows for purging or managing the atmosphere within the central compartment independently.
Customization: When 'Standard' Isn't Enough
The specifications provided are a common baseline, but they are not a rigid industry-wide standard. Always verify the dimensions with your supplier before purchasing.
### The Need for Modification
Your specific experimental needs may differ from the standard setup. You might require larger ports for unique probes, additional ports for simultaneous measurements, or specific materials for chemical compatibility.
### Verifying Supplier Specifications
Because the term "standard" can be loose, it is essential to treat any listed specifications as a starting point. Confirm that the port sizes and locations will fit your specific electrodes, probes, and gas lines.
How to Apply This to Your Project
Your choice of cell configuration must be driven entirely by your experimental goals.
- If your primary focus is a standard three-electrode study requiring product separation: The common configuration described here is an excellent and reliable starting point.
- If your work involves studying ion transport or membrane properties: The three-chamber design is essential, and you must pay close attention to the properties of the ion-exchange membranes used.
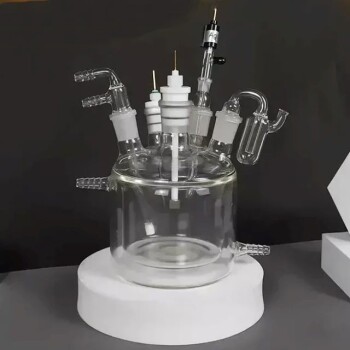
- If you require complex in-situ monitoring (e.g., temperature, pressure, sampling): You will likely need to request a custom cell with additional or resized ports to accommodate your specific equipment.
Understanding the function behind the form of your electrolytic cell is the first step toward designing a precise and successful experiment.
Summary Table:
| Chamber | 6.2mm Ports | 3.2mm Ports | Primary Function |
|---|---|---|---|
| Primary Reaction Chamber | 2 (Working & Reference Electrodes) | 2 (Gas Inlet/Outlet) | Houses the working electrode and reference probe. |
| Central Isolation Chamber | 1 (Monitoring/Sampling) | 2 (Gas Inlet/Outlet) | Acts as a buffer to prevent product crossover. |
| Counter-Reaction Chamber | 1 (Counter Electrode) | 2 (Gas Inlet/Outlet) | Houses the counter electrode to complete the circuit. |
Ready to configure the perfect electrolytic cell for your research? KINTEK specializes in high-quality lab equipment, including standard and custom H-type electrolytic cells designed for precise electrochemical experiments. Our team can help you select the right configuration or design a custom solution to meet your exact specifications, ensuring optimal performance and reliability. Contact our experts today to discuss your project needs!
Visual Guide
Related Products
- H Type Electrolytic Cell Triple Electrochemical Cell
- H-Type Double-Layer Optical Electrolytic Electrochemical Cell with Water Bath
- Electrolytic Electrochemical Cell with Five-Port
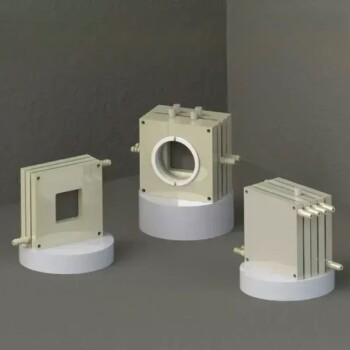
- PTFE Electrolytic Cell Electrochemical Cell Corrosion-Resistant Sealed and Non-Sealed
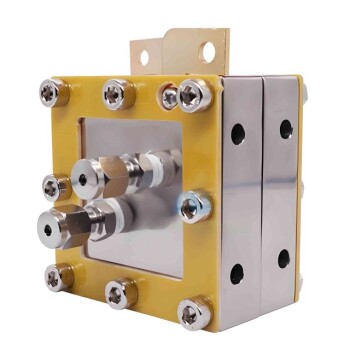
- Customizable PEM Electrolysis Cells for Diverse Research Applications
People Also Ask
- What routine maintenance should be performed on the H-type electrolytic cell? Best Practices for Data Precision
- How should the electrolyte be prepared and added to the H-type electrolytic cell? Best Practices for Purity and Safety
- How does the design of an H-type electrolytic cell benefit the neutral water electrolysis process for metal recovery?
- What is the typical volume range for a single chamber of the H-type electrolytic cell? Find Your Ideal Lab Capacity
- What is the technical necessity of using an H-type electrolytic cell for NO3RR tests? Protect Your Ammonia Yields