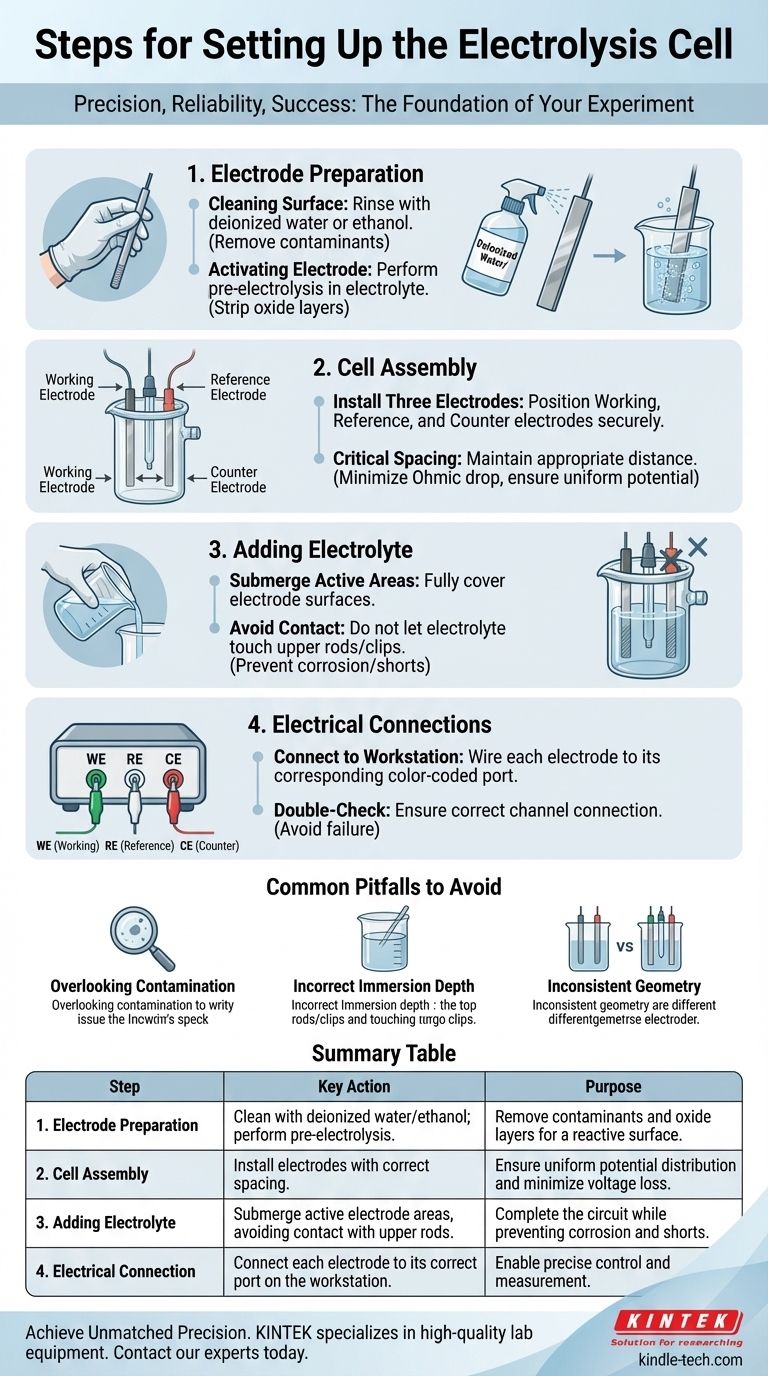
Setting up an electrolysis cell involves a precise sequence of steps: preparing the electrodes, assembling the physical cell, and connecting the system to the electrochemical workstation. The core procedure is to install the cleaned electrodes, add the electrolyte to the correct level, and then connect the leads to their corresponding ports.
The success of any electrochemical experiment is determined before data collection even begins. Meticulous cell setup is not just a preliminary task; it is the primary defense against inaccurate, non-reproducible results.
Foundational Step: Electrode Preparation
Before assembling any hardware, the condition of your electrodes dictates the quality of your data. This preparation phase is non-negotiable for achieving reliable outcomes.
Cleaning the Electrode Surface
The electrode surface must be free of any impurities from previous experiments or storage. These contaminants can act as inhibitors or unintended catalysts, completely altering your results.
A standard cleaning procedure involves rinsing the electrode surfaces thoroughly with deionized water or ethanol.
Activating the Electrode
Many electrode materials form a passive, non-conductive oxide layer when exposed to air. This layer can prevent or hinder the desired electrochemical reaction.
To ensure a clean, reactive surface, a brief pre-electrolysis is often performed in the electrolyte. This step effectively strips away any residual oxide layers just before the main experiment begins.
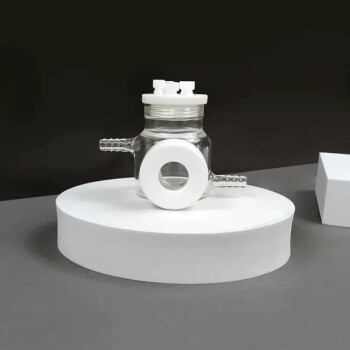
Assembling the Electrolysis Cell
With prepared electrodes, the next phase is the physical construction of the cell. The geometry and arrangement of components are critical variables that you must control.
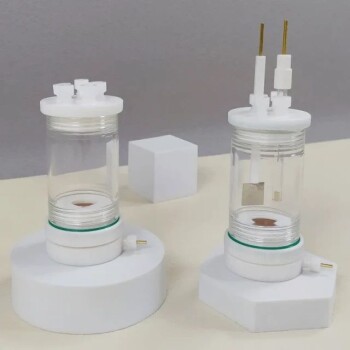
Installing the Three Electrodes
Position the working electrode, reference electrode, and counter electrode inside the reaction vessel.
Ensure the electrodes are secure and will not move during the experiment, as a change in geometry will change the electrochemical conditions.
The Critical Role of Spacing
The distance between the electrodes is a crucial parameter. Appropriate spacing helps minimize the Ohmic drop (voltage loss due to the resistance of the electrolyte) and ensures a uniform potential distribution across the working electrode.
As a best practice, the reference electrode tip should be placed close to the working electrode, but not so close that it physically blocks the flow of current.
Adding the Electrolyte
Carefully pour the electrolyte into the vessel. The goal is to fully submerge the active areas of all three electrodes to ensure they are part of the circuit.
Crucially, the level of the electrolyte must not touch the metallic electrode rods or clips above the active surface. Submerging these connections can lead to corrosion, contamination, and electrical shorts.
Finalizing the Electrical Connections
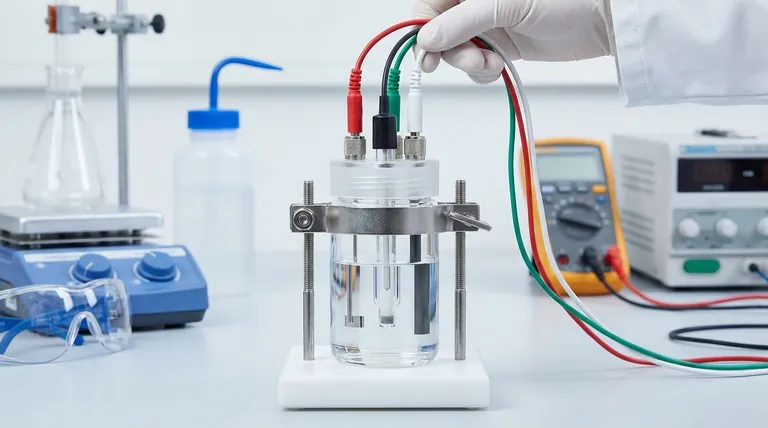
The final step is to correctly wire the cell to the measurement instrument, typically an electrochemical workstation or potentiostat.
Connecting to the Workstation
Connect the wire from each electrode to its corresponding port on the workstation. These are typically color-coded and labeled (e.g., green for Working, white for Reference, red for Counter).
Mismatched connections are a common source of experimental failure, so always double-check that each electrode is connected to the correct channel.
Common Pitfalls to Avoid
A precise setup minimizes the most common sources of experimental error. Being aware of these pitfalls is essential for troubleshooting and ensuring data integrity.
Overlooking Contamination
Trace contaminants from glassware, stir bars, or the electrodes themselves can fundamentally alter the electrochemical process. Rigorous cleaning of all components is the only preventative measure.
Incorrect Immersion Depth
As mentioned, allowing the electrolyte to touch the upper electrode rods or connectors is a critical error. This introduces corrosion products into your solution and can cause a complete failure of the experiment.
Inconsistent Electrode Geometry
For reproducible results, the spacing and orientation of the electrodes must be identical for every run in a series. Any change in geometry alters the cell resistance and potential field, making comparisons between experiments invalid.
Making the Right Choice for Your Goal
Your experimental objective should guide the level of rigor you apply to the setup.
- If your primary focus is high-precision quantitative analysis: Rigorous electrode cleaning, activation, and a fixed, reproducible cell geometry are paramount to minimize error.
- If your primary focus is materials screening or synthesis: Consistency is key. Ensure the active surface area is well-defined and the setup is identical between runs to allow for valid comparisons.
Ultimately, a deliberate and careful setup transforms your experiment from a source of noisy data into a tool for precise measurement.
Summary Table:
| Step | Key Action | Purpose |
|---|---|---|
| 1. Electrode Preparation | Clean with deionized water/ethanol; perform pre-electrolysis. | Remove contaminants and oxide layers for a reactive surface. |
| 2. Cell Assembly | Install working, reference, and counter electrodes with correct spacing. | Ensure uniform potential distribution and minimize voltage loss. |
| 3. Adding Electrolyte | Submerge active electrode areas, avoiding contact with upper rods/clips. | Complete the circuit while preventing corrosion and shorts. |
| 4. Electrical Connection | Connect each electrode to its correct port on the workstation. | Enable precise control and measurement of the electrochemical reaction. |
Achieve Unmatched Precision in Your Electrochemical Experiments
A meticulous cell setup is the foundation of reliable data. Whether you are conducting high-precision quantitative analysis or advanced materials screening, the right equipment is critical for success.
KINTEK specializes in high-quality lab equipment and consumables for all your electrochemical needs. We provide the reliable tools that help you avoid common pitfalls like contamination and inconsistent geometry, ensuring your experiments are reproducible and accurate.
Let us help you enhance your lab's capabilities. Contact our experts today to find the perfect solutions for your laboratory's specific challenges.
Visual Guide
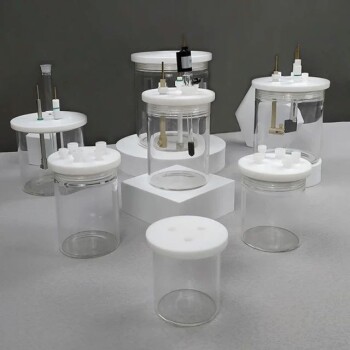
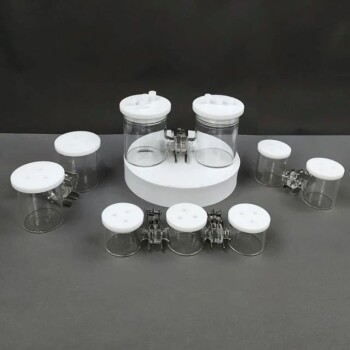
Related Products
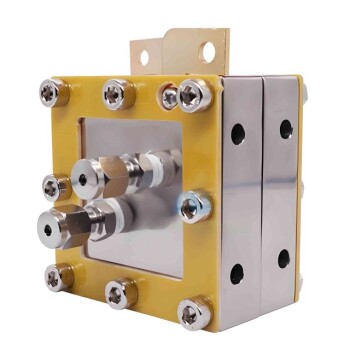
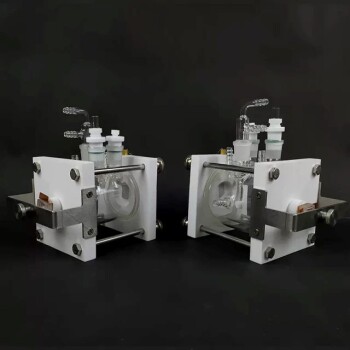
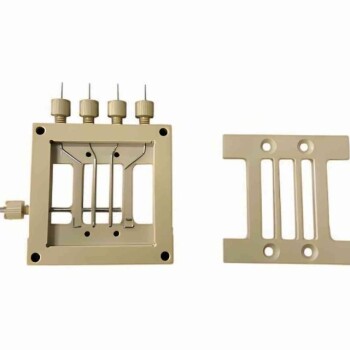
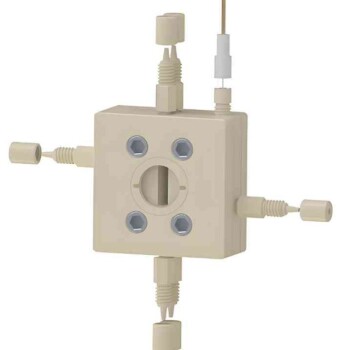
- Customizable PEM Electrolysis Cells for Diverse Research Applications
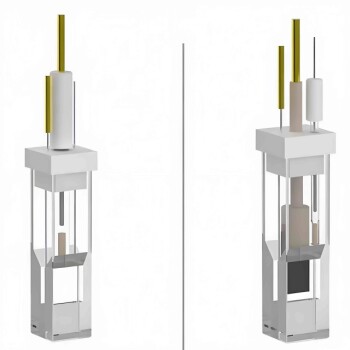
- Thin-Layer Spectral Electrolysis Electrochemical Cell
- Electrolytic Electrochemical Cell Gas Diffusion Liquid Flow Reaction Cell
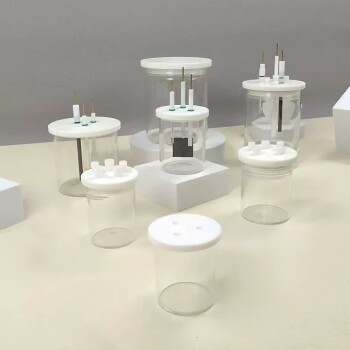
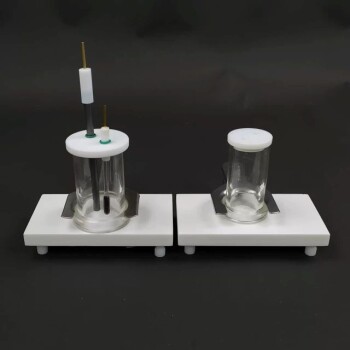
- Quartz Electrolytic Electrochemical Cell for Electrochemical Experiments
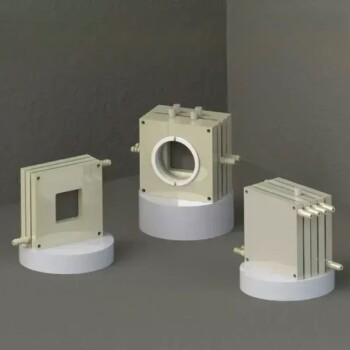
- PTFE Electrolytic Cell Electrochemical Cell Corrosion-Resistant Sealed and Non-Sealed
People Also Ask
- What is the proper storage procedure for an electrolysis cell and its components? A Step-by-Step Guide to Preserve Accuracy
- What parameters must be strictly controlled during the electrolysis process? Ensure Precision and Efficiency
- What is an electrolysis cell? A Guide to Driving Chemical Reactions with Electricity
- What is the immediate post-use cleaning procedure for an electrolysis cell? Prevent Residue Buildup for Accurate Results
- What are the precautions for heating or sterilizing an electrolysis cell? Avoid Damaging Sensitive Components